دانلود دوره آموزش مایا 2017 Maya
Pluralsight - Introduction to Maya 2017
آموزش مایا 2017
در این آموزش ” آموزش مایا 2017 ” از شرکت Pluralsight مربیان این دوره ، نحوه کار در زمینه های مختلف با بهره از رویکرد مبتنی بر پروژه در نرم افزار مایا 2017 به شما مراجعین عزیز سافت ساز می آموزد. این دوره درک عمیقی از ویژگی های اصلی مایا 2017 و شما را به مهاجری به این برنامه قدرتمند کمک می کند. برای شروع با واژگان و مهارتهای بنیادی مایا آشنا خواهید شد.
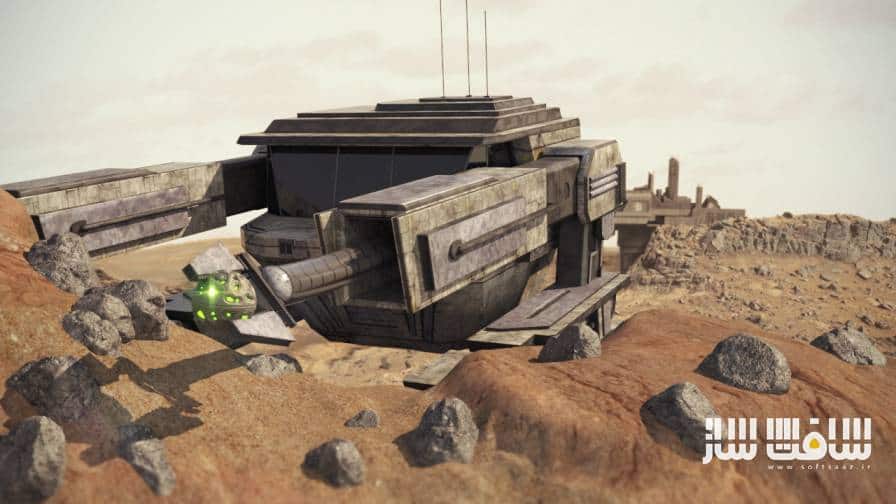
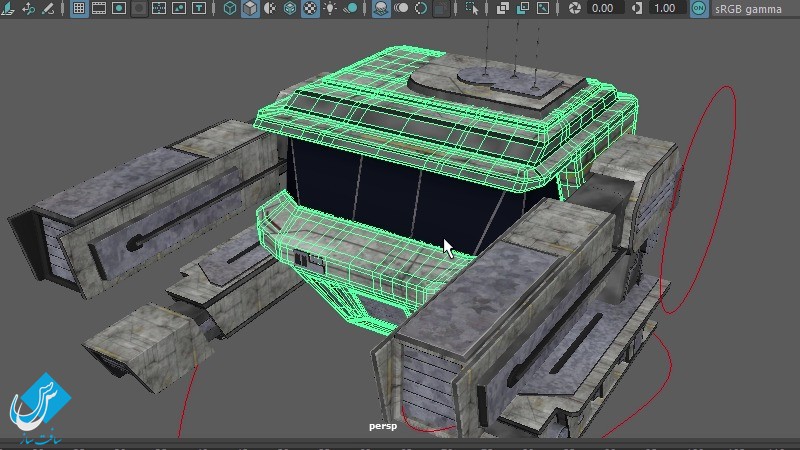
کار با ویژگی های مدلسازی و ساخت غلاف معدن و اضافه کردن تکسچر و متریال به آن ، اضافه کردن کنترل های انیمیشن – حرکت های متحرک و دینامیک ، نحوه اضافه کردن نور و شیدر ، نحوه خروجی گرفتن از دنباله انیمیشن از جمله مواردی است که در این دوره آموزشی که در سافت ساز ارائه شده است ، خواهید آموختبا سافت ساز همراه باشید .
عناوین اصلی دوره آموزش مایا 2017 :
- شروع به کار مایا 2017
- مدل سازی اولیه با مایا 2017
- گردش کار (ورک فلوی ) Smoothing و Detailing
- آماده سازی مدل
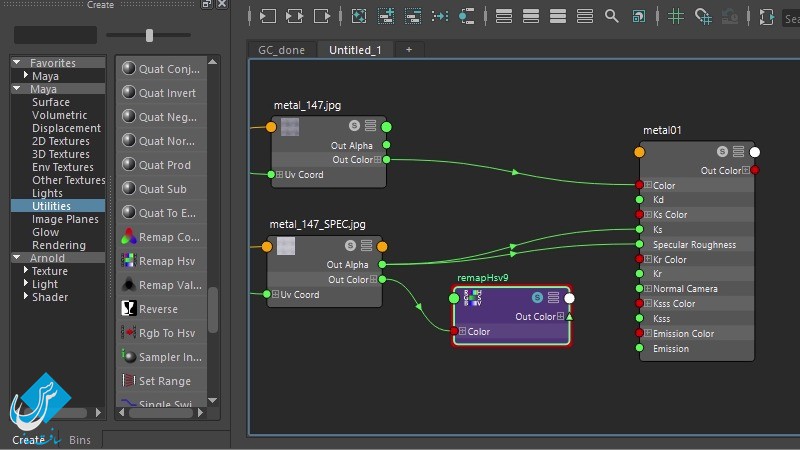
- متریال دهی و تکسچر دهی
- ریگینگ برای انیمیشن
- انیمیشن سازی با مایا
- شبیه سازی دینامیک با مایا 2017
- نورپردازی و رندرینگ
- آموزش مایا 2017
- و …
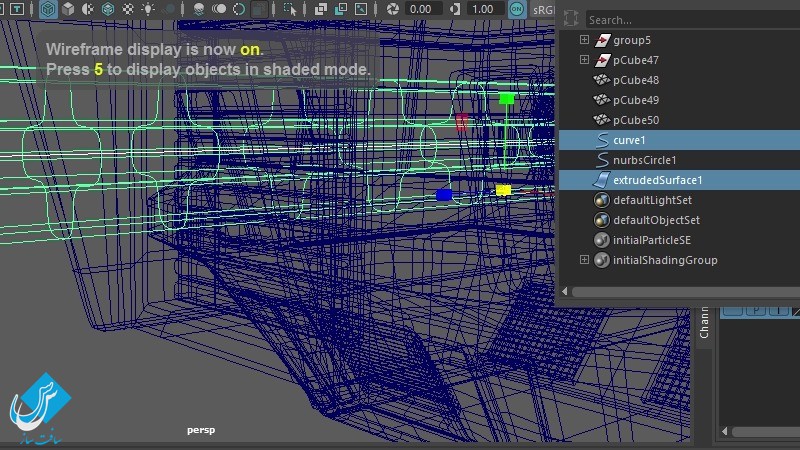
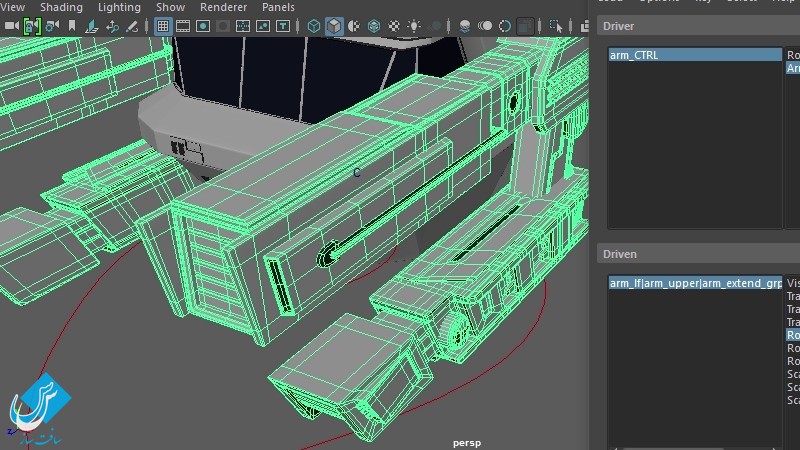
تصاویری از دوره آموزش مایا 2017 :
پیشنمایش دوره آموزش مایا 2017 :
عنوان دوره : Pluralsight – Introduction to Maya 2017
سطح : مقدماتی
زمان کل دوره : 11.25 ساعت
تعداد فایل های تصویری : 85
سال آموزش : 2016
فایل تمرینی : دارد
مربی دوره : Justin Marshall – Eddie Russell
نرم افزار : Maya 2017
زیرنویس : ندارد
Pluralsight – Introduction to Maya 2017
This in-depth Maya tutorial is designed to help you get a solid understanding of the core features found in Maya, and help you to ease your transition into this very powerful program. During the course of these lessons, you’ll have a chance to learn about different aspects of Maya from two experts. In the first portion of this tutorial, you’ll get familiar with some of the vocabulary and foundational skills that you’ll need in order to begin moving around and working in Maya. From there, you’ll move into exploring some of the modeling features found in Maya and begin building the mining pod, which will be your central project for the remainder of this course. From there, you go through the entire process of adding textures and materials to the pod. Then, you’ll see the process of adding animation controls, animated movement, and dynamics. Finally, you’ll discover how to add lights, shadows, and how to output your final animated sequence. This course is designed for new Maya users, so the goal is not to weigh you down with a lot of technical information. Instead, its goal is to help you form some really good habits and workflows, allowing you to see the entire start-to-finish pipeline for this project, and by the end of this Maya course, you’ll be at point where you can feel very comfortable using the software. Software required: Maya 2017.
Getting Started with Maya 59m 49s
Navigating the Viewport 5m 33s
Using the Maya Interface 8m 36s
Creating a Maya Project 4m 27s
Saving Scene Files from Maya 6m 51s
Viewport Shading and Selection Modes 5m 32s
Transforming Objects in Maya 5m 13s
Using Component Mode 8m 45s
Accessing Scene Objects 6m 25s
Grouping and Parenting in Maya 5m 3s
Using the Hotbox 3m 18s
Basic Modeling with Maya 56m 9s
Adding Reference Images 5m 54s
Creating a Blank for the Body 8m 0s
Adding Top Pieces 9m 39s
Finishing the Top Pieces 5m 6s
Creating the Windscreen 5m 11s
Modeling the Front Bumper 8m 6s
Detailing the Front Vent Section 7m 38s
Adding the Vent Slats 6m 33s
Detailing and Smoothing Workflows 1h 22m
Modeling the Back Vents 9m 43s
Building the Back Piece 5m 3s
Modeling an Engine 12m 29s
Adding the Front Control Panel 5m 39s
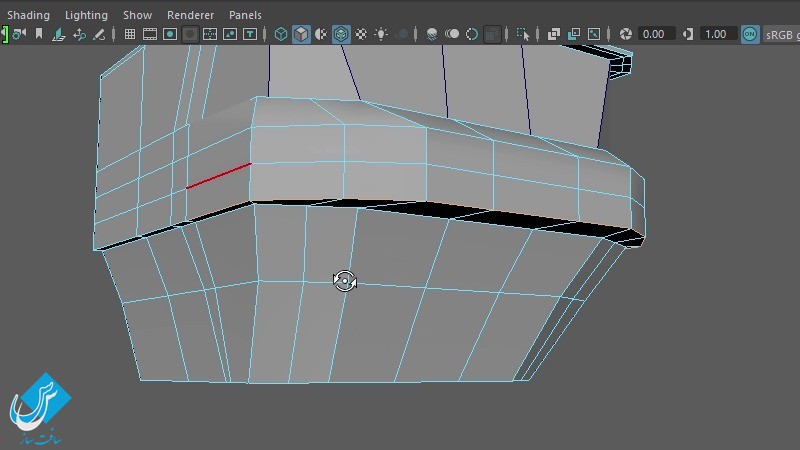
Adding Edges to the Body for Smoothing 8m 23s
Using Creasing Around the Windscreen 5m 56s
Building the Arm Front 9m 16s
Finishing the Arm Front 8m 0s
Building the Arm Connector 9m 11s
Adding the Arm Back 8m 53s
Finishing and Preparing Models 1h 33m
Modeling the Lower Connector 7m 4s
Building the Lower Arm 9m 15s
Smoothing the Lower Arm 5m 52s
Adding Detail to the Lower Arm 9m 53s
Finishing the Lower Arm 10m 29s
Building the Claw 7m 28s
Finishing the Claw 6m 22s
Building the Claw Base 8m 49s
Adding the Claw Arm 9m 10s
Adding a Reference Texture 5m 56s
Hierarchy and Model Preparation 13m 25s
Materials and Textures 2h 10m
Applying and Manipulating Simple Materials 12m 45s
Working with Shading Networks 15m 22s
Using File Textures with Materials 12m 1s
Creating UVs Using Planar Projections 13m 33s
Creating UVs Using Cylindrical Projections 12m 35s
Modifying UV Projections 14m 22s
Applying Multiple Materials to an Object 6m 36s
Understanding and Using 2D and 3D Procedural Textures 7m 32s
Understanding Color Space and Linear Workflow 17m 41s
Using Bump Maps 7m 45s
Using Layered Textures 10m 7s
Rigging for Animation 54m 1s
Adding Control Curves 8m 37s
Fixing Swimming Textures 3m 58s
Adding Custom Attributes 6m 54s
Creating Joints 3m 43s
Adding Spline IK 5m 36s
Connecting the Arm Control 5m 26s
Using Set Driven Keys 8m 25s
Setting Up the Claw Spin and Close 6m 24s
Parenting for Movement 4m 53s
Animating with Maya 55m 1s
Assembling the Scene 4m 9s
Setting Animation Preferences 3m 13s
Starting Basic Animation 6m 3s
Smoothing Animation with the Graph Editor 8m 9s
Finishing the Flight Animation 8m 21s
Animating the Claw Arm 9m 6s
Finishing the Claw Arm Animation 5m 27s
Setting Up the Sphere Pick Up 5m 23s
Finalizing the Animation 5m 6s
Dynamic Simulations with Maya 31m 55s
Adding a 3D Fluid Container 5m 43s
Changing the Look of the Dust 3m 52s
Placing and Adjusting the Emitter 8m 34s
Adding the Second Dust Emitter 9m 38s
Finalizing the Dust Look and Speed 4m 6s
Lighting and Rendering 2h 0m
Understanding Various Light Types 10m 29s
Controlling Light Color and Intensity 12m 41s
Adjusting Light Decay and Specular Contribution 11m 15s
Altering the Render Stats of Maya Objects 8m 43s
Creating Lights to Match the Environment 10m 19s
Adding a Physical Sky and Skydome Light 11m 24s
Fine Tuning Materials for Rendering 10m 50s
Color Managing Arnold Textures 8m 47s
Preparing Dust Simulations for Rendering 6m 41s
Configuring Sampling and Render Quality 16m 6s
Configuring Output Settings and Rendering the Final Sequence 13m 6s
دانلود با لینک مستقیم و سرعت بالا :

برای دسترسی به کل محتویات سایت عضو ویژه سایت شوید
برای نمایش این مطلب و دسترسی به هزاران مطالب آموزشی نسبت به تهیه اکانت ویژه از لینک زیر اقدام کنید .
دریافت اشتراک ویژه
مزیت های عضویت ویژه :
- دسترسی به همه مطالب سافت ساز
- آپدیت روزانه مطالب سایت از بهترین سایت های سی جی
- ورود نامحدود کاربران از هر دیوایسی
- دسترسی به آموزش نصب کامل پلاگین ها و نرم افزار ها
اگر در تهیه اشتراک ویژه مشکل دارید میتونید از این لینک راهنمایی تهیه اشتراک ویژه رو مطالعه کنید . لینک راهنما
For International user, You can also stay connected with online support. email : info@softsaaz.ir telegram : @SoftSaaz
امتیاز دهی به این مطلب :
امتیاز سافت ساز
لطفا به این مطلب امتیاز دهید ☺️

