آموزش حاشیه نویسی در اتوکد AutoCAD
Introduction to Drafting and Annotation in AutoCAD 2016
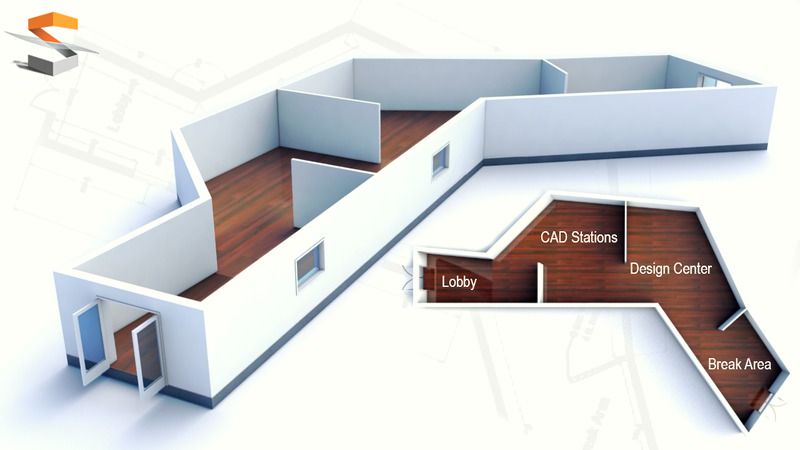
آموزش حاشیه نویسی در اتوکد
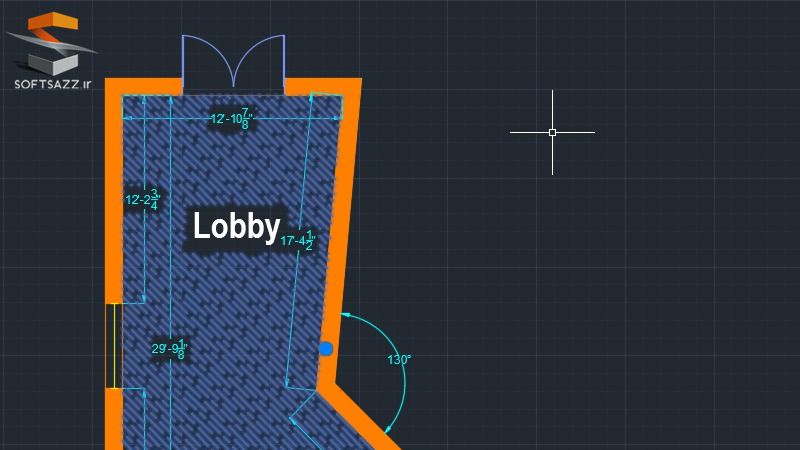
در این فیلم آموزش حاشیه نویسی در اتوکد ، مربی دوره Pierre Derenoncourt ، نحوه پیش نویس کردن و حاشیه نویسی در اتوکد را می آموزد. نحوه ترسیم و اصلاح و سازمان دهی کردن هندسه و آبجکت ها در لایه های رنگی ،رسم خطوط برای ایجاد پلن ساختمان ، ترسیم حاشیه نویسی با متن ، ابعاد و multileaders را یاد خواهید گرفت. با سافت ساز همراه باشید.
عناوین اصلی این دوره آموزشی:
- آشنایی با Start Tab
- احساس راحتی با رابط کاربری
- شناخت کنترل و نظرات
- تنظیمات واحد و دقت طراحی تون
- رسم خطوط برای ایجاد پلن ساختمان
- استفاده از Polylines برای ایجاد دیواره های داخلی
- استفاده از Modification Tools ایجاد دهانه
- استفاده از Rectangles و Arcs برای ایجاد درب
- ایجاد بلوک و اشیاء با قابلیت استفاده مجدد
- کار با خواص لایه
- اضافه کردن سبک های سفارشی Multileader
- استفاده از لایوت برای ارائه سند طراحی
- و…..
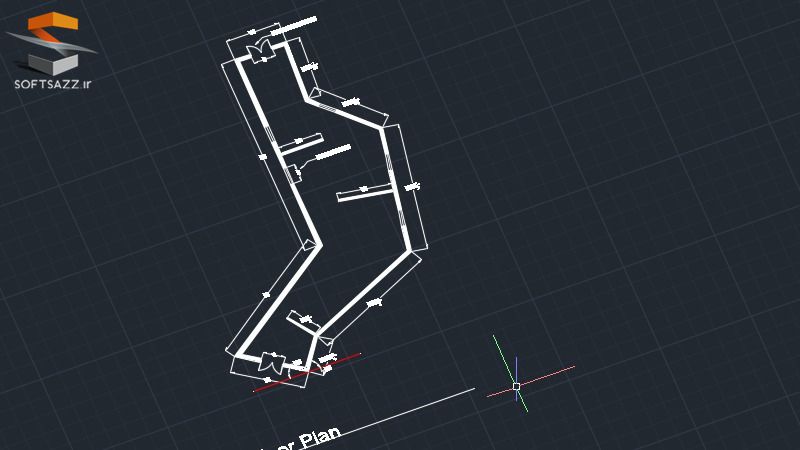
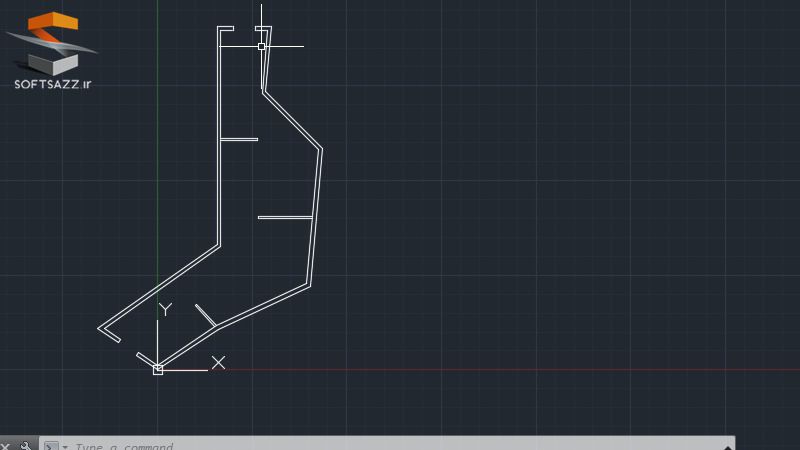
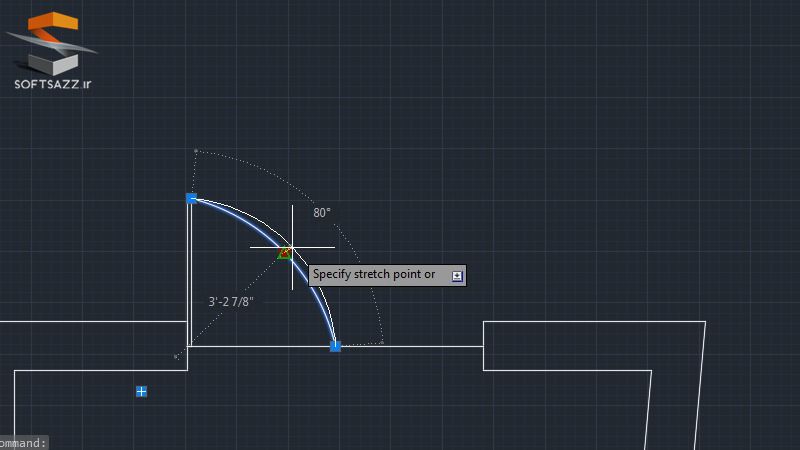
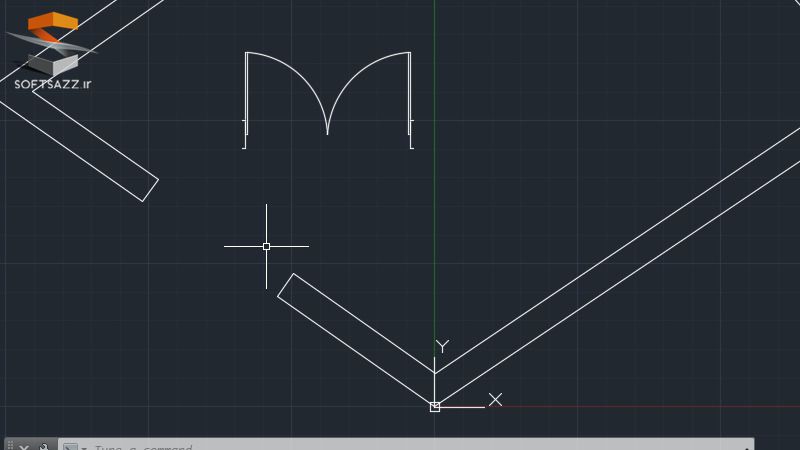
تصاویری از آموزش حاشیه نویسی در اتوکد :
لطفا قبل از دانلود پیش نمایش دوره را مشاهده فرمایید:
عنوان دوره : Digital Tutors – Introduction to Drafting and Annotation in AutoCAD 2016
سطح : مبتدی
زمان کل دوره : 2.13 ساعت
تعداد فایل های تصویری : 18
سال آموزش : 2015
فایل تمرینی : دارد
مربی دوره : Pierre Derenoncourt
نرم افزار : AutoCAD 2016
زیرنویس : ندارد
Digital Tutors – Introduction to Drafting and Annotation in AutoCAD 2016
In this set of tutorials, you’ll learn how to get up to speed in AutoCAD 2016. A hands on approach to learning new software is a great way to get comfortable with your set of tools. With that in mind, you and I will embark on a small project together. Along the way we’ll learn how to navigate AutoCAD 2016’s User Interface and get a better understanding of the location and also types of tools available to us within this software package. From there we’ll learn how draw, modify, and even organize all our geometry and objects into color coded layers, each with a unique set of properties that we’ll learn to edit. After working with geometry, we’ll learn how to annotate our drawing using things like text, dimensions, and multileaders. Finally, once our basic floor plan is complete, we’ll learn how to present and document our design by working with layouts and viewports. By the end of this course, you’ll be able to draw and modify geometry, organize your work into layers, annotate your drawings, and even present your work using layouts and title block templates. So with that, I’m ready to get started, and I’ll meet you in the next lesson! Software required: AutoCAD 2016.
Introduction and Project Overview 1:13
Introduction to Drafting and Annotation in AutoCAD2:12:15
Understanding the Start Tab 5:45
Getting Comfortable with the User Interface 12:39
Understanding Your Controls and Views 10:14
Setting up Your Drawing Units and Precision 7:15
Drawing Lines to Create the Building Footprint 10:52
Using Polylines to Create the Interior Walls 7:47
Using Modification Tools to Create Openings 7:43
Using Rectangles and Arcs to Create Doors 7:02
Creating Blocks and Reusable Objects 10:39
Working with Layer Properties 9:32
Adding Custom Dimension Styles to Your Drawings. 6:42
Adding Custom Text Styles to Your Drawings 6:33
Adding Custom Multileader Styles to Your Drawings 6:31
Applying and Editing Hatch Patterns to Your Drawings 9:19
Using Layouts to Present and Document Your Drawings 13:35
حجم کل :

برای دسترسی به کل محتویات سایت عضو ویژه سایت شوید
برای نمایش این مطلب و دسترسی به هزاران مطالب آموزشی نسبت به تهیه اکانت ویژه از لینک زیر اقدام کنید .
دریافت اشتراک ویژه
مزیت های عضویت ویژه :
- دسترسی به همه مطالب سافت ساز
- آپدیت روزانه مطالب سایت از بهترین سایت های سی جی
- ورود نامحدود کاربران از هر دیوایسی
- دسترسی به آموزش نصب کامل پلاگین ها و نرم افزار ها
اگر در تهیه اشتراک ویژه مشکل دارید میتونید از این لینک راهنمایی تهیه اشتراک ویژه رو مطالعه کنید . لینک راهنما
For International user, You can also stay connected with online support. email : info@softsaaz.ir telegram : @SoftSaaz
امتیاز به این مطلب :
امتیاز سافت ساز
لطفا به این مطلب امتیاز دهید :)


