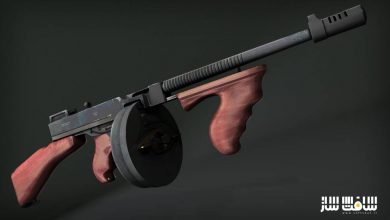
آموزش ایجاد اسلحه واقعی با ZBrush و Quixel SUITE
Creating Photorealistic Weapons with ZBrush and Quixel SUITE
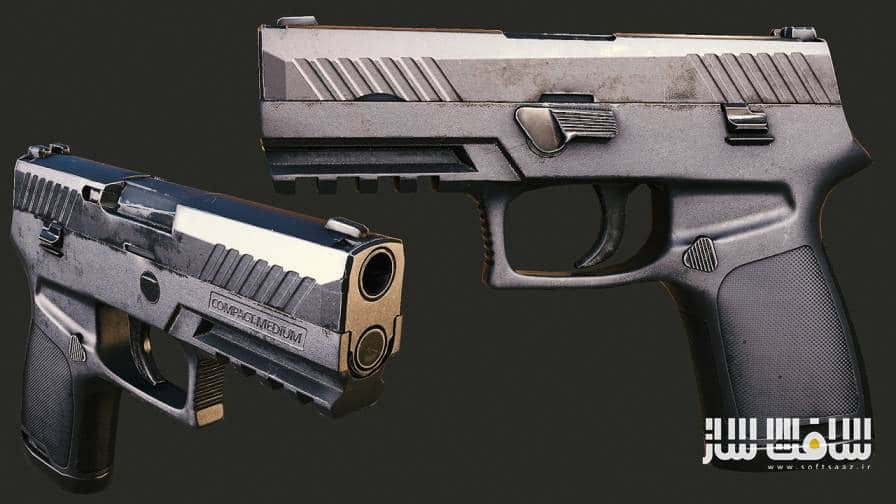
آموزش ایجاد اسلحه واقعی
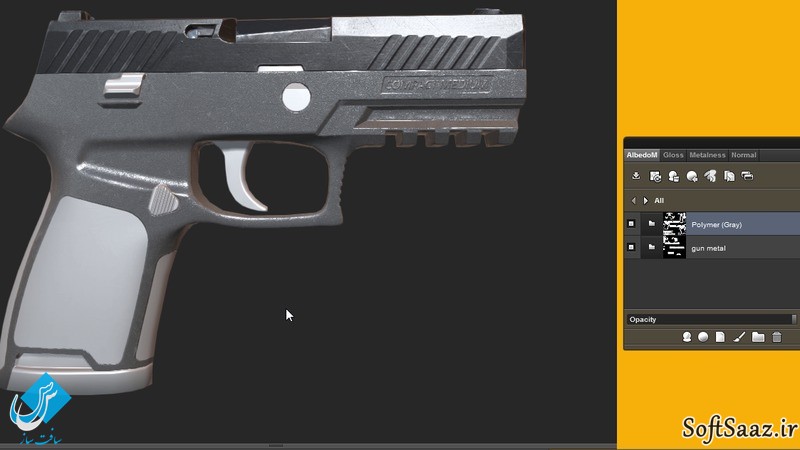
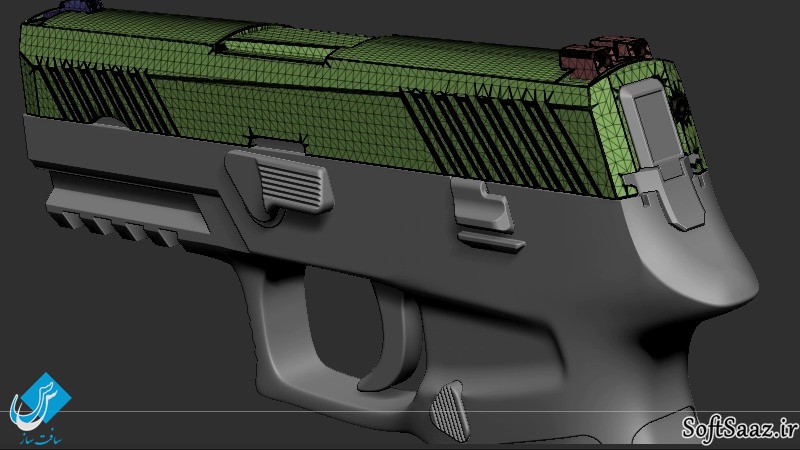
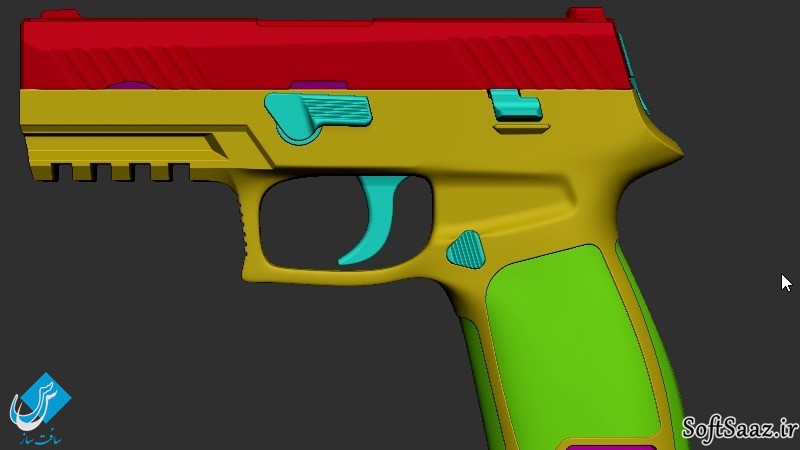
در این آموزش ” آموزش ایجاد اسلحه واقعی در زیبراش و کویکسل سویت ” از شرکت Pluralsight مربی Isaac Oster ، چگونگی طراحی وتکسچرینگ واقعی یک اسلحه را در نرم افزار های زیبراش و کویکسل سویت و چند برنامه دیگر به شما مراجعین سافت ساز می آموزد.
کار مدلسازی را با یک مدل high poly شروع می کند. ایشان با استفاده از آخرین ابزارهای استاندارد و آموزش نکات و ترفندها و استراتژی برای یافتن بهترین نتیجه شما رو یاری خواهد کرد. UV ، بیک ، تکسچرینگ و انتشار مدل نهایی از جمله مواردی است که در این دوره آموزشی که در سافت ساز ارائه شده است ، خواهید آموخت..با سافت ساز همراه باشید .
عناوین اصلی دوره آموزش ایجاد سیکل راه رفتن :
- تنظیمات صحنه و پاکسازی هندسه
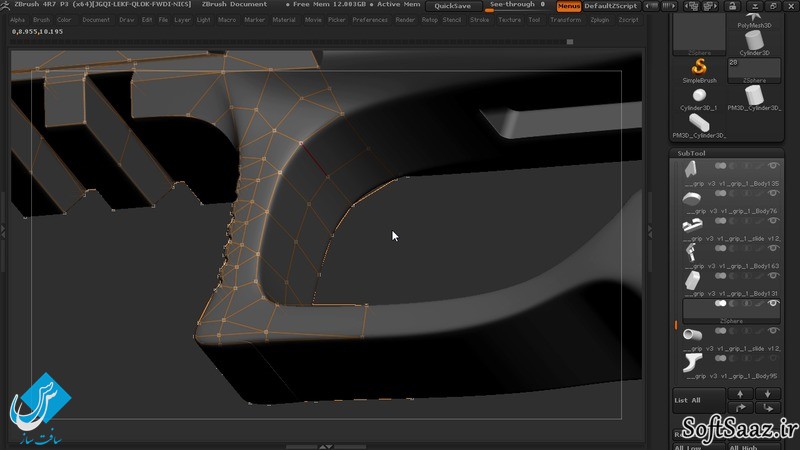
- مروری بر Retopology
- Retopology (ماشه ، ریل ، جلوی تفنگ ، دسته ، قاب و … )
- اکسپورت Low Poly به 3ds Max
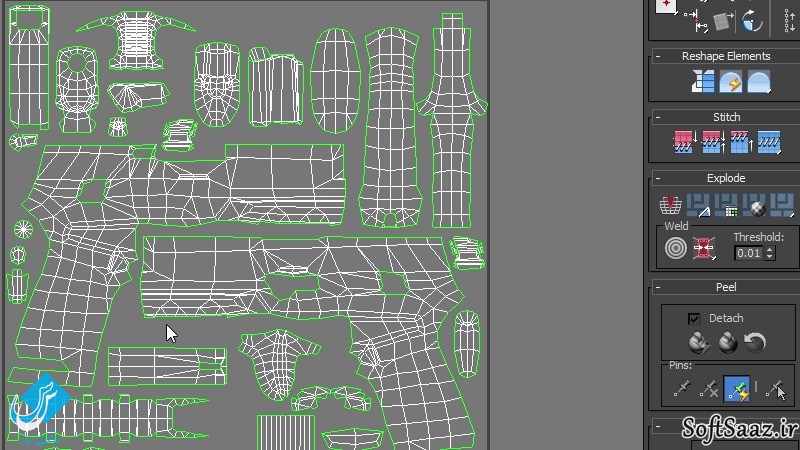
- Laying out UV برای تفنگ ، ماشه ، دید و …
- بررسی UV Layout
- اضافه کردن Vertex Colo به Geo در زیبراش
- بیک نقشه نرمال با xNormal
- بیک نقشه Procedural
- استفاده از NDO و 3DO
- تنظیمات DDO و Dynamask
- Material ID Masking و اسمارت متریال
- استفاده از Mask Painting برای اضافه کردن روغن
- اضافه کردن گرد و خاک و اثر انگشت
- افزودن متریال قرمز و اکسپورت به Marmoset Toolbag
- تنظیم متریال و نورپردازی در Marmoset Toolbag
- و …
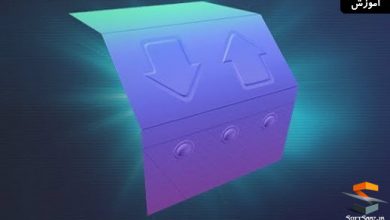
تصاویری از دوره آموزش ایجاد اسلحه واقعی :
پیشنمایش دوره آموزش ایجاد اسلحه واقعی :
عنوان دوره : Pluralsight – Creating Photorealistic Weapons with ZBrush and Quixel SUITE
سطح : متوسط
زمان کل دوره : 5.18 ساعت
تعداد فایل های تصویری : 37
سال آموزش : 2016
فایل تمرینی : دارد
مربی دوره : Isaac Oster
نرم افزار : ZBrush 4R7, 3ds Max 2015, Maya 2015, Photoshop CC 2014, xNormal, Marmoset Toolbag 2, Quixel SUITE 2
زیرنویس : ندارد
Pluralsight – Creating Photorealistic Weapons with ZBrush and Quixel SUITE
Create a photorealistic weapon and brush up on your modeling, sculpting, and texturing skills in ZBrush and Quixel SUITE at the same time. Throughout this course, Creating Photorealistic Weapons with ZBrush and Quixel SUITE, you’ll see the breakdown of the process behind creating photorealistic weapons. You’ll start with an existing high-poly model. On this pipeline, you’ll cover topics such as retopology, UVs, bakes, texturing, and at the end of the course, you’ll publish the final model. You will use the latest industry-standard tools and learn tips and strategies for getting the very best results. By the time you’re finished, you’ll have all the skills you need to begin building your own great-looking, real-time models. Software required: ZBrush 4R7, 3ds Max 2015, Maya 2015, Photoshop CC 2014, xNormal, Marmoset Toolbag 2, Quixel SUITE 2.
1 Introduction and project overview 01:00
2 Scene Setup and Geometry Cleanup 09:19
3 Retopology Review 08:32
4 Retopologizing the Barrel 09:11
5 Retopologizing the Rail 09:09
6 Retopologizing the Front of the Gun 08:55
7 Retopologizing the Trigger Guard 09:07
8 Retopologizing the Trigger Guard and Magazine Release 09:32
9 Retopologizing the Handle 09:09
10 Retopologizing the Frame 09:17
11 Retopologizing the Frame and Hammer 09:30
12 Finalizing the Retopology of the Frame and Hammer 09:51
13 Retopologizing the Rear Sight and Slide Release 09:18
14 Retopologizing the Central Barrel Area 09:39
15 Retopologizing the Mid Section of the Gun 09:25
16 Retopologizing the Trigger 09:22
17 Exporting the Low Poly to 3ds Max 08:54
18 Laying out UVs for the Barrel 09:39
19 Laying out UVs for the Trigger Guard and Back of Gun 09:00
20 Laying out UVs for the Sight 09:29
21 Laying out UVs for the Rear Sight 09:26
22 Laying out UVs for the Gun Sides 09:47
23 Laying out UVs for the Trigger 09:31
24 Reviewing UV Layout 07:13
25 Organizing the ZBrush Geometry by Material 06:41
26 Adding Vertex Color to the Dynameshed High Poly Geo in ZBrush 03:02
27 Baking a Tangent Space Normal Map with xNormal 08:40
28 Refining the Low Poly Model 04:34
29 Finishing Low Poly Revisions and Baking Remaining Procedural Maps 07:53
30 Using NDO and 3DO 09:48
31 DDO Set Up, Material Introduction, and Dynamask 09:22
32 Adding Procedural Dynamask Options, Material ID Masking, and Smart Materials 09:50
33 Reloading the Project and Adding Clean Layers 09:05
34 Using Mask Painting to Add Oil 09:46
35 Adding Dirt and Finger Prints 10:00
36 Adding Red Material and Exporting to Marmoset Toolbag 08:44
37 Tuning the Materials and Addition Lighting Setup in Marmoset Toolbag 08:05
دانلود با لینک مستقیم و سرعت بالا :

برای دسترسی به کل محتویات سایت عضو ویژه سایت شوید
برای نمایش این مطلب و دسترسی به هزاران مطالب آموزشی نسبت به تهیه اکانت ویژه از لینک زیر اقدام کنید .
دریافت اشتراک ویژه
مزیت های عضویت ویژه :
- دسترسی به همه مطالب سافت ساز
- آپدیت روزانه مطالب سایت از بهترین سایت های سی جی
- ورود نامحدود کاربران از هر دیوایسی
- دسترسی به آموزش نصب کامل پلاگین ها و نرم افزار ها
اگر در تهیه اشتراک ویژه مشکل دارید میتونید از این لینک راهنمایی تهیه اشتراک ویژه رو مطالعه کنید . لینک راهنما
For International user, You can also stay connected with online support. email : info@softsaaz.ir telegram : @SoftSaaz
امتیاز دهی به این مطلب :
امتیاز سافت ساز
لطفا به این مطلب امتیاز دهید ☺️

