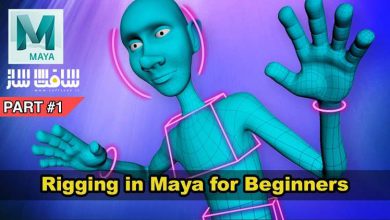
آموزش ریگ کاراکتر در مکس 3ds Max
Advanced Character Rigging in 3ds Max
آموزش ریگ کاراکتر در مکس
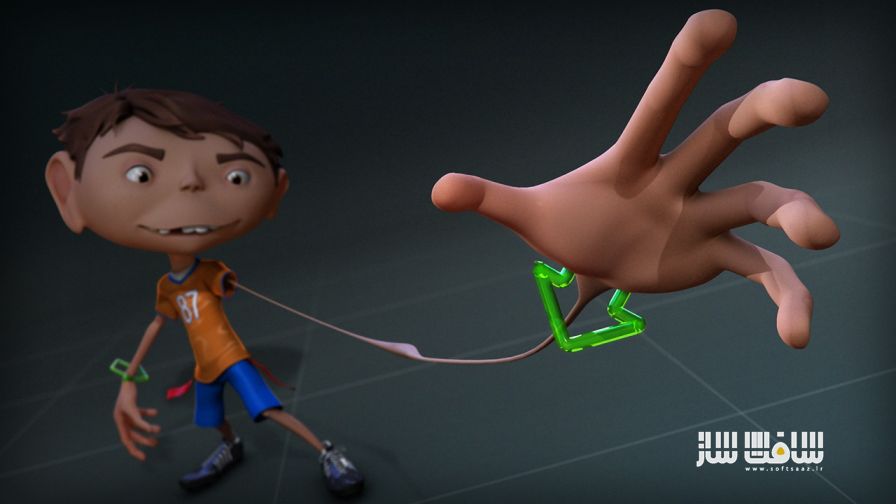
در این آموزش ” آموزش ریگ کاراکتر در مکس ” از شرکت Digital Tutors مربی دوره Delano Athias ، چندین روش و متد و ابزار را برای ایجاد ریگ پیچیده را یاد خواهید گرفت. ایجاد یک ریگ مدولار ، برای ایجاد انعطاف پذیری و سرعت و نحوه ایجاد سیستم IK FK و … را می آموزد . با سافت ساز همراه باشید .
عناوین اصلی این دوره آموزشی :
- شروع به کار از Flexi-Line
- اضافه کردن کشش به Flexi-Line
- ریگ بالا تنه
- ایجاد کنترل برای بالا تنه
- اضافه کردن کنترل Global
- ریگ سر کاراکتر
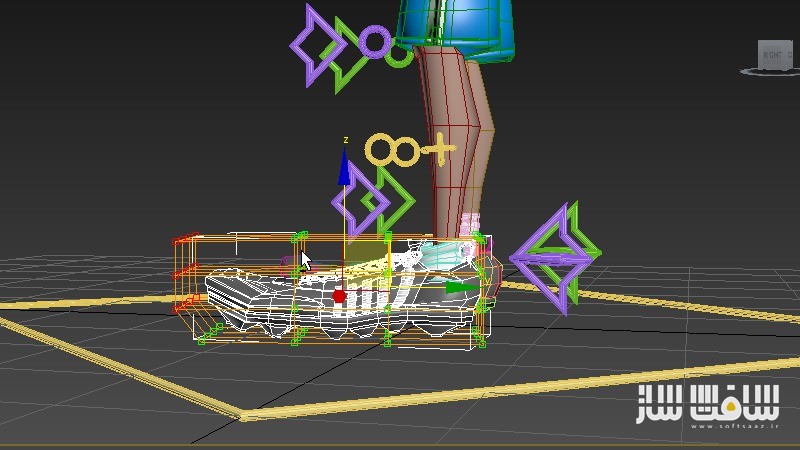
- ساخت استخوان پا
- اضافه کردن استخوان مچ پا
- ریگ پاها IK
- ایجاد کنترل پا FK
- ساخت استخوان پا
- ایجاد استخوان انگشت
- اضافه کردن ریگ به شانه ها
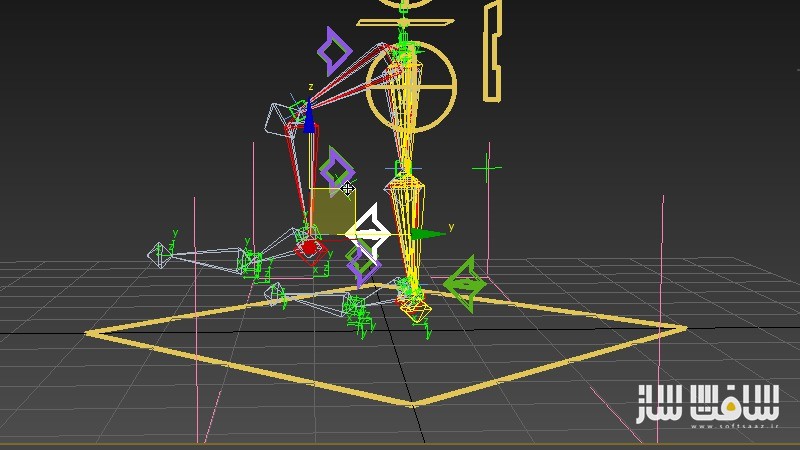
- سیستم IK / FK برای دست و بازو
- پوست کاراکتر
- و …
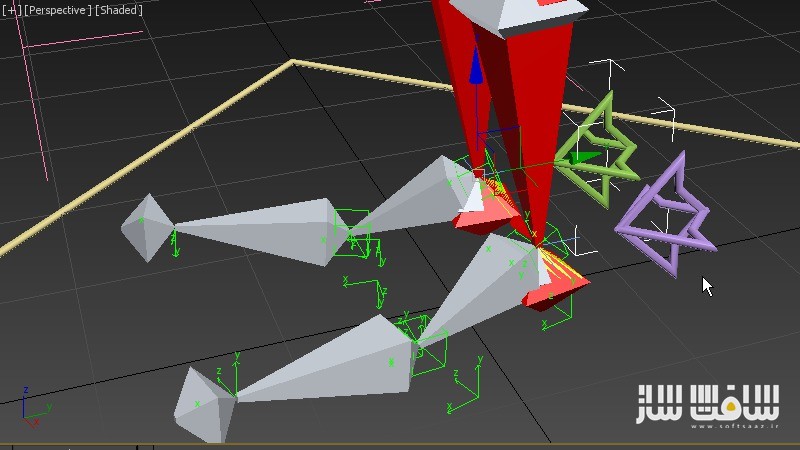
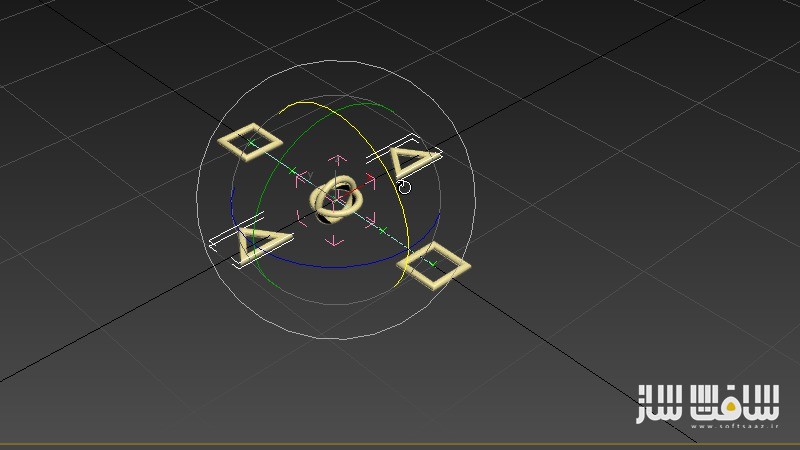
تصاویری از دوره آموزش ریگ کاراکتر در مکس :
پیشنمایش دوره آموزش ریگ کاراکتر در مکس :
عنوان دوره : Digital Tutors – Advanced Character Rigging in 3ds Max
سطح : پیشرفته
زمان کل دوره : 10 ساعت
تعداد فایل های تصویری : 79
سال آموزش : 2013
فایل تمرینی : دارد
مربی دوره : Delano Athias
نرم افزار : Autodesk 3ds Max 2013
زیرنویس : ندارد
Digital Tutors – Advanced Character Rigging in 3ds Max
In this 3ds Max tutorial, we will learn several methods and tools for creating complex rigs that are capable of producing very stylized deformations! We’ll start by creating a modular rig we can insert into our control rigs for flexibility and speed. We’ll learn how to create IK FK systems, and learn how to enhance those systems to produce more exaggerated results. We’ll also create robust counter-twist systems that do a great job at holding volume. We’ve got a ton of great content in store for you that will increase your knowledge of rigging so that you can create robust and flexible rigs. Software required: Autodesk 3ds Max 2013.
Introduction and project overview
Customizing 3ds Max and a look at the Flexi-Line
Starting on the Flexi-Line
Completing the controls for the Flexi-Line
Setting up advanced twisting control for the Flexi-Line
Finalizing the Flexi-Line twist rig
Adding squash and stretch to the Flexi-Line
Completing the Flexi-Line’s squash and stretch system
Cleaning up the Flexi-Line and creating its envelope objects
Wrapping up our work on the Flexi-Line
Rigging the torso
Creating controls for the torso
The center-of-gravity control
Adding a global control
Connecting a Flexi-Line to the torso
Improving the back control selection
Progress check: The torso
Starting on the head rig
Dynamically parenting the head to the chest
Connecting a Flexi-Line to the neck
Finishing the neck Flexi system
Progress check: The neck / locking control objects
Creating the leg bones
Adding ankle bones
Building a counter-twist solution for the legs
Bones systems for IK / FK legs
Switching between IK and FK
Rigging the IK legs
Animation controls for the IK legs
Connecting our IK foot rig to the control object
Setting up auxiliary controls to the drive the IK foot rig
Banking control for the feet
Progress check: The IK legs
Creating FK leg controls
Connecting the FK leg controls to the FK systems
Finishing our work on the FK legs
Controlling the visibility of our IK and FK controls
Stretchy IK limbs
Creating a switch to turn the stretchy systems for the IK legs on and off
Connecting the stretchy systems to the primary legs
Progress check: the stretchy legs
Attaching a Flexi-Line to the left thigh
Setting up the twist behavior for the Flexi-Line connected to the left thigh
Wrapping up our work on the left thigh Flexi-Line
Connecting a Flexi-Line to the left shin
Setting up the twist behavior for the Flexi system connected to the left shin
Completing the left shin Flexi rig
A knee stretch control
Progress check: The final leg rig
Creating the arm bones
Creating finger bones
Mirroring the left arm
Adding our counter-twist rig to the left shoulder
A look at the right shoulder counter-twist rig
IK / FK systems for the arms
IK controls for the arms
Creating FK arm controls
Connecting the FK arm controls to the FK systems
Locking the wrists to the IK and FK systems
Updating the counter-twist rig tied to the left shoulder
Updating the right arm counter-twist rig
Stretchy FK arms
Rigging the IK arms to stretchy
Tying the stretchy systems into the primary arms
Controlling the clavicles
Progress check: the arms
Connecting a Flexi-Line to the left shoulder
Setting up the twist behavior for the left shoulder Flexi rig
Finishing the twist control for the left shoulder Flexi-Line
Completing the left shoulder’s Flexi rig
Attaching a Flexi system to the left forearm
Setting up the twist behavior for the left forearm’s Flexi rig
Finishing the left forearm’s Flexi-Line
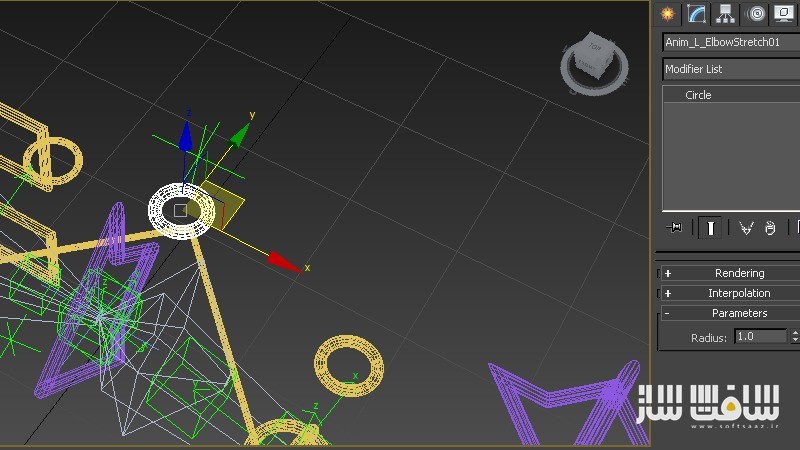
The elbow stretch control
Progress check: the final arm rig
Adding finger controls
Wrapping up our finger controls
Creating a squash and stretch head rig
Skinning the character to its control rig
حجم کل :

برای دسترسی به کل محتویات سایت عضو ویژه سایت شوید
برای نمایش این مطلب و دسترسی به هزاران مطالب آموزشی نسبت به تهیه اکانت ویژه از لینک زیر اقدام کنید .
دریافت اشتراک ویژه
مزیت های عضویت ویژه :
- دسترسی به همه مطالب سافت ساز
- آپدیت روزانه مطالب سایت از بهترین سایت های سی جی
- ورود نامحدود کاربران از هر دیوایسی
- دسترسی به آموزش نصب کامل پلاگین ها و نرم افزار ها
اگر در تهیه اشتراک ویژه مشکل دارید میتونید از این لینک راهنمایی تهیه اشتراک ویژه رو مطالعه کنید . لینک راهنما
For International user, You can also stay connected with online support. email : info@softsaaz.ir telegram : @SoftSaaz
امتیاز دهی به این مطلب :
امتیاز سافت ساز
لطفا به این مطلب امتیاز دهید


