آموزش طراحی یک انگل پوستی عفونی در CINEMA 4D و After Effects
Creating an Infectious Skin Parasite in CINEMA 4D and After Effects
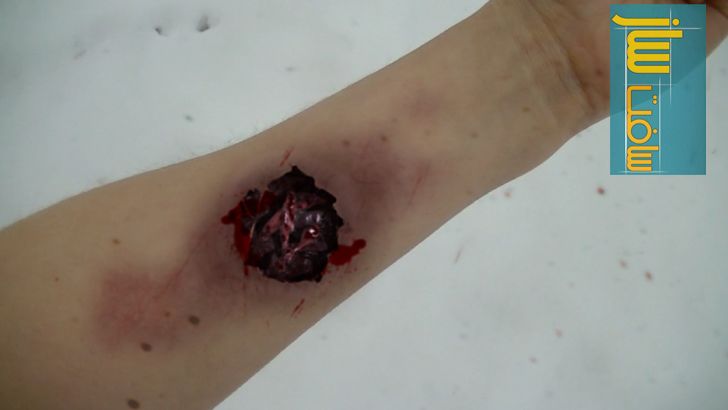
طراحی یک انگل پوستی عفونی
در این آموزش از سایت pluralsight با نحوه ایجاد عفونتهای نفرت انگیز پوست در برنامه های سینمافوردی و افتر افکت آشنا خواهید شد ، با استفده از ماژول cloth در سینمافوردی شروع به ایجاد افکت پاره شدن پوست می کنیم سپس شاخک های متحرک به حس حرکتی داخل زخم ایجاد می کنیم ، و با استفاده از متریال و نورپردازی کاریش می کنیم که عفونت پوست خیلی واقعی به نظر برسد با سافت ساز همراه باشید.
عناوین اصلی این دوره آموزشی:
- مدلسازی و متحرک سازی شاخک ها
- ساخت تکسچر برای مدل
- نورپردازی و تنظیمات رندر
- تنظیمات فوتیج در افترافکت
- اضافه کردن زخم
- اضاقه کردن لایه های فتوشاپ
- بلندینگ
- تصحیح رنگ
- و …
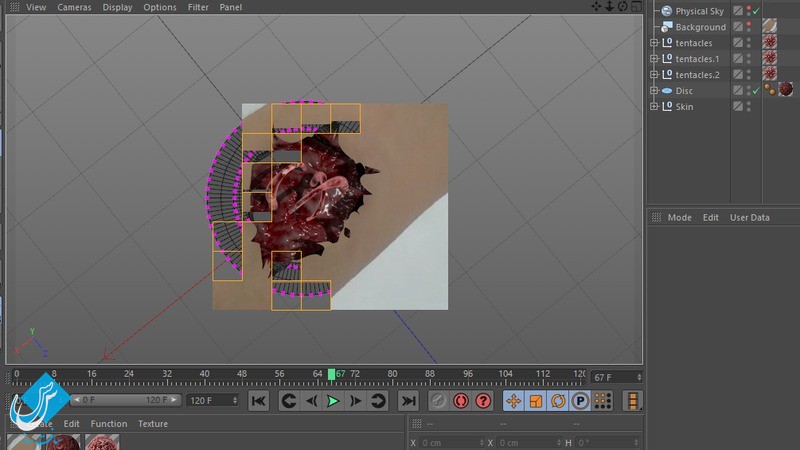
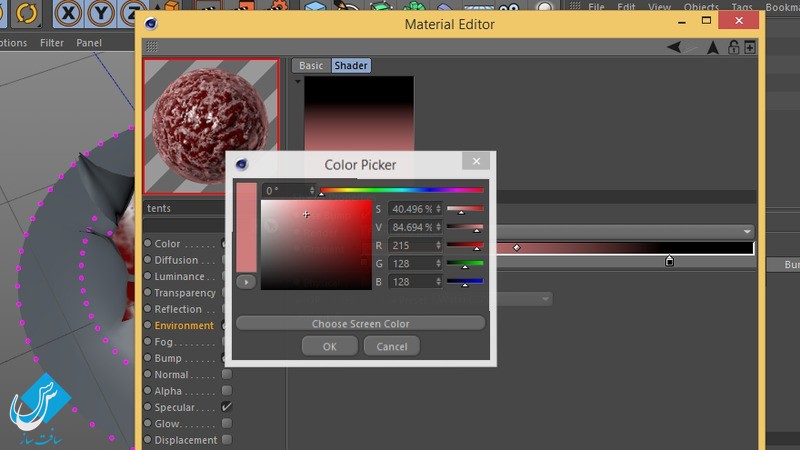
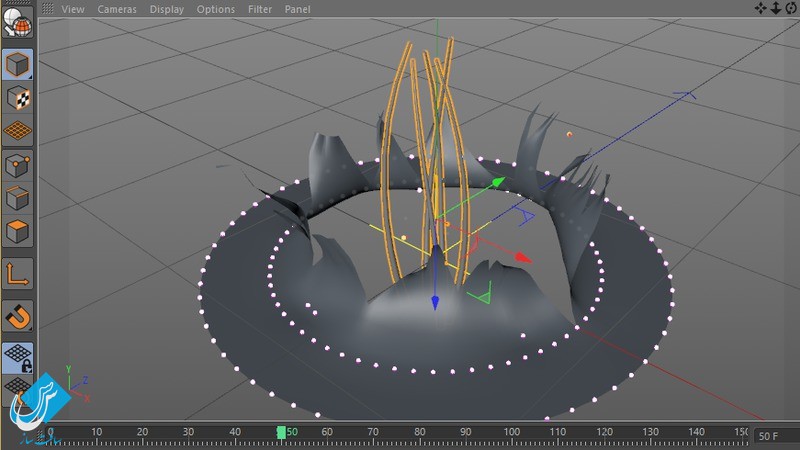
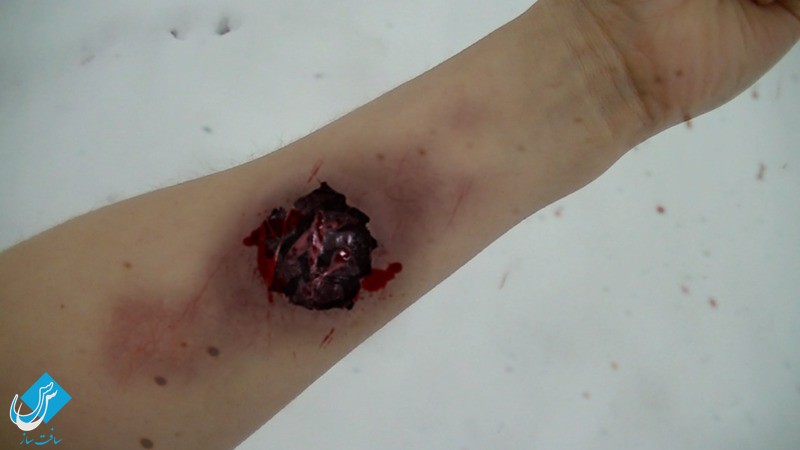
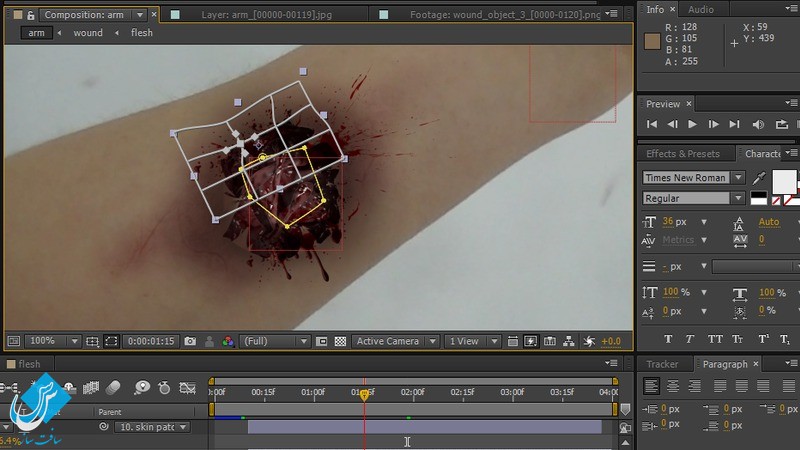
تصاویری از آموزش را مشاهده فرمایید:
لطفا قبل از دانلود پیش نمایش دوره را مشاهده فرمایید:
عنوان دوره : Digital Tutors – Creating an Infectious Skin Parasite in CINEMA 4D and After Effects
سطح : پیشرفته
زمان کل دوره : 1 ساعت و 57 دقیقه
تعداد فایل های تصویری : 13
سال آموزش : 2014
فایل تمرینی : دارد
مربی دوره : Andy Lefton
نرم افزار : INEMA 4D 15, After Effects, Photoshop CC
زیرنویس : ندارد
Digital Tutors – Creating an Infectious Skin Parasite in CINEMA 4D and After Effects
In this tutorial we will learn how to create a gruesome, yet convincing skin infection. We’ll focus on the areas that will help sell our shot and bring realism to our motion tracked footage. We’ll begin by looking at the tone of our project and create an effect of skin tearing using CINEMA 4D’s cloth module. Then, we will create animated tentacles to give the sense of movement within our wound. Finally, we will hone in on our materials and lighting to make our infection seem life like, then bring it all together in After Effects. By the end of this tutorial, will we have an ‘outside of the box’ understanding of CINEMA 4D’s cloth and a working knowledge of integrating a CG element into a motion tracked plate.
Introduction and project overview
Setting up our 3D scene
Modeling and animating tentacles
Integrating tentacles into the wound
Building textures for our 3D model
Lighting and set up of our 3D scene
Lighting and setting up render passes
Setting up our footage in After Effects
Adding the wound to our footage
Integrating blood and animated tissue
Continuing to add our Photoshop layers
Adding effects and distortion to the CG plate
Blending, color correcting, and final output
حجم کل :

برای دسترسی به کل محتویات سایت عضو ویژه سایت شوید
برای نمایش این مطلب و دسترسی به هزاران مطالب آموزشی نسبت به تهیه اکانت ویژه از لینک زیر اقدام کنید .
دریافت اشتراک ویژه
مزیت های عضویت ویژه :
- دسترسی به همه مطالب سافت ساز
- آپدیت روزانه مطالب سایت از بهترین سایت های سی جی
- ورود نامحدود کاربران از هر دیوایسی
- دسترسی به آموزش نصب کامل پلاگین ها و نرم افزار ها
اگر در تهیه اشتراک ویژه مشکل دارید میتونید از این لینک راهنمایی تهیه اشتراک ویژه رو مطالعه کنید . لینک راهنما
For International user, You can also stay connected with online support. email : info@softsaaz.ir telegram : @SoftSaaz
امتیاز
جمع امتیاز
لطفا به این مدل سه بعدی امتیاز بدهید

