آموزش لایه های شکلی در افترافکت After Effects
Working with Shape Layers in After Effects
لایه های شکلی در افترافکت
در این دوره به لایه های شکلی در افترافکت می پردازیم. دوستانی که با افترافکت کار می کنند می دانند که روش های مختلفی برای ایجاد و استفاده از اشکال در After Effects وجود دارد . در این فیلم آموزش از سایت مجبوب Digital-Tutors ،مربی دوره، اصول اولیه استفاده از ابزار شکل برای ایجاد لایه های شکلی و تفاوت بین parametric و Bezier paths را به شما مراجعین سافت ساز می آموزد. با سافت ساز همراه باشید.
عناوین اصلی این دوره آموزشی:
- اصول لایه اشکال
- گفتن یک داستان با اشکال
- ایجاد یک ماشین با لایه اشکال
- ایجاد افکت ذرات با اشکال
- تبدیل لایه های وکتور به لایه های اشکال
- و ….
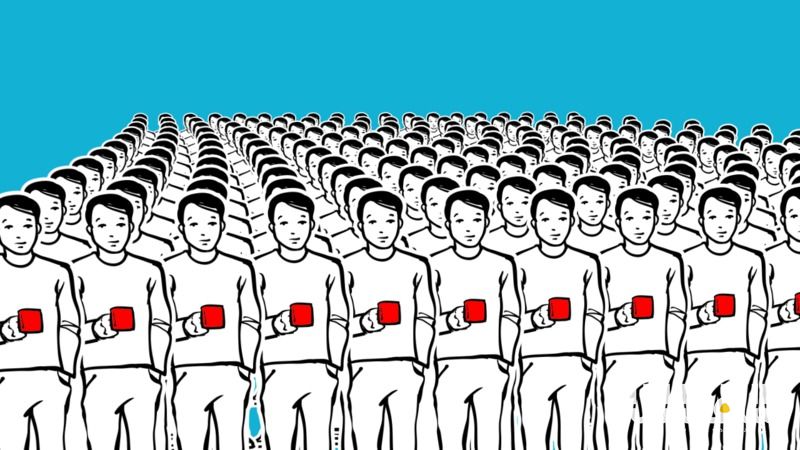
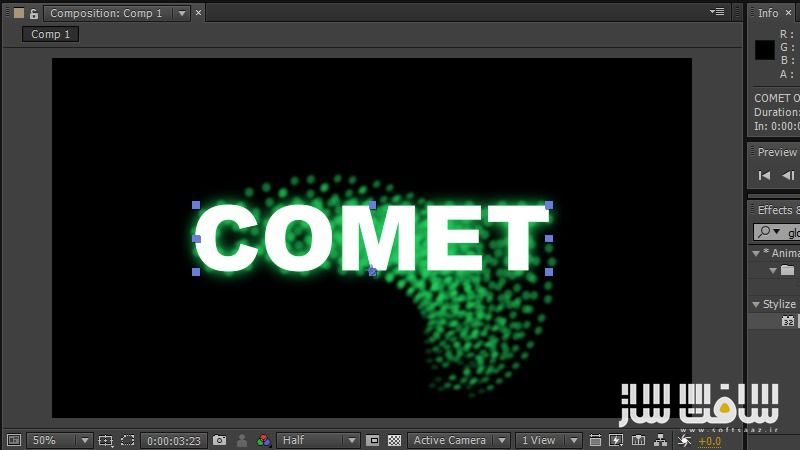
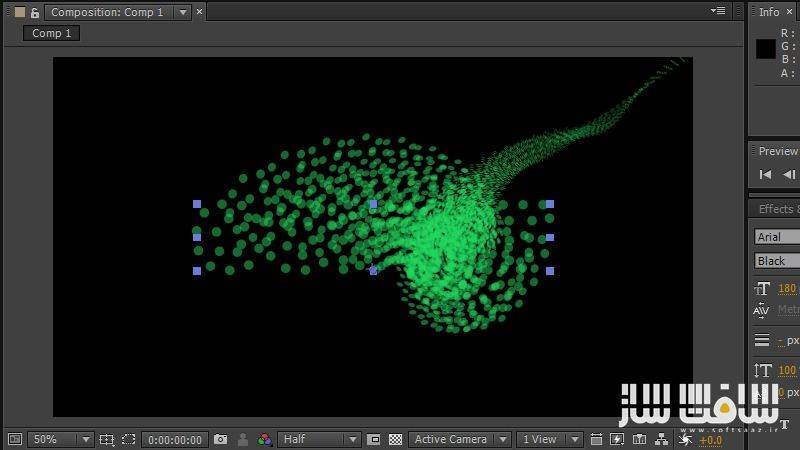
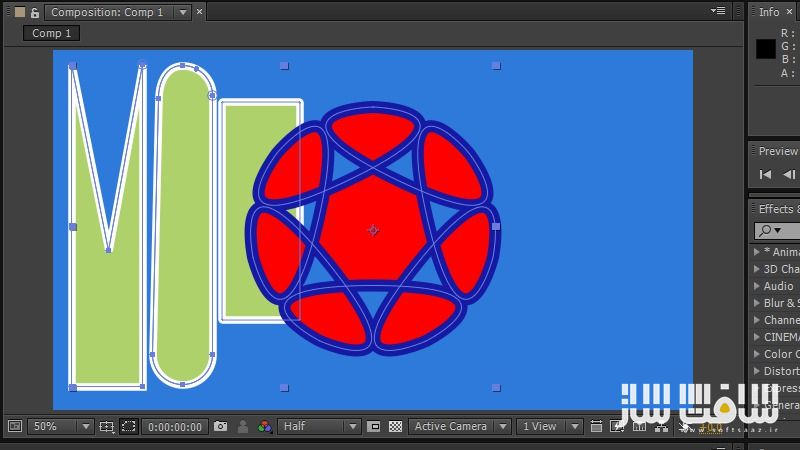
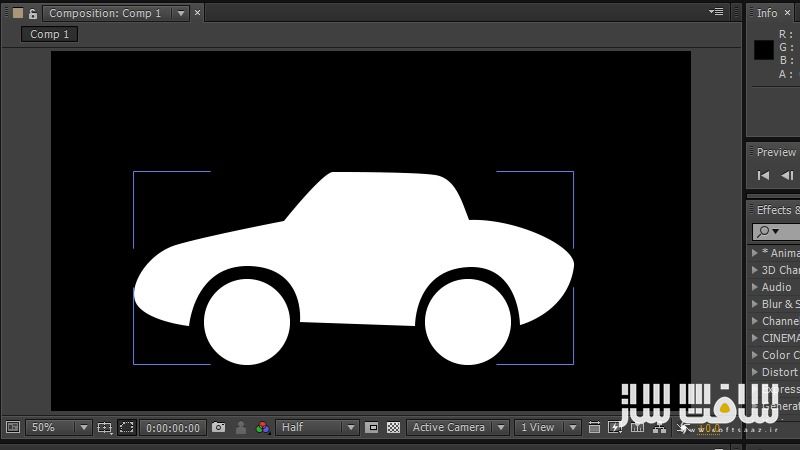
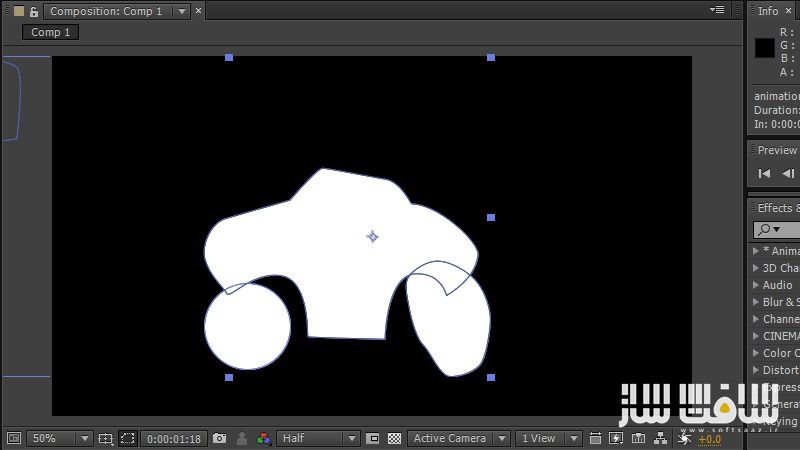
تصاویری از لایه های شکلی در افترافکت :
لطفا قبل از دانلود پیش نمایش دوره را مشاهده فرمایید:
عنوان دوره : Digital-Tutors – Working with Shape Layers in After Effects
سطح : مقدماتی
زمان کل دوره : 1.46 ساعت
تعداد فایل های تصویری : 13
سال آموزش : 2014
فایل تمرینی : دارد
مربی دوره : Alex Hernandez
نرم افزار : After Effects CC 13.0
زیرنویس : ندارد
Digital-Tutors – Working with Shape Layers in After Effects
In this series of tutorials, we will talk about some of the different ways you can create and utilize shapes in After Effects. We will start by going over the basics of using the shape tools to make shape layers and the difference between parametric and Bezier paths. We’ll explore the control we have over polygons and stars that can create an endless possibility of intricate shapes. We’ll talk about using the add menu to create new shapes or add shape attributes to our shape layers. Next we’ll import vector artwork from Illustrator and convert to shapes so that we can utilize the repeater. We’ll tell a story with shape morphing and learn the importance of defining the first vertex. We’ll also get an understanding of the importance of stacking order within our shape layer. Finally, we’ll combine shape attributes to create a particle like effect that is mainly being driven by changing the properties of a stroke.
1 Introduction and project overview 00:59
2 Shape layer fundamentals 08:55
3 Telling a story with shapes 07:35
4 Creating a car and capitol with shape tools 05:41
5 Finishing the assets for our story 09:26
6 Animating our story 09:35
7 Continuing our story animation 10:04
8 Animating the capitol asset into the fork 07:53
9 Continuing our story with the fork and phone 09:15
10 Converting vector layers to shape layers 11:40
11 Creating a particle effect with shapes 08:14
12 Adding details to our particle effect 08:26
13 Creating an environment for our comet 08:48
حجم کل :

برای دسترسی به کل محتویات سایت عضو ویژه سایت شوید
برای نمایش این مطلب و دسترسی به هزاران مطالب آموزشی نسبت به تهیه اکانت ویژه از لینک زیر اقدام کنید .
دریافت اشتراک ویژه
مزیت های عضویت ویژه :
- دسترسی به همه مطالب سافت ساز
- آپدیت روزانه مطالب سایت از بهترین سایت های سی جی
- ورود نامحدود کاربران از هر دیوایسی
- دسترسی به آموزش نصب کامل پلاگین ها و نرم افزار ها
اگر در تهیه اشتراک ویژه مشکل دارید میتونید از این لینک راهنمایی تهیه اشتراک ویژه رو مطالعه کنید . لینک راهنما
For International user, You can also stay connected with online support. email : info@softsaaz.ir telegram : @SoftSaaz
امتیاز به این مطلب :
امتیاز سافت ساز
لطفا به این مطلب امتیاز دهید :)

