انیمیشن سازی در مایا Maya و افترافکت After Effects
Creating a Narrative Previs Concept in Maya and After Effects
آموزش انیمیشن سازی در مایا و افترافکت
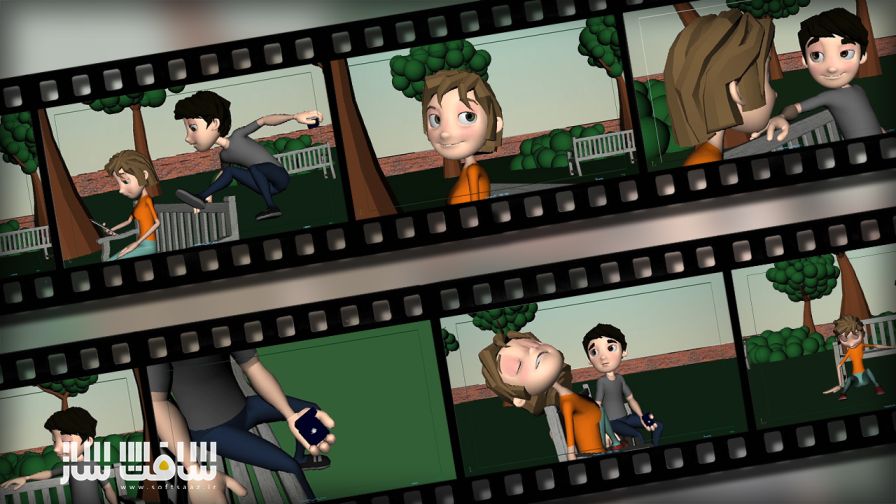
در این آموزش ” انیمیشن سازی در مایا و افترافکت ” از شرکت Digital Tutors مربی دوره John Velazquez ، نحوه ایجاد یک داستان کوتاه از طریق انیمیشن و ترکیب دوربین ها در نرم افزار Maya 2015, After Effects را نشان می دهد .در پایان آموزش شما با چگونگی ایجاد یک Previs آشنا خواهید شد..با سافت ساز همراه باشید .
عناوین اصلی این دوره آموزشی :
- ایجاد شات
- آنالیز ویرایش کلی
- تنظیم زمانبندی و اسکریپت
- انیمیشن دادن به کاراکتر
- تنظیم دوربین ها
- تغییر انیمیشن کاراکتر
- انیمیشن سازی در مایا و افترافکت
- و …
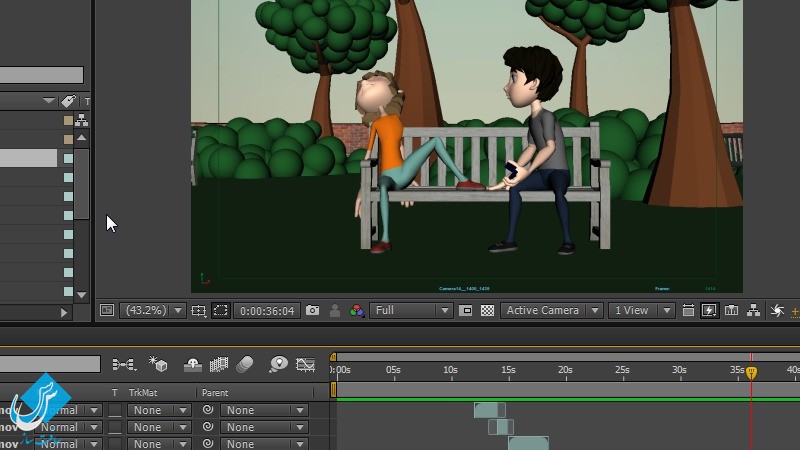
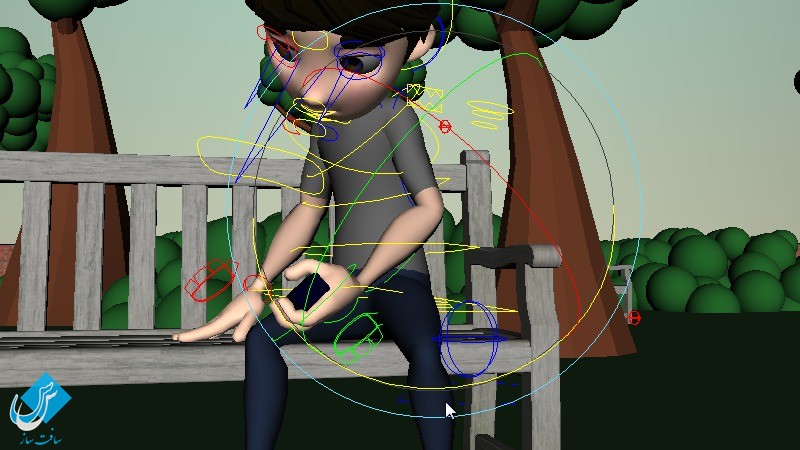
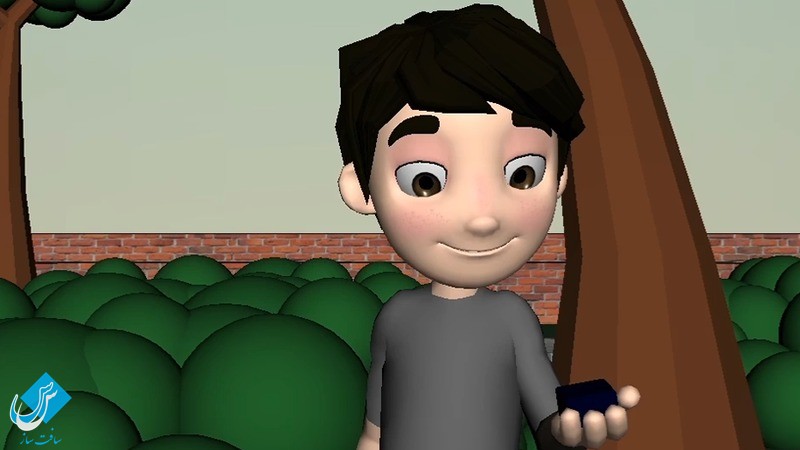
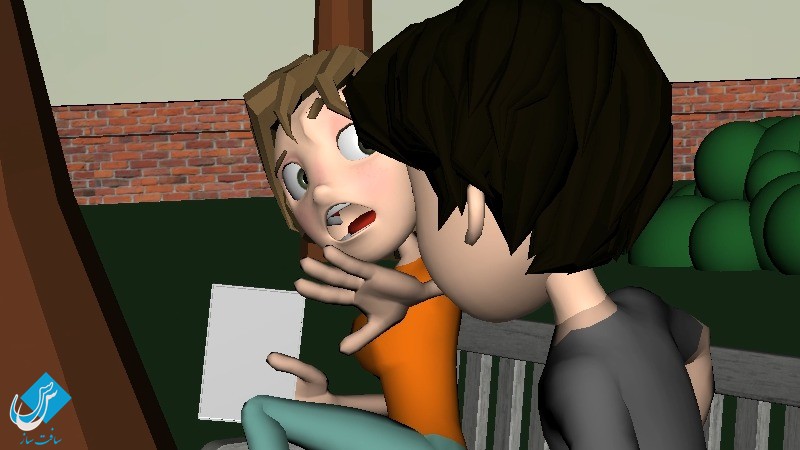
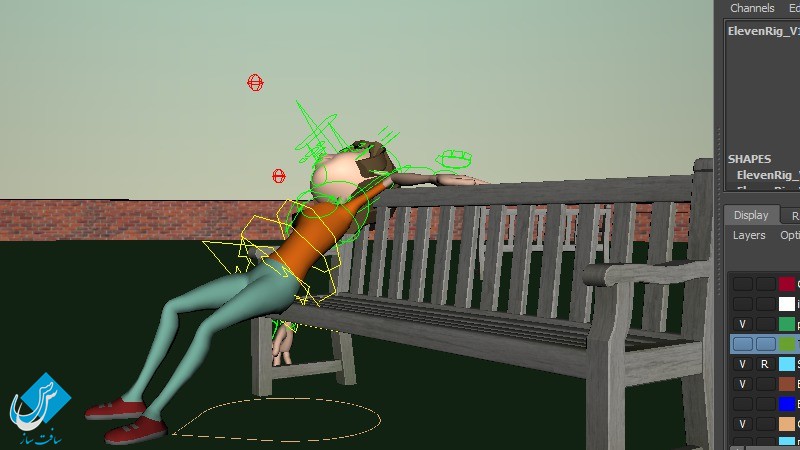
تصاویری از این دوره آموزشی:
لطفا قبل از دانلود پیشنمایش دوره را مشاهده فرمایید:
عنوان دوره : Digital Tutors – Creating a Narrative Previs Concept in Maya and After Effects
سطح : پیشرفته
زمان کل دوره : 1.41 ساعت
تعداد فایل های تصویری : 16
سال آموزش : 2015
فایل تمرینی : دارد
مربی دوره : John Velazquez
نرم افزار : Maya 2015, After Effects CC
زیرنویس : ندارد
Digital Tutors – Creating a Narrative Previs Concept in Maya and After Effects
In this Maya and After Effects tutorial we’ll go over creating a narrative concept through animation and camera composition. We’ll build an edit through simple blocked out animation to get the timing and edit right. Cameras will be discussed in how they can add to the story, how they are to be properly set up and what lens to use. We’ll cover shot selection and how they lead to following shots in order to create a well narrated story via visuals. By the end of this Maya and After Effects training you’ll understand how a Previs is created, adjusted to transfer cameras and edit to full production. Software required: Maya 2015, After Effects CC.
1 Introduction and project overview 01:07
2 Creating shots 09:13
3 Continuing to create shots 07:57
4 Analyzing overall edit and add shots 05:08
5 Reviewing overall edit 03:16
6 Creating shots 05:11
7 Continuing to create shots 04:47
Finalizing shots 8 Finalizing shots 04:03
9 Reviewing completed edit 04:42
10 Adjusting timing and scripts 09:49
11 Tightening character animation 10:28
12 Adjusting cameras and adding a shot 11:09
13 Reviewing edit with new shot addition 04:42
14 Changing character animation 10:54
15 Continuing to change animation 05:11
16 Reviewing our final edit 06:35
حجم کل :

برای دسترسی به کل محتویات سایت عضو ویژه سایت شوید
برای نمایش این مطلب و دسترسی به هزاران مطالب آموزشی نسبت به تهیه اکانت ویژه از لینک زیر اقدام کنید .
دریافت اشتراک ویژه
مزیت های عضویت ویژه :
- دسترسی به همه مطالب سافت ساز
- آپدیت روزانه مطالب سایت از بهترین سایت های سی جی
- ورود نامحدود کاربران از هر دیوایسی
- دسترسی به آموزش نصب کامل پلاگین ها و نرم افزار ها
اگر در تهیه اشتراک ویژه مشکل دارید میتونید از این لینک راهنمایی تهیه اشتراک ویژه رو مطالعه کنید . لینک راهنما
For International user, You can also stay connected with online support. email : info@softsaaz.ir telegram : @SoftSaaz
امتیاز دهی به این مطلب :
امتیاز سافت ساز
لطفا به این مطلب امتیاز دهید ?


