بررسی گزینه های اسمبلی و متدها در سالیدورک SolidWorks
Exploring Assembly Options and Methods in SolidWorks
گزینه های اسمبلی و متدها
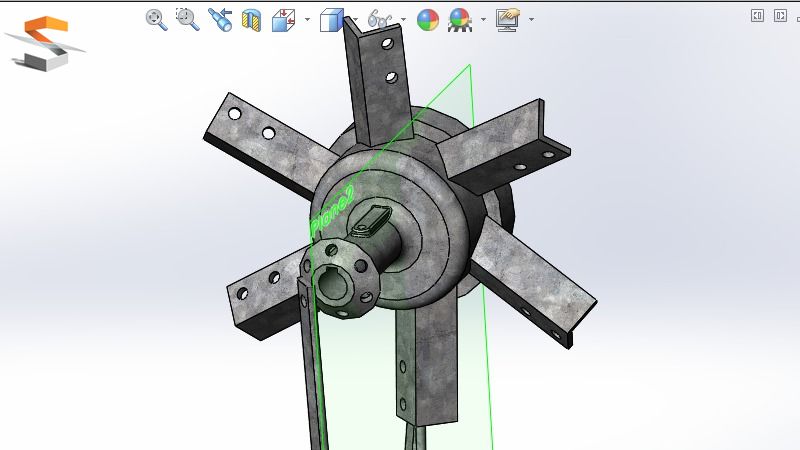
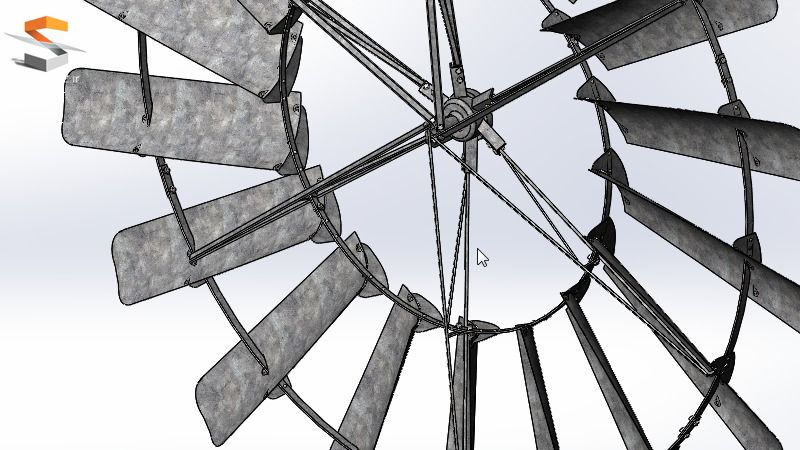
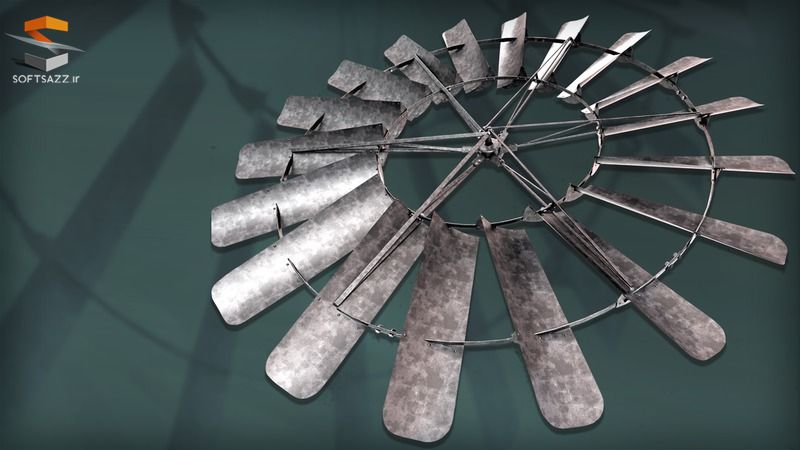
در این دوره به گزینه های اسمبلی و متدها می پردازیم. آموزشی از نرم افزار سالید ورک SolidWorks رو براتون مهیا کردیم . نحوه اسمبل کردن قطعات و گزینه های آن در این ویدیو به شما آموزش داده می شود و در نهایت یه همچین شکلی ، شبیه یه توربین ساخته می شود. با تکنیک های اسمبل متنوعی ، روش های مونتاژ پیشرفته ، ساخت یک تیغه چرخ ، استفاده از ابزارهای smart fasteners ، استفاده و کپی با توابع mates ، استفاده از ابزار smart mate و … آشنا خواهید شد. با سافت ساز همراه باشید.
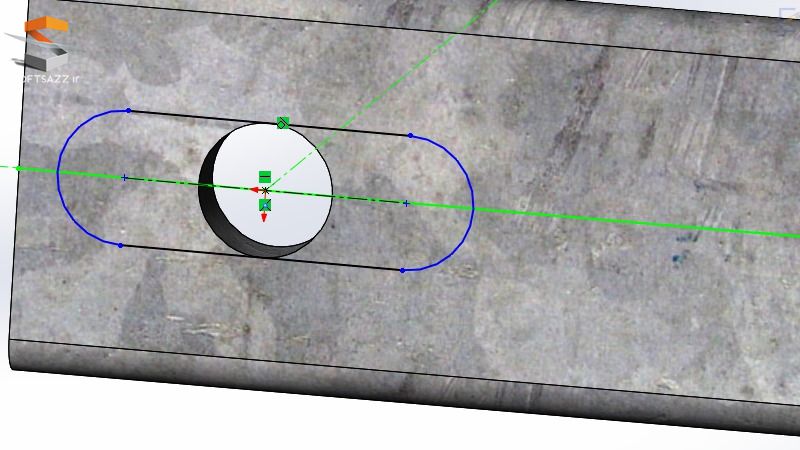
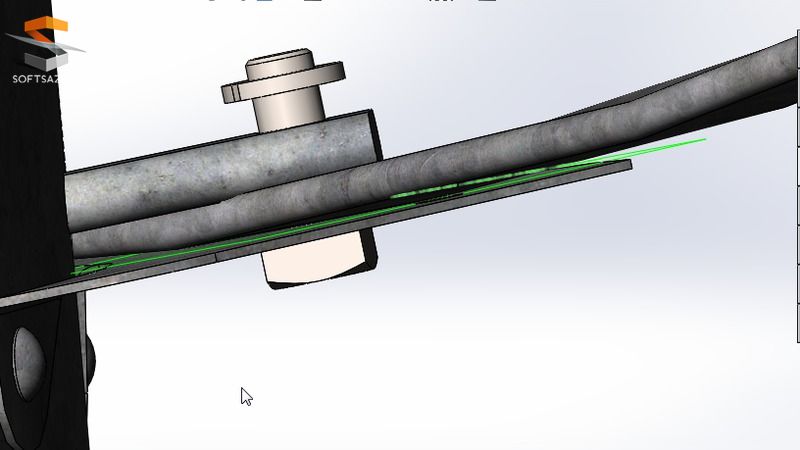
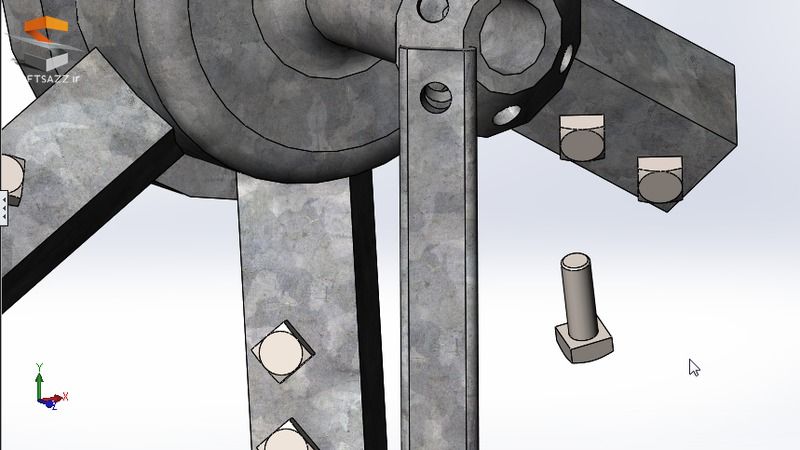
تصاوی از گزینه های اسمبلی و متدها :
لطفا قبل از دانلود پیش نمایش دوره را مشاهده فرمایید:
عنوان دوره : Digital-Tutors – Exploring Assembly Options and Methods in SolidWorks
سطح : پیشرفته
زمان کل دوره : 2.53 ساعت
تعداد فایل های تصویری : 16
سال آموزش : 2015
فایل تمرینی : دارد
مربی دوره : Chris Scarlett
نرم افزار : SolidWorks 2012
زیرنویس : ندارد
Digital-Tutors – Exploring Assembly Options and Methods in SolidWorks
In this SolidWorks tutorial we’ll cover various assembly techniques, starting from the basics of assembly mates through more advanced assembly methods while at the same time building a wheel blade assembly.
Along the way we’ll look at the SolidWorks toolbox, explore various automation tools such as smart mates, insert mate references, use the copy with mates function and then use the smart fasteners tool. As will be demonstrated, these methods can be very productive, and big time savers, but they also can be a bit cumbersome to use in certain situations. You’ll also learn some tips along the way and be warned of traps to avoid.
Ultimately, you’ll be leaving this SolidWorks training with a good understanding on how to use these various techniques and automation methods plus when and where to apply them in order to better define and speed up the SolidWorks assembly process.
1.Introduction and project overview Watch it now
2.Discussing our project background Watch the entire course. Start a free trial »
3.Starting our blade bracket assembly
4.Inserting the sheet metal rivet
5.Adding mate references onto our parts
6.Adding sheet metal rivet holes and bolt slots
7.Finalizing our sheet metal rivet holes
8.Inserting various parts
9.Discussing the smart fasteners tool
10.Continuing to insert our bolts, washers and nuts
11.Applying assembly mates
12.Adding our square head nuts
13.Using the smart fasteners feature
14.Making modifications to our smart fastener mates
15.Creating a SolidWorks toolbox component
16.Applying the circular component pattern
حجم کل :

برای دسترسی به کل محتویات سایت عضو ویژه سایت شوید
برای نمایش این مطلب و دسترسی به هزاران مطالب آموزشی نسبت به تهیه اکانت ویژه از لینک زیر اقدام کنید .
دریافت اشتراک ویژه
مزیت های عضویت ویژه :
- دسترسی به همه مطالب سافت ساز
- آپدیت روزانه مطالب سایت از بهترین سایت های سی جی
- ورود نامحدود کاربران از هر دیوایسی
- دسترسی به آموزش نصب کامل پلاگین ها و نرم افزار ها
اگر در تهیه اشتراک ویژه مشکل دارید میتونید از این لینک راهنمایی تهیه اشتراک ویژه رو مطالعه کنید . لینک راهنما
For International user, You can also stay connected with online support. email : info@softsaaz.ir telegram : @SoftSaaz
امتیاز به این مطلب :
امتیاز سافت ساز
لطفا به این مطلب امتیاز دهید :)


