آموزش کامپوزیت 3D ویدیو در مایا و افترافکت
Compositing 3D into Video in Maya and After Effects
آموزش کامپوزیت 3D ویدیو در مایا و افترافکت
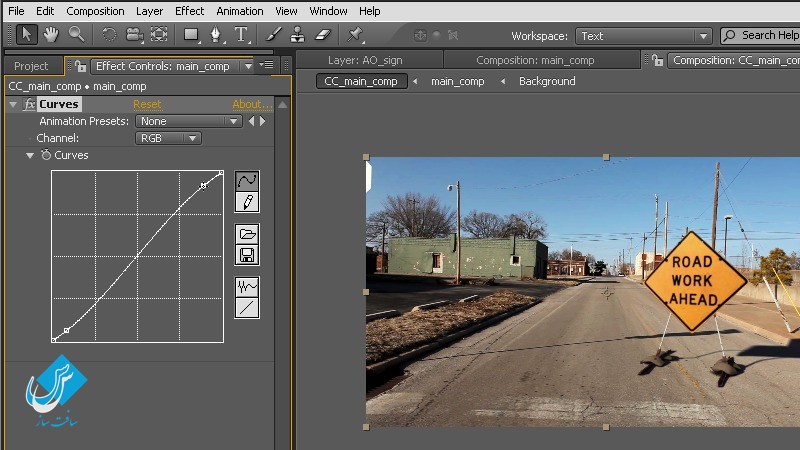
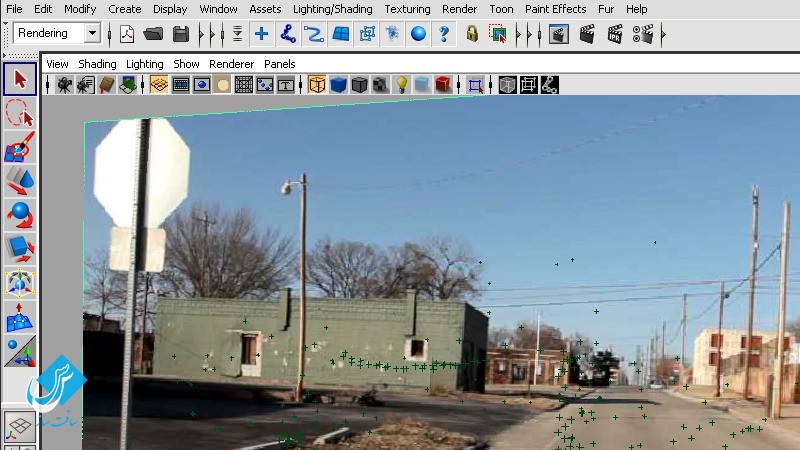
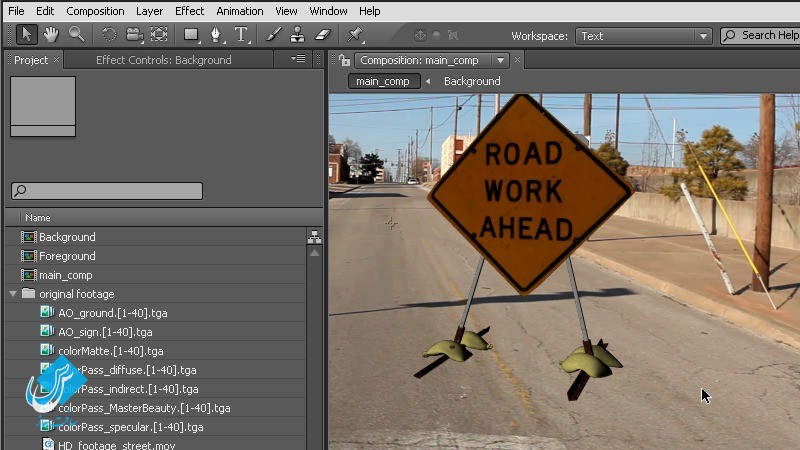
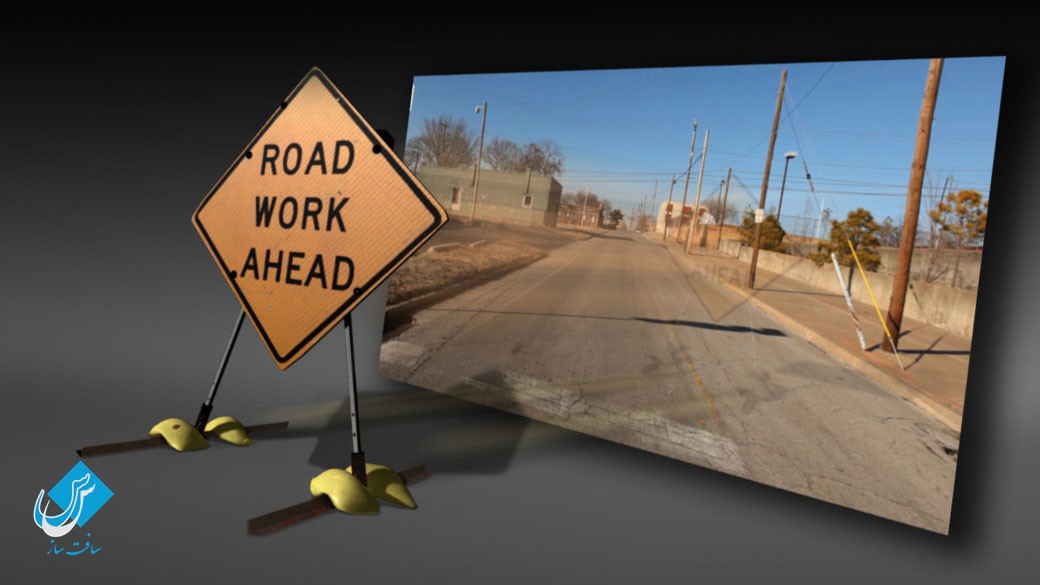
در دوره آموزش کامپوزیت 3D ویدیو در مایا و افترافکت از شرکت Digital Tutors ، مربی دوره Chris Glick ، چگونگی بردن خروجی یک برنامه موشن تراکر به داخل مایا ، ایمپورت مدل 3D به نور و رندر و سپس کامپوزیت حرفه ایی آن در نرم افزار افترافکت می پردازد. تنظیمات صحنه موشن تراکر با اضافه کردن فوتیج اصلی و تراز کردن – آوردن مدل 3D و نحوه گذاشتنش در صحنه – نحوه ایجاد هندسه زمین و تطابق نور با شات اصلی – ایجاد render passe های متعدد و لایه برای ایجاد ساده تر کامپوزیت – تصحیح رنگ آبجکت 3D به صورت واقعی – از جمله مواردی است که در این دوره آموزش کامپوزیت 3D ویدیو در مایا و افترافکت که در سافت ساز ارائه شده است ، خواهید آموخت.
عناوین اصلی این دوره آموزشی:
- تنظیم تصویر برای تست نقطه ردیابی
- قفل کردن دوربین و Locators به گرید
- ایمپورت آبجکت و ادغام آن به صحنه
- ایجاد هندسه زمین برای cast shadow
- محیط HDR و تطبیق روشنایی
- تنظیمات لایه رنگ و Pass
- و …
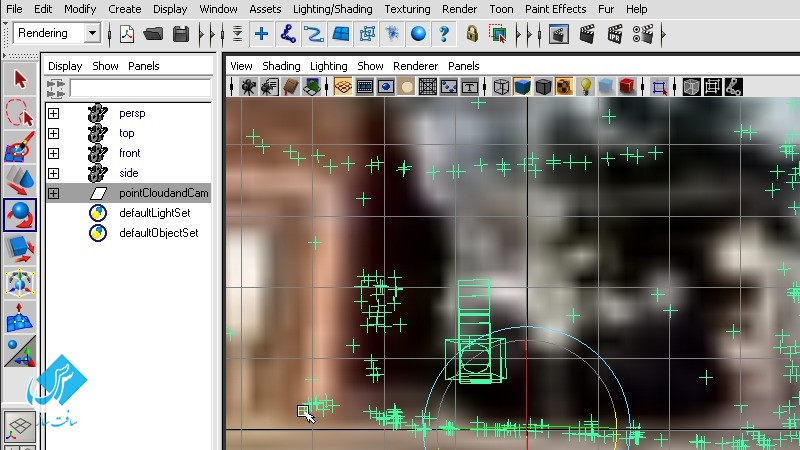
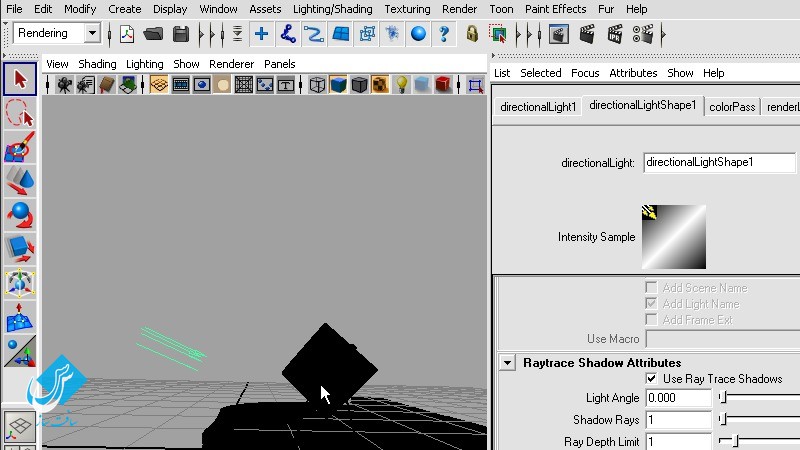
تصایری از آموزش :
لطفا قبل از دانلود پیش نمایش دوره را مشاهده فرمایید:
عنوان دوره : Digital Tutors – Compositing 3D into Video in Maya and After Effects
سطح : متوسط
زمان کل دوره : 2.22 ساعت
تعداد فایل های تصویری : 24
سال آموزش : 2010
فایل تمرینی : دارد
مربی دوره : Chris Glick
نرم افزار : Maya 2010 ، After Effects CS4
زیرنویس : ندارد
Digital Tutors – Compositing 3D into Video in Maya and After Effect
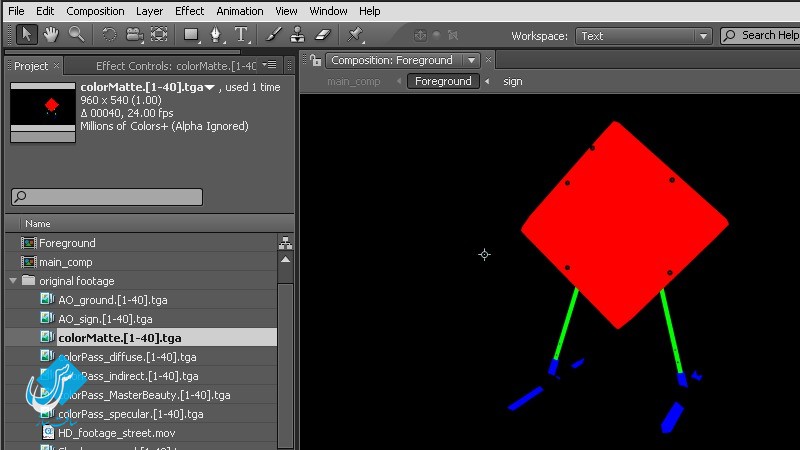
In this tutorial we’ll learn how to take the output from a motion tracker app into Maya, import a 3d model to light and render then jump into After Effects to composite it with our original footage. We’ll begin the tutorial by setting up our motion tracked scene by adding the original footage and aligning everything to make working easier. We’ll then bring in our 3d object and learn how to place it in our scene. We’ll then learn how to create ground geometry and match the lighting in our original shot. We’ll then create multiple render passes and layers to make compositing much easier. After we render, we’ll jump into After Effects and learn about such topics as shadow matching, color matte usage and various techniques to match our 3d render with our live action back-plate. The end result of this course will be a final color corrected shot of our 3d object in real life.This tutorial will illustrate an example of how to use Maya and after Effects together to integrate a 3d model into live-action footage. This will allow us to place our own 3d models into real environments easier.
1 Introduction and project overview 01:13
2 Setting our image plane to test our tracked point cloud 05:09
3 Locking our camera and Locators to the grid 04:42
4 Importing our object and integrating it into the scene 05:07
5 Creating ground plane geometry to cast shadows 07:02
6 Bringing in our HDR environment and matching lighting 10:24
7 Extending our ground plane and adding a curb 07:53
8 Setting up our basic color layer and passes 07:01
9 Creating a ground and object ambient occlusion layer 08:35
10 Building our two shadow render layers for control 06:36
11 Creating a color matte layer to capture different pieces 06:30
12 Creating a motion vector layer and outputting it correctly 04:15
13 Making final changes to our Render Settings and rendering 10:13
14 Importing our footage and interpreting our images correctly 03:54
15 Creating a basic composition workflow 03:42
16 Matching our footage shadows using our shadow mattes 07:02
17 Adding shadows to the sign using our ground layers 04:38
18 Applying ambient occlusion with color correction techniques 05:00
19 Applying our ambient occlusion to the sign 03:10
20 Compositing our sign color passes 03:44
21 Using the color matte pass to create individual pieces 05:04
22 Color correcting the sign, legs and base using effects 07:44
23 Fixing the sandbags by replacing the image and heavy CC 05:44
24 Creating a film look and rendering our final sequence 08:05
حجم کل :

برای دسترسی به کل محتویات سایت عضو ویژه سایت شوید
برای نمایش این مطلب و دسترسی به هزاران مطالب آموزشی نسبت به تهیه اکانت ویژه از لینک زیر اقدام کنید .
دریافت اشتراک ویژه
مزیت های عضویت ویژه :
- دسترسی به همه مطالب سافت ساز
- آپدیت روزانه مطالب سایت از بهترین سایت های سی جی
- ورود نامحدود کاربران از هر دیوایسی
- دسترسی به آموزش نصب کامل پلاگین ها و نرم افزار ها
اگر در تهیه اشتراک ویژه مشکل دارید میتونید از این لینک راهنمایی تهیه اشتراک ویژه رو مطالعه کنید . لینک راهنما
For International user, You can also stay connected with online support. email : info@softsaaz.ir telegram : @SoftSaaz
امتیاز دهی به این مطلب :
امتیاز سافت ساز
جمع امتیازات
لطفا به این مطلب امتیاز دهید.

