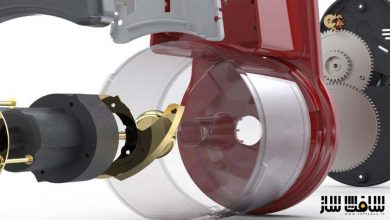
آموزش ایجاد یک تیغه براکت در SolidWorks
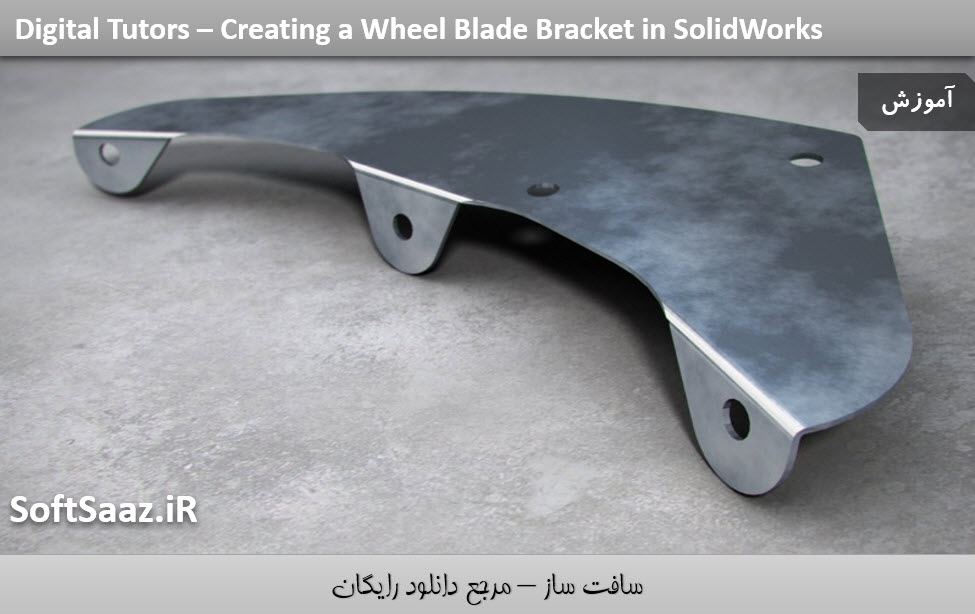
Creating a Wheel Blade Bracket in SolidWorks
ایجاد یک تیغه براکت در SolidWorks
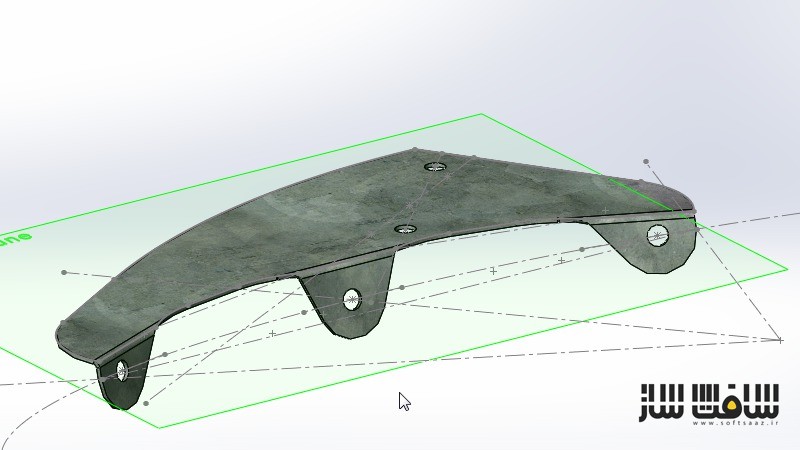
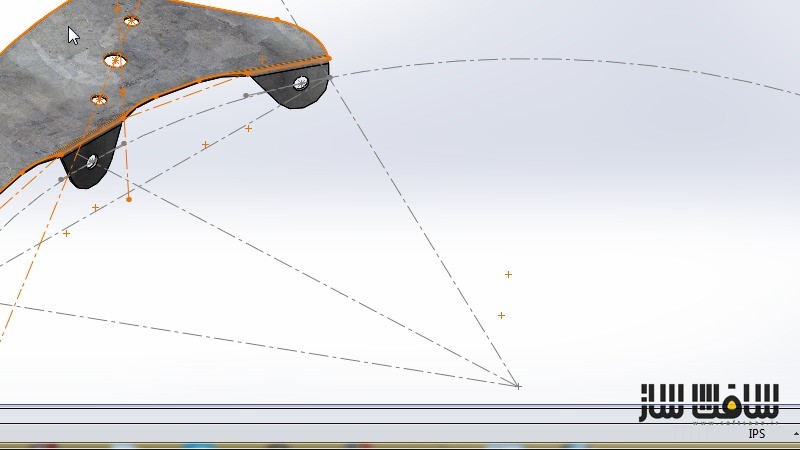
در این آموزش ” ایجاد یک تیغه براکت در SolidWorks ” از شرکت Digital Tutors مربی دوره Chris Scarlett ، به آموزش ساخت یک تیغه فلزی در نرم افزار SolidWorks میپردازد . استفاده از ابزار سطوح برای طراحی ، کار با ابزار Mold ، کار با گزینه های ویژگی draft ، ایجاد سطوح زوایه دار ، استفاده از ابزار مدل سازی معمول سالید ورک ، استفاده از تکنیک های مدل سازی solid و … از جمله مواردی است که در این دوره آموزشی ارائه شده از سافت ساز ، خواهید آموخت. با سافت ساز همراه باشید .
عناوین اصلی این دوره آموزشی :
- ایجاد طراحی بالای اسکچ
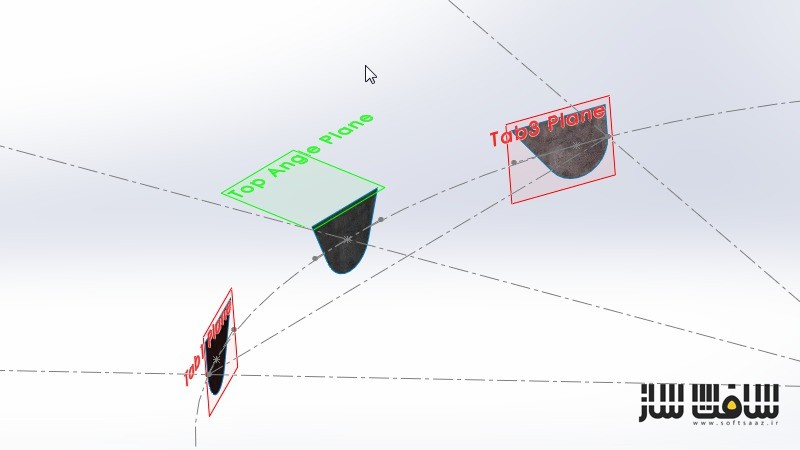
- ایجاد تب ها
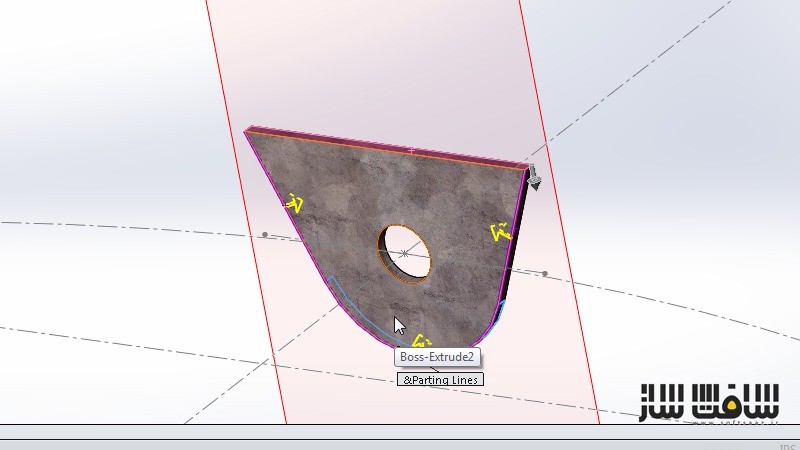
- بررسی و اعمال ویژگی draft
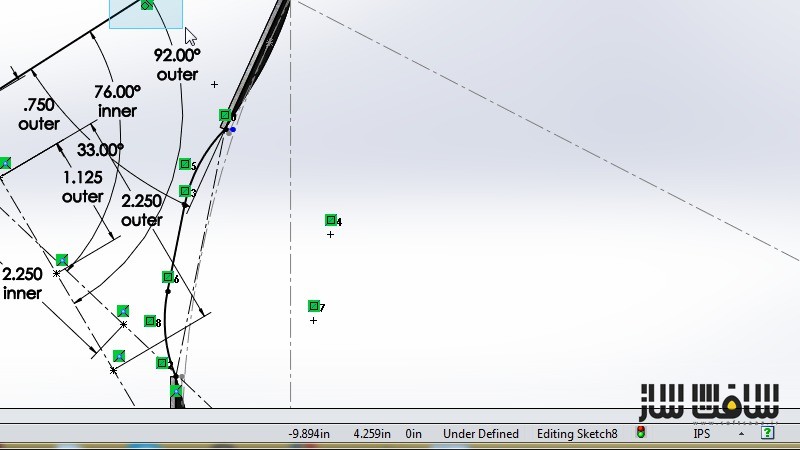
- تولید نقاط اسکچ
- ایجاد fillet ، rivet ، mounting hole
- استفاده از ابزار surfacing
- و …
تصاویری از این دوره آموزشی :
لطفا قبل از دانلود پیشنمایش دوره را مشاهده فرمایید:
عنوان دوره : Digital Tutors – Creating a Wheel Blade Bracket in SolidWorks
سطح : پیشرفته
زمان کل دوره : 2.1 ساعت
تعداد فایل های تصویری : 12
سال آموزش : 2015
فایل تمرینی : دارد
مربی دوره : Chris Scarlett
نرم افزار : SolidWorks 2012 and higher
زیرنویس : ندارد
Digital Tutors – Creating a Wheel Blade Bracket in SolidWorks
Throughout these SolidWorks tutorials, we’ll cover a number of methods to create a wheel blade bracket. We’ll look at the different options associated with the draft feature and an alternative design using surfacing tools. The draft feature is often associated with Mold Tools, which specializes in the design of molds for plastic injection molding. Using just the default settings the draft feature simply creates an angled surface on a part so that it will easily break away from the mold. However, when going beyond the basics the tool will create useful and sometimes exotic forms that are difficult to produce using the typical SolidWorks modeling tools. At the end of this tutorial, an analysis of the form of our solid model with its complicated angles and surfaces will show some undesirable and unnatural geometry on the corners of our bends that is hard to avoid and correct using solid modeling techniques. Therefore, we’ll delete our solid model features and, using the leftover sketch geometry of our solid model, recreate our part using various surfacing tools as well as discussing options and traps along the way. At the end of this SolidWorks training, our model will be much more natural and uniform, allowing for the creation of a sheet metal flat pattern from its final form. Software required: SolidWorks 2012 and higher.
1 Introduction and project overview 01:14
2 Introducing the wheel blade bracket 11:49
3 Creating the top design sketch 10:56
4 Creating tabs on our wheel blade bracket 12:13
5 Exploring and applying the draft feature 11:16
6 Continuing with the draft feature 11:02
7 Sketching out enclosed geometry 11:40
8 Generating sketch points 08:14
9 Adding fillets, rivet and mounting holes 11:56
10 Reworking our model using surfacing tools 11:52
11 Smoothing out rough edges on our part 11:14
12 Finalizing our surface model 10:01
حجم کل :

برای دسترسی به کل محتویات سایت عضو ویژه سایت شوید
برای نمایش این مطلب و دسترسی به هزاران مطالب آموزشی نسبت به تهیه اکانت ویژه از لینک زیر اقدام کنید .
دریافت اشتراک ویژه
مزیت های عضویت ویژه :
- دسترسی به همه مطالب سافت ساز
- آپدیت روزانه مطالب سایت از بهترین سایت های سی جی
- ورود نامحدود کاربران از هر دیوایسی
- دسترسی به آموزش نصب کامل پلاگین ها و نرم افزار ها
اگر در تهیه اشتراک ویژه مشکل دارید میتونید از این لینک راهنمایی تهیه اشتراک ویژه رو مطالعه کنید . لینک راهنما
For International user, You can also stay connected with online support. email : info@softsaaz.ir telegram : @SoftSaaz
امتیاز دهی به این مطلب :
امتیاز سافت ساز
جمع امتیازات
لطفا به این مطلب امتیاز دهید ?

