آموزش تکنیک های ریتوپولوژی در CINEMA 4D
Retopology Techniques in CINEMA 4D
تکنیک های ریتوپولوژی در سینمافوردی
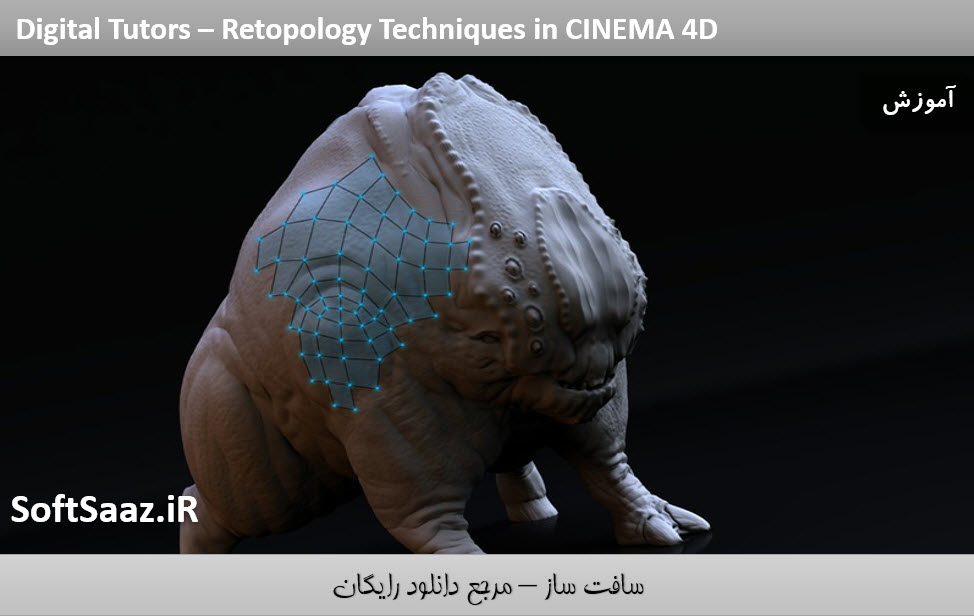
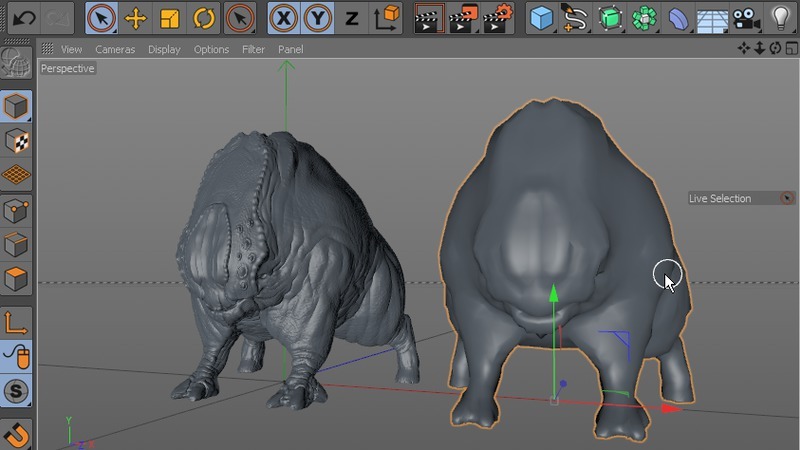
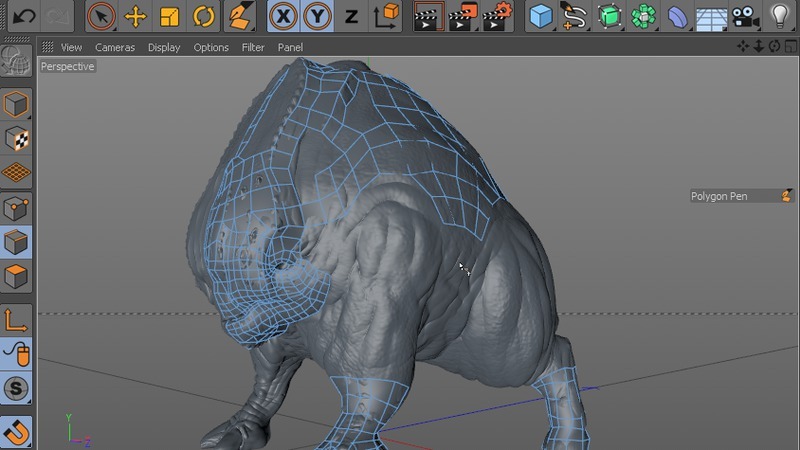
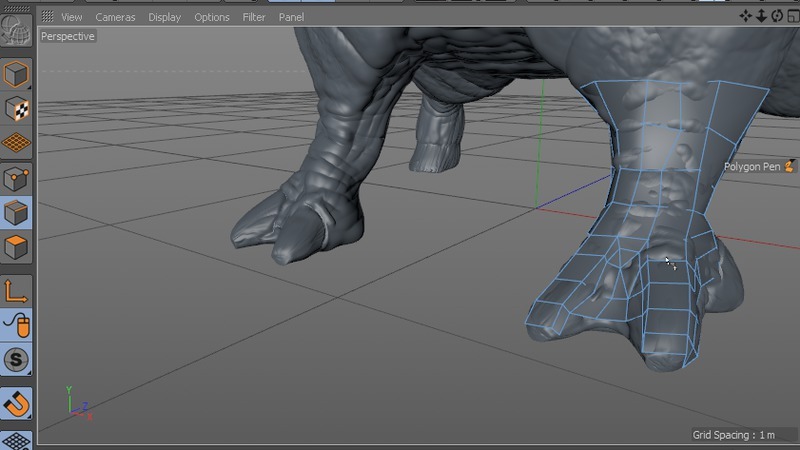
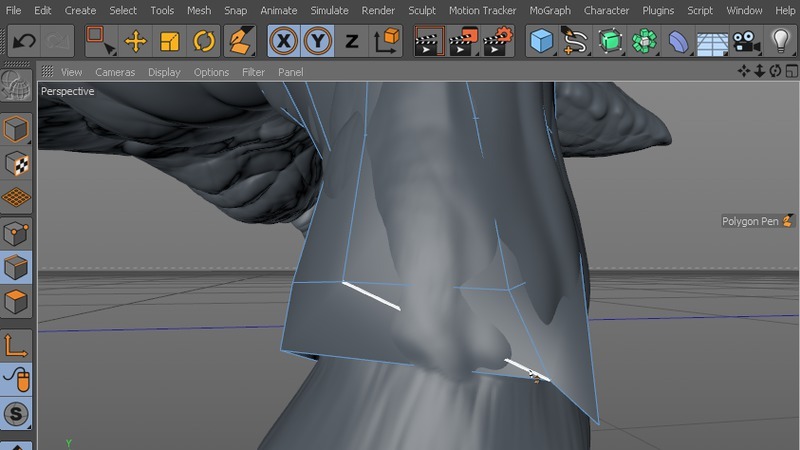
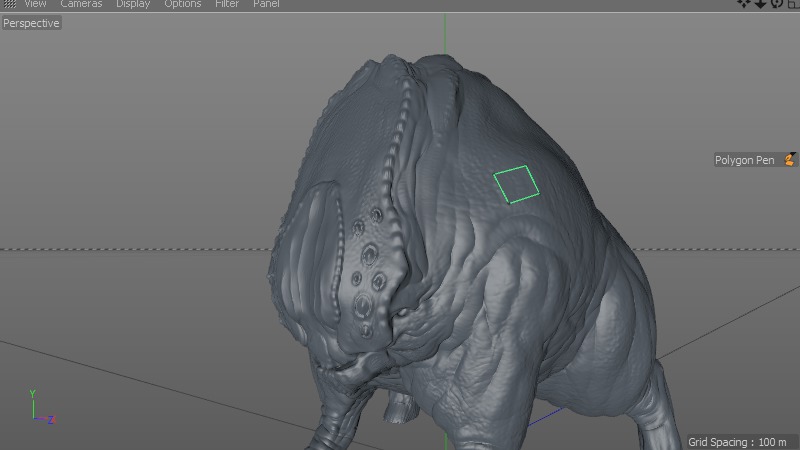
در این آموزش ” تکنیک های ریتوپولوژی در سینمافوردی ” از شرکت Digital Tutors مربی دوره Justin Marshall ، به آموزش ساخت یک هیولای فرا زمینی در CINEMA 4D میپردازد. نحوه کار با قلم Polygon ، بهینه سازی مش برای اسکالپ موجود ، ایجاد چند ضلعی ، مروری بر مفهوم topology و … از جمله مواردی است که در این دوره آموزشی ارائه شده از سافت ساز ، خواهید آموخت. با سافت ساز همراه باشید .
عناوین اصلی این دوره آموزشی :
- استفاده از ابزار قلم Polygon
- تنظیمات Asset ها
- ایجاد توپولوژی صورت
- رفع و مادیفای هندسه
- ادغام هندسه متقارن
- و …
تصاویری از دوره تکنیک های ریتوپولوژی :
لطفا قبل از دانلود پیشنمایش دوره را مشاهده فرمایید:
عنوان دوره : Digital Tutors – Retopology Techniques in CINEMA 4D
سطح : متوسط
زمان کل دوره : 1.23 ساعت
تعداد فایل های تصویری : 12
سال آموزش : 2015
فایل تمرینی : دارد
مربی دوره : Justin Marshall
نرم افزار : CINEMA 4D R16
زیرنویس : ندارد
Digital Tutors – Retopology Techniques in CINEMA 4D
In this CINEMA 4D tutorial, we’ll learn the ins-and-outs of the Polygon Pen and see it in action as we go through the process of creating a more optimized mesh for a sculpted creature. The topology, or edge flow of our polygon meshes is important as we create our 3D projects. Good topology can mean fewer overall polygons are needed to reflect the detail we want. Good edge flow is also important when creating final meshes that require animation. The Polygon Pen in CINEMA 4D is a great all-around tool for quickly creating and modifying a mesh’s topology. When combined with snapping, we can create new polygons directly on top of our high resolution meshes. These meshes could be sculpts you’ve done in CINEMA 4D or work that you bring in from other applications like ZBrush. By the end of this CINEMA 4D training, you’ll have a greater understanding of overall topology concepts, as well as some great skills for optimizing the mesh on sculpted creatures. Software required: CINEMA 4D R16.
1 Introduction and project overview 01:09
2 Using the Polygon Pen tool 08:28
3 Setting up the asset 04:16
4 Blocking in large areas 06:08
5 Creating quad strips 05:24
6 Shrink wrapping geometry 07:19
7 Working on smaller areas 07:44
8 Creating facial topology 08:53
9 Finishing the face 08:21
10 Connecting the body shells 08:05
11 Fixing and modifying geometry 10:42
12 Merging the symmetrical geometry 06:50
حجم کل :

برای دسترسی به کل محتویات سایت عضو ویژه سایت شوید
برای نمایش این مطلب و دسترسی به هزاران مطالب آموزشی نسبت به تهیه اکانت ویژه از لینک زیر اقدام کنید .
دریافت اشتراک ویژه
مزیت های عضویت ویژه :
- دسترسی به همه مطالب سافت ساز
- آپدیت روزانه مطالب سایت از بهترین سایت های سی جی
- ورود نامحدود کاربران از هر دیوایسی
- دسترسی به آموزش نصب کامل پلاگین ها و نرم افزار ها
اگر در تهیه اشتراک ویژه مشکل دارید میتونید از این لینک راهنمایی تهیه اشتراک ویژه رو مطالعه کنید . لینک راهنما
For International user, You can also stay connected with online support. email : info@softsaaz.ir telegram : @SoftSaaz
امتیاز دهی به این مطلب :
امتیاز سافت ساز
جمع امتیازات
لطفا به این مطلب امتیاز دهید

