آموزش ایجاد صفحه واکنش گرا در فتوشاپ Photoshop
Creating Responsive Landing Pages in Photoshop and CSS

ایجاد صفحه واکنش گرا در فتوشاپ
در این آموزش از سایت Digital-Tutors مربی Gary Simon به شما ایجاد صفحه واکنش گرا در فتوشاپ آموزش میدهد که چگونه Landing Pages یا صفحات لندینگ Responsive یا واکنشگرا بوسیله فتوشاپ Photoshop و سی اس اس css طراحی کنید. با سافت ساز همراه باشید.
عناوین اصلی این دوره آموزشی:
- طراحی پس زمینه
- طراحی هدر و سر تیتر
- طراحی یک لپ تاپ
- ایجاد GUI برای لپ تاپ
- اضافه کردن آرم شرکت
- ایجاد یک تصویر نمادین
- طراحی آیکون
- اکسپورت گرافیک برای HTML و CSS
- آموزش مقدمات HTML
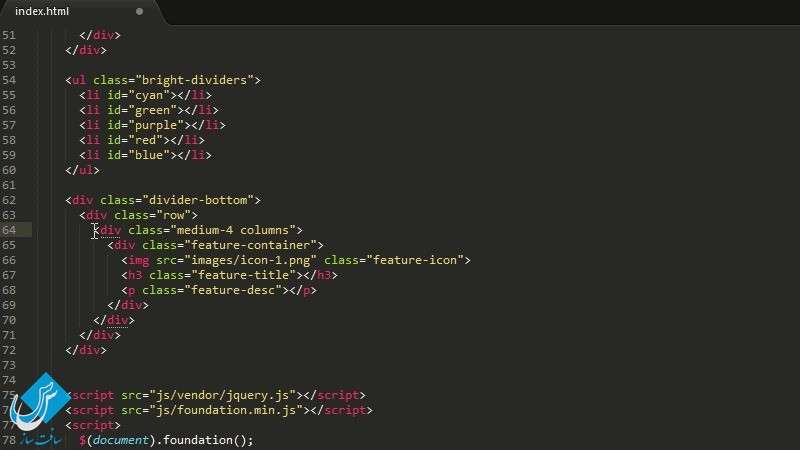
- نوشتن کد HML برای بخش گرافیک
- نوشتن کد CSS برای بخش های دیگه صفحه
- و …
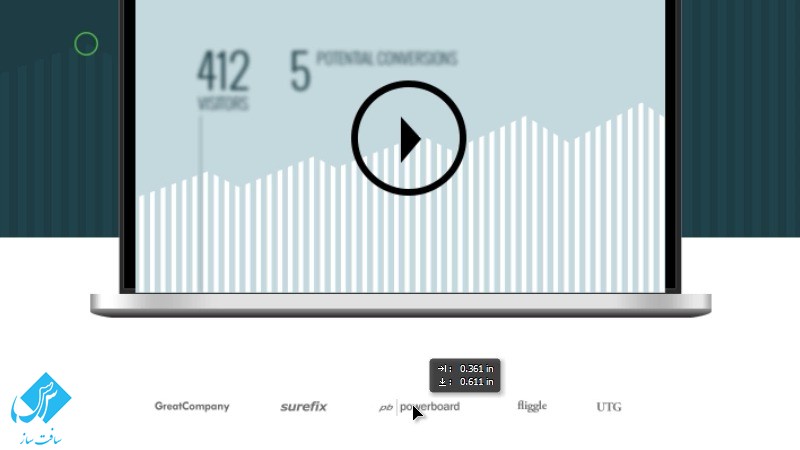
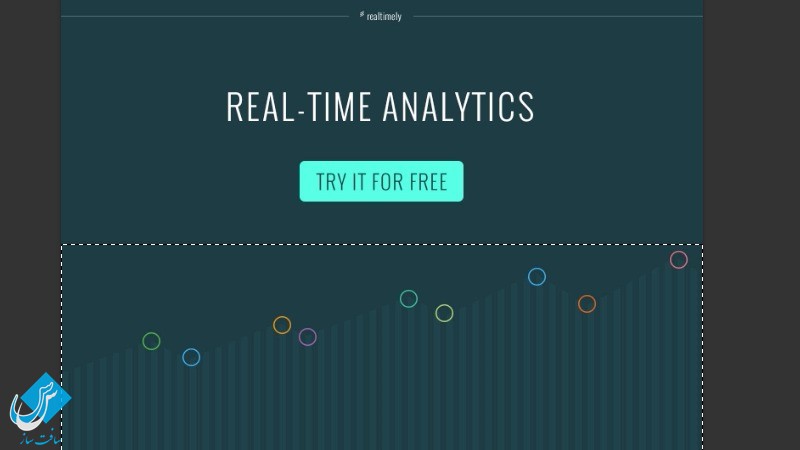
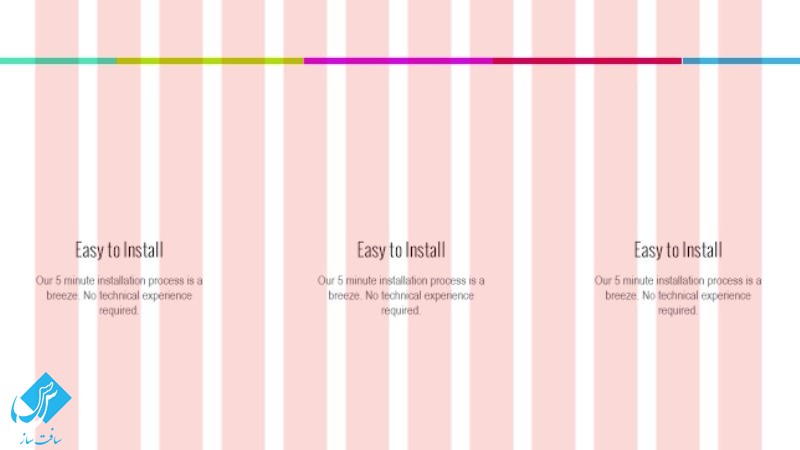
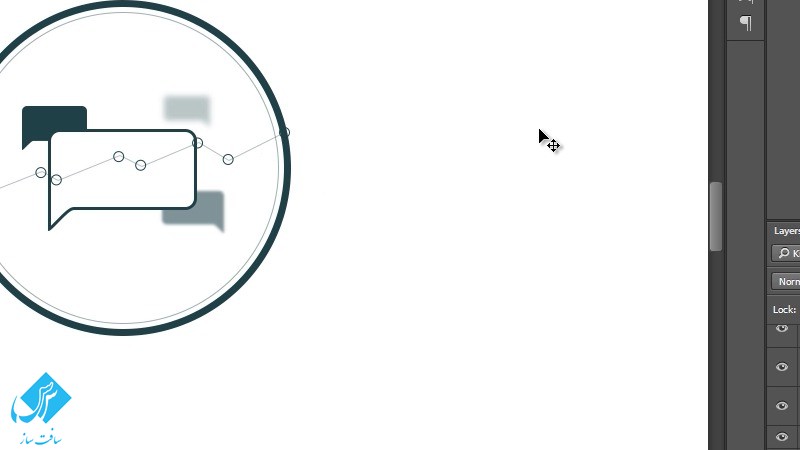
تصاویری از ایجاد صفحه واکنش گرا در فتوشاپ :
لطفا قبل از دانلود پیش نمایش دوره را مشاهده فرمایید:
عنوان دوره : Digital-Tutors – Creating Responsive Landing Pages in Photoshop and CSS
سطح : پیشرفته
زمان کل دوره : 2.21 ساعت
تعداد فایل های تصویری : 22
سال آموزش : 2015
فایل تمرینی : دارد
مربی دوره : Gary Simon
نرم افزار : Adobe Photoshop CC 2014, Sublime Text 2
زیرنویس : ندارد
Digital-Tutors – Creating Responsive Landing Pages in Photoshop and CSS
In this Photoshop and CSS tutorial, you’ll learn how to design and develop a responsive landing page. We’ll first use Photoshop to design a mock up, creating many of the elements for our pages that will be used in the final product. Then we’ll export our design and start coding our responsive website. We’ll be basing our HTML and CSS on the Foundation responsive framework to bring the page to life. By then end of this Photoshop and CSS training, you’ll understand many important factors that make a great landing page.
1 Introduction and project overview 01:03
2 Designing the background 09:25
3 Designing the header and headline 07:54
4 Designing a laptop 09:18
5 Creating a fictional GUI for the laptop 08:48
6 Adding trusted company logos 05:39
7 Creating a symbolic illustration 10:06
8 Finishing the illustration and adding type 08:22
9 Creating a colored divider and a features section 07:38
10 Designing the feature icons 06:11
11 Finishing the mockup design by adding a testimonial 05:21
12 Exporting the graphics for HTML and CSS 07:58
13 Getting started with Foundation and HTML 08:47
14 Writing the HTML for the graphic and features section 07:47
15 Writing the HTML for the testimonial 03:23
16 Writing the CSS header and the headline section 09:47
17 Writing the CSS for the trusted logos and graphic section 09:11
18 Writing the CSS for the features and testimonials 07:26
19 Writing the CSS media queries 07:25
حجم کل :
امتیاز به این مطلب :
امتیاز سافت ساز
لطفا به این مطلب امتیاز دهید :)


