آموزش مدلینگ و رندرینگ پیشرفته در Cinema 4D و Redshift
Gumroad - Advanced Bottle Modeling and Rendering in Cinema 4D and Redshift
آموزش مدلینگ و رندرینگ پیشرفته در Cinema 4D و Redshift
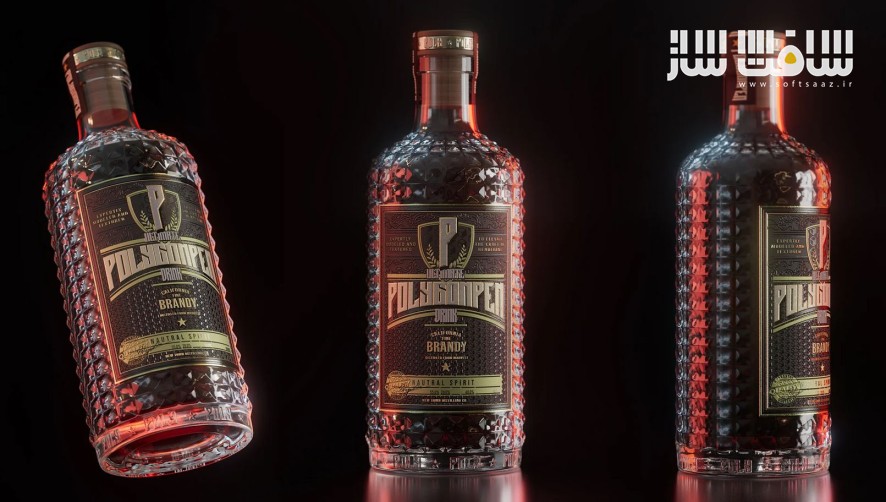
آموزش مدلینگ و رندرینگ پیشرفته در Cinema 4D و Redshift : در این دوره از Polygonpen ، با نحوه ساخت یک بطری پیچیده با جزییات بالا با استفاده از سینمافوردی و رندرینگ در انجینRedshift آشنا خواهید شد. برای اینکه بطری انعطاف پذیر باشید از روش غیرمخرب برای مدلسازی استفاده می شود. همچنین فرآیند ساخت متریال و نورپردازی صحنه نیز آموزش داده می شوید.این دوره آموزشی توسط تیم ســافــت ســاز برای شما عزیزان تهیه شده است.
عناوین آموزش مدلینگ و رندرینگ پیشرفته در Cinema 4D و Redshift :
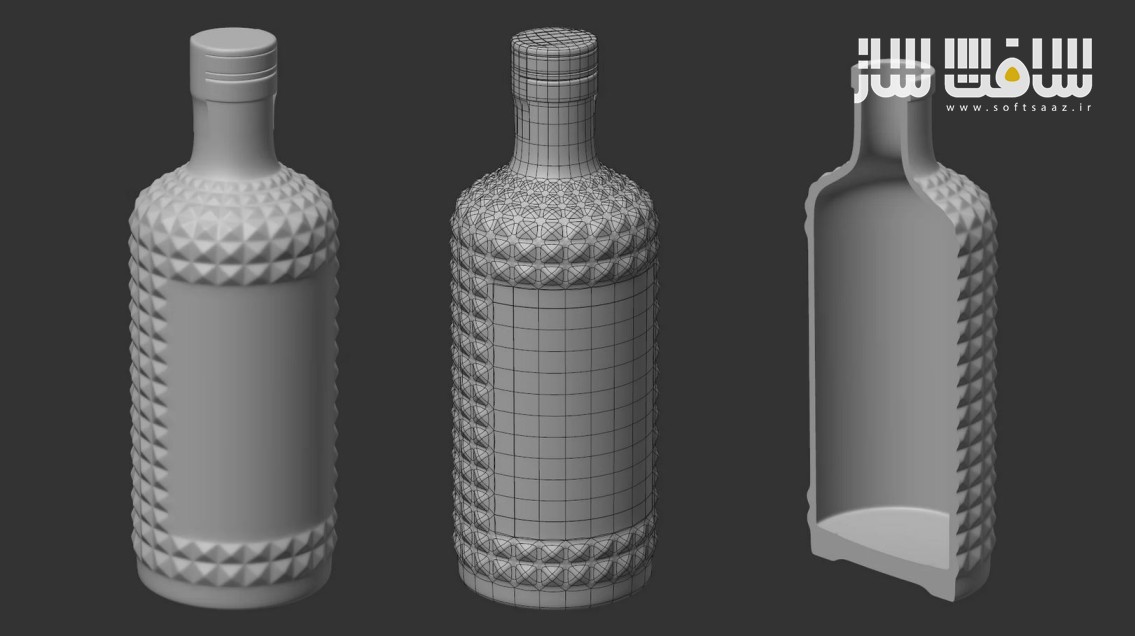
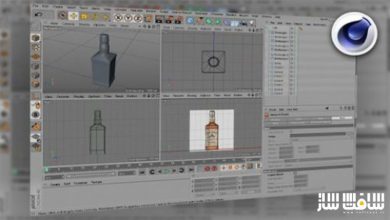
- مدلینگ به روشی کارآمد و سریع با استفاده از مادیفایر ها در 40 دقیقه
- یووی آنرپینگ مدل و آماده سازی برای فتوشاپ در 25 دقیقه
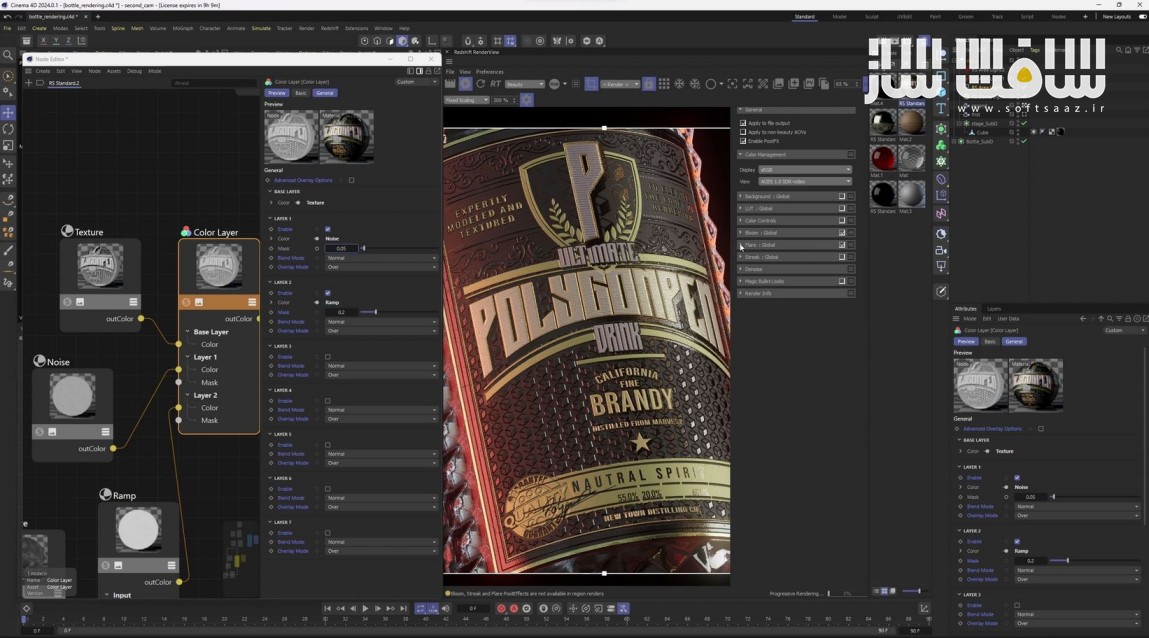
- رندرینگ ، نورپردازی و ساخت متریال در 38 دقیقه
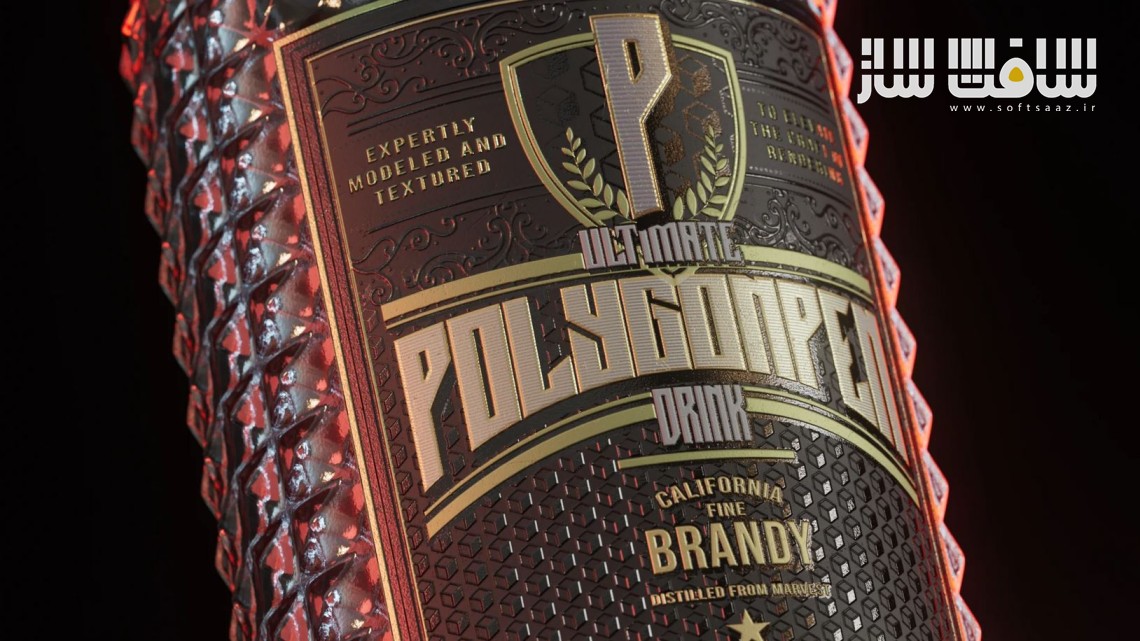
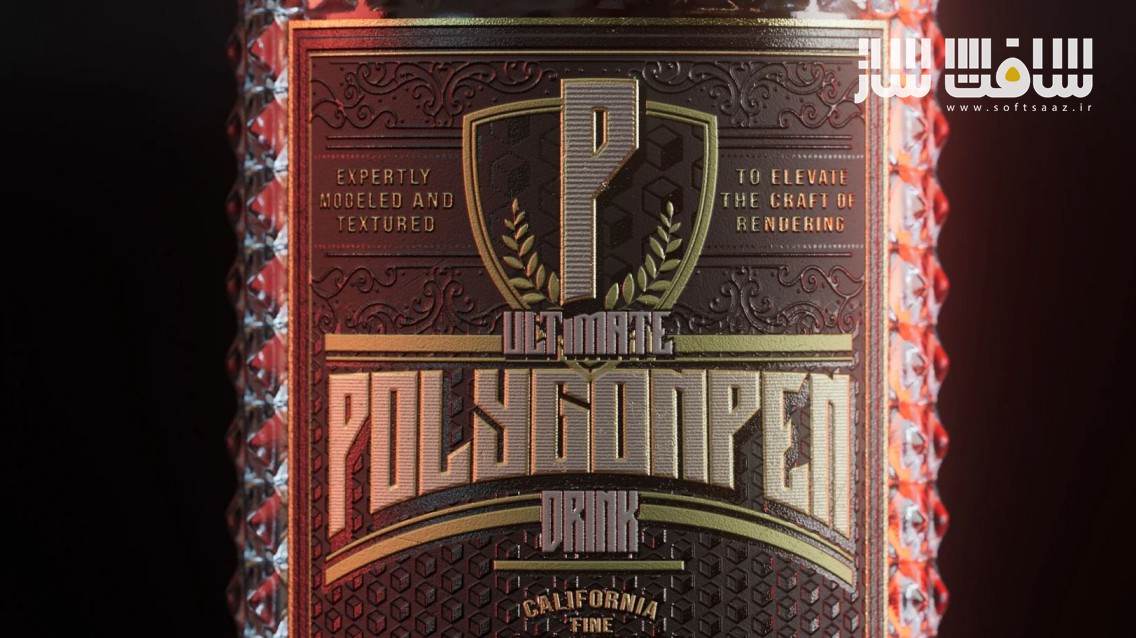
- نهایی سازی و رندرینگ و ایجاد برچسب جلویی در 42 دقیقه
تصاویری از آموزش :
عنوان دوره : Gumroad – Advanced Bottle Modeling and Rendering in Cinema 4D and Redshift
سطح : پیشرفته
زمان کل دوره : 2.30 ساعت
تعداد فایل ها : 4 پارت
سال آموزش : 2024
فایل تمرینی : دارد
مربی دوره : Polygonpen
نرم افزار : Cinema 4D – Redshift
زیرنویس انگلیسی : ندارد
فشردگی اختصاصی سافت ساز : ندارد
Gumroad – Advanced Bottle Modeling and Rendering in Cinema 4D and Redshift
In this tutorial series, I will show you how to model a complex bottle and render it in Redshift.
We will model the bottle with a non destructive way, which will make it quite easy to change the displacement amount or bevels, so it is gonna be really flexiable.
In the render parts, I will break down my process of creating materials and light scene.
There are 4 parts:
1 – Modeling ( 40 Minutes )
In this part, I will show you how to model a bottle in an effective and fast way. I will also be using deformers and selections to make the model as precise as possible, such as displacement deformers and bevel deformers.
2 – UV Unwrapping ( 25 Minutes )
In the UV unwrapping part, I will show you how to unwrap cylindrical shapes and make them ready to be textured in Photoshop.
3- Rendering ( 38 Minutes )
In this part, we will start to build up the light scene and materials. Most of the materials except for the label one will be created in this part.
4 – Finalising Rendering/creating the front label ( 42 Minutes )
In this final part, I will show you how I created the label material. I will break down my process of creating layers (bump, glossy, specular, diffuse) and finalize the project by creating a new render layer ( Takes System ) to have multiple render settings, cameras, and materials in a single scene.
حجم کل : 4.5 گیگابایت

برای دسترسی به کل محتویات سایت عضو ویژه سایت شوید
برای نمایش این مطلب و دسترسی به هزاران مطالب آموزشی نسبت به تهیه اکانت ویژه از لینک زیر اقدام کنید .
دریافت اشتراک ویژه
مزیت های عضویت ویژه :
- دسترسی به همه مطالب سافت ساز
- آپدیت روزانه مطالب سایت از بهترین سایت های سی جی
- ورود نامحدود کاربران از هر دیوایسی
- دسترسی به آموزش نصب کامل پلاگین ها و نرم افزار ها
اگر در تهیه اشتراک ویژه مشکل دارید میتونید از این لینک راهنمایی تهیه اشتراک ویژه رو مطالعه کنید . لینک راهنما
For International user, You can also stay connected with online support. email : info@softsaaz.ir telegram : @SoftSaaz
امتیاز دهی به این مطلب :
امتیاز سافت ساز
لطفا به این مطلب امتیاز بدید 🦋


