آموزش نحوه صحیح رندر گرفتن در ZBRUSH
Artstation – How to render correctly in ZBRUSH
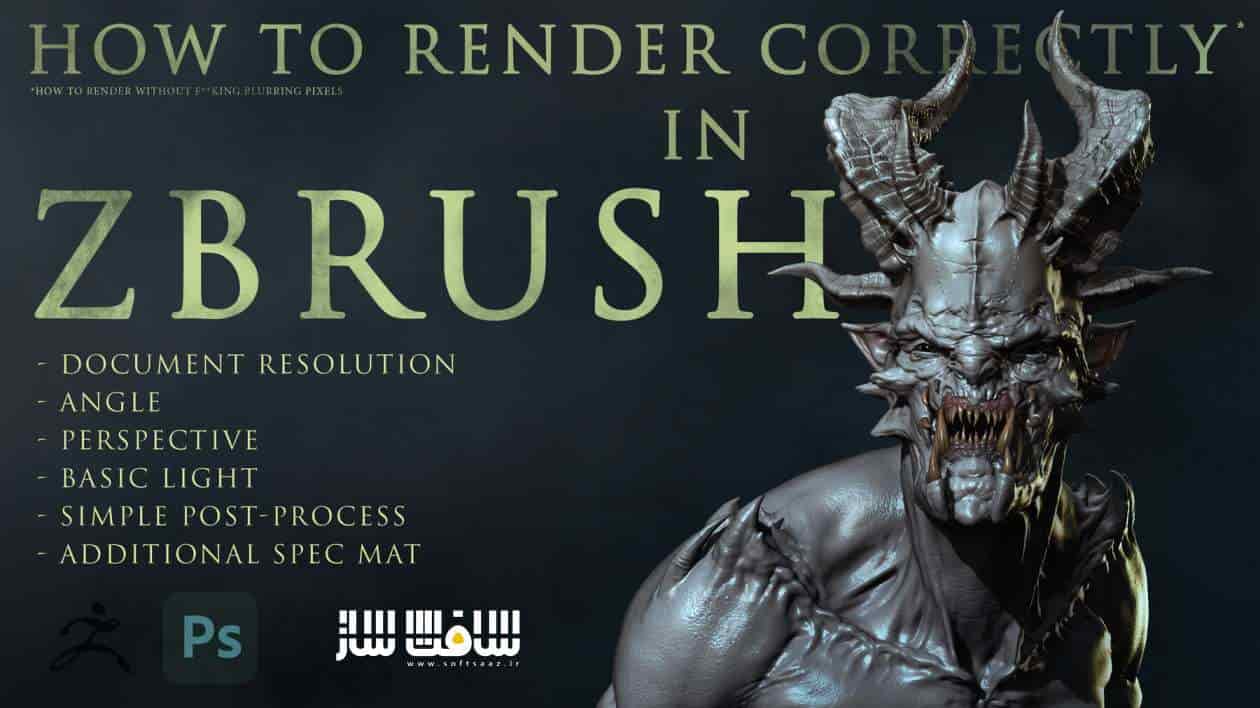
آموزش نحوه صحیح رندر گرفتن در ZBRUSH
در این آموزش نحوه صحیح رندر گرفتن در ZBRUSH از هنرمند Maria Rogue-One، با نحوه صحیح رندر گرفتن و ایجاد رندر های بسیار با کیفیت در زیبراش آشنا خواهید شد. زبان این دوره روسی است ولی زیرنویسش به زبان انگلیسی می باشد. این دوره نکات و ترفندهای بی نظیری را به شما خواهد آموخت. این دوره آموزشی توسط تیم ســافــت ســاز برای شما عزیزان تهیه شده است.
عناوین اصلی دوره آموزشی :
- 2 روش ساده برای سرعت بخشیدن به رندر BPR
- نحوه تغییر رزولیشن رندر و گرفتن صحنه ها در رزولیشن 3k
- نحوه بخاطر سپردن زوایه مدل
- کار با پرسپکتیو دوربین
- تنظیمات نورپردازی اولیه
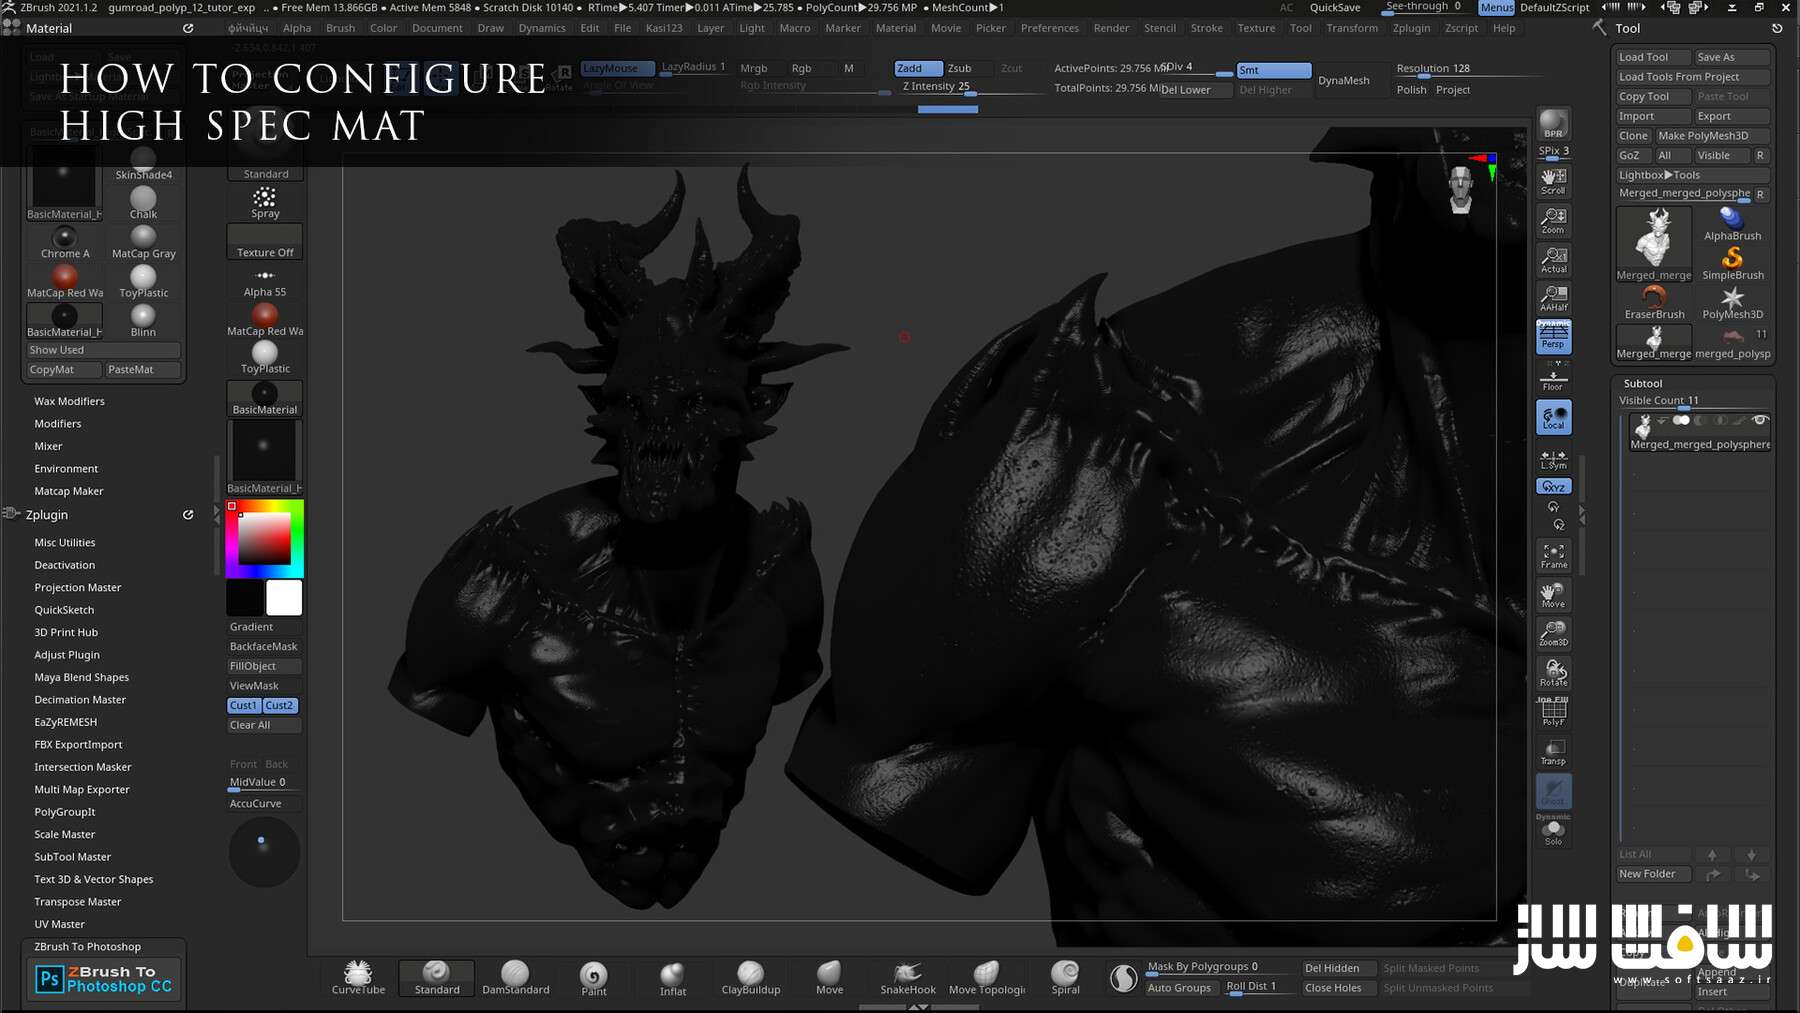
- 2 پریست تنظیمات BPR Shadow
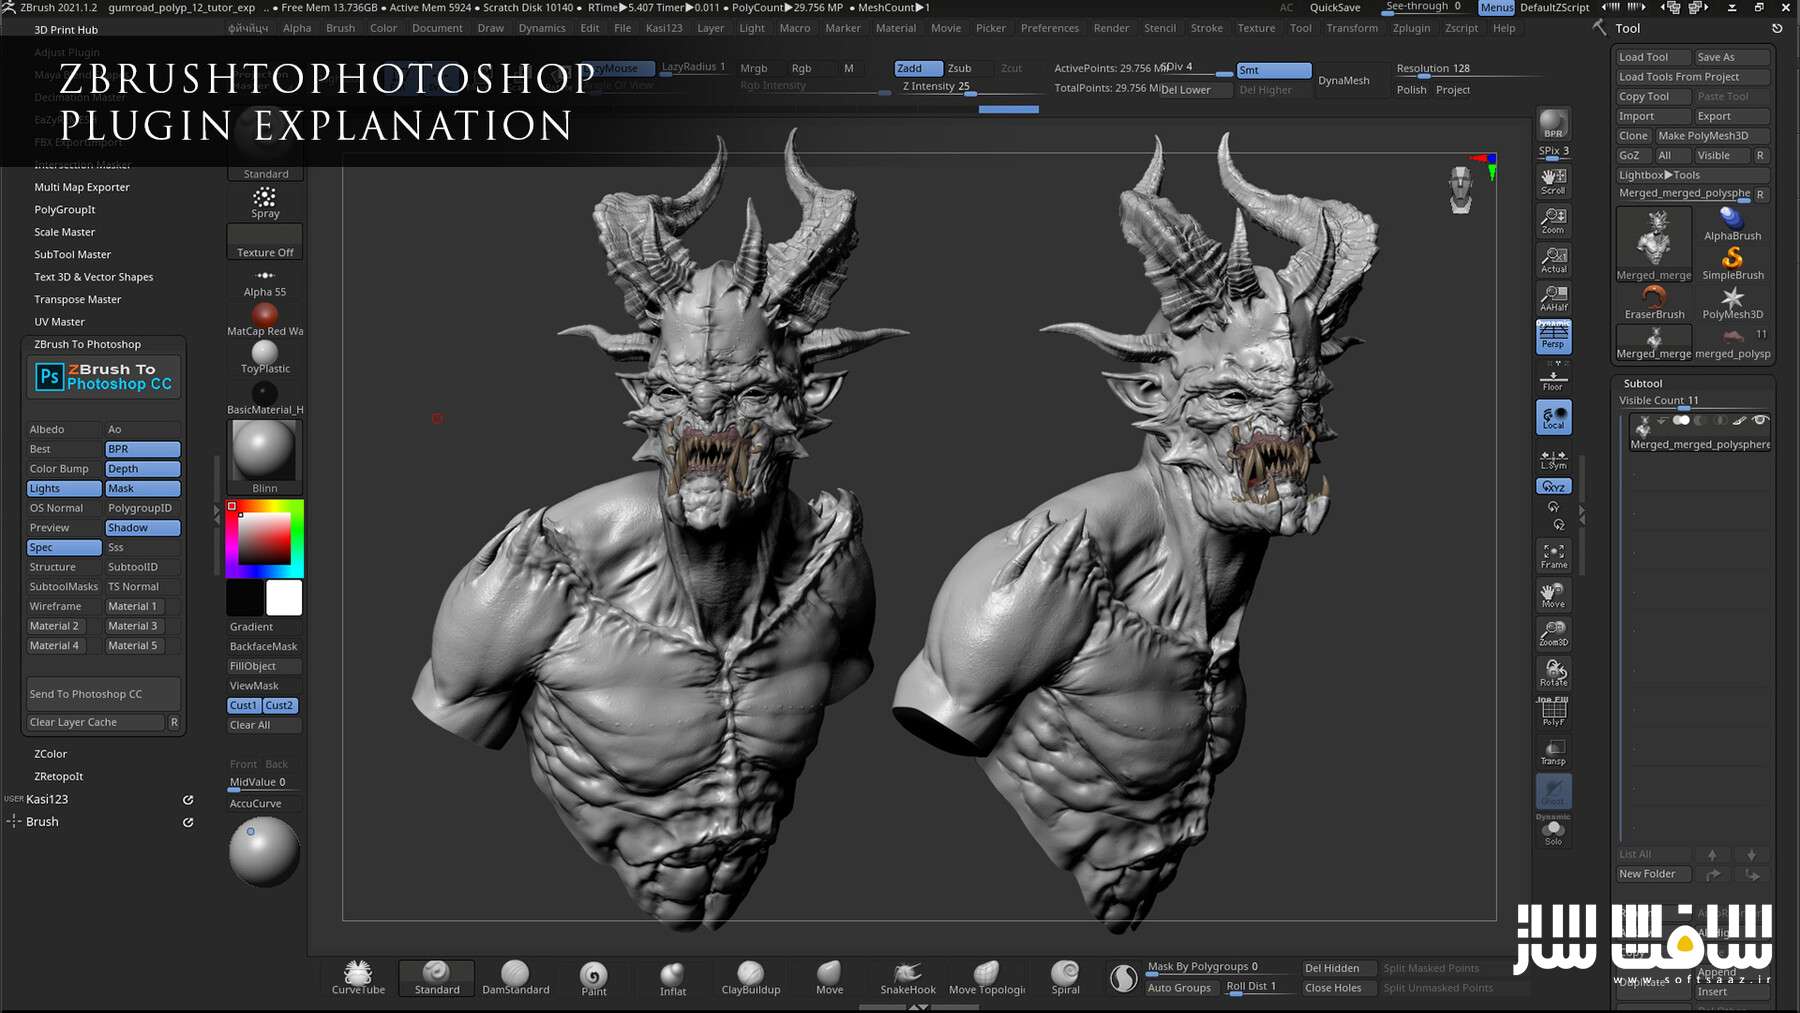
- پایپ لاین پلاگین ZbrushToPhotoshop
- نحوه تنظیم پس ها در فتوشاپ
- ابزارها و کلید های میانبر در فتوشاپ
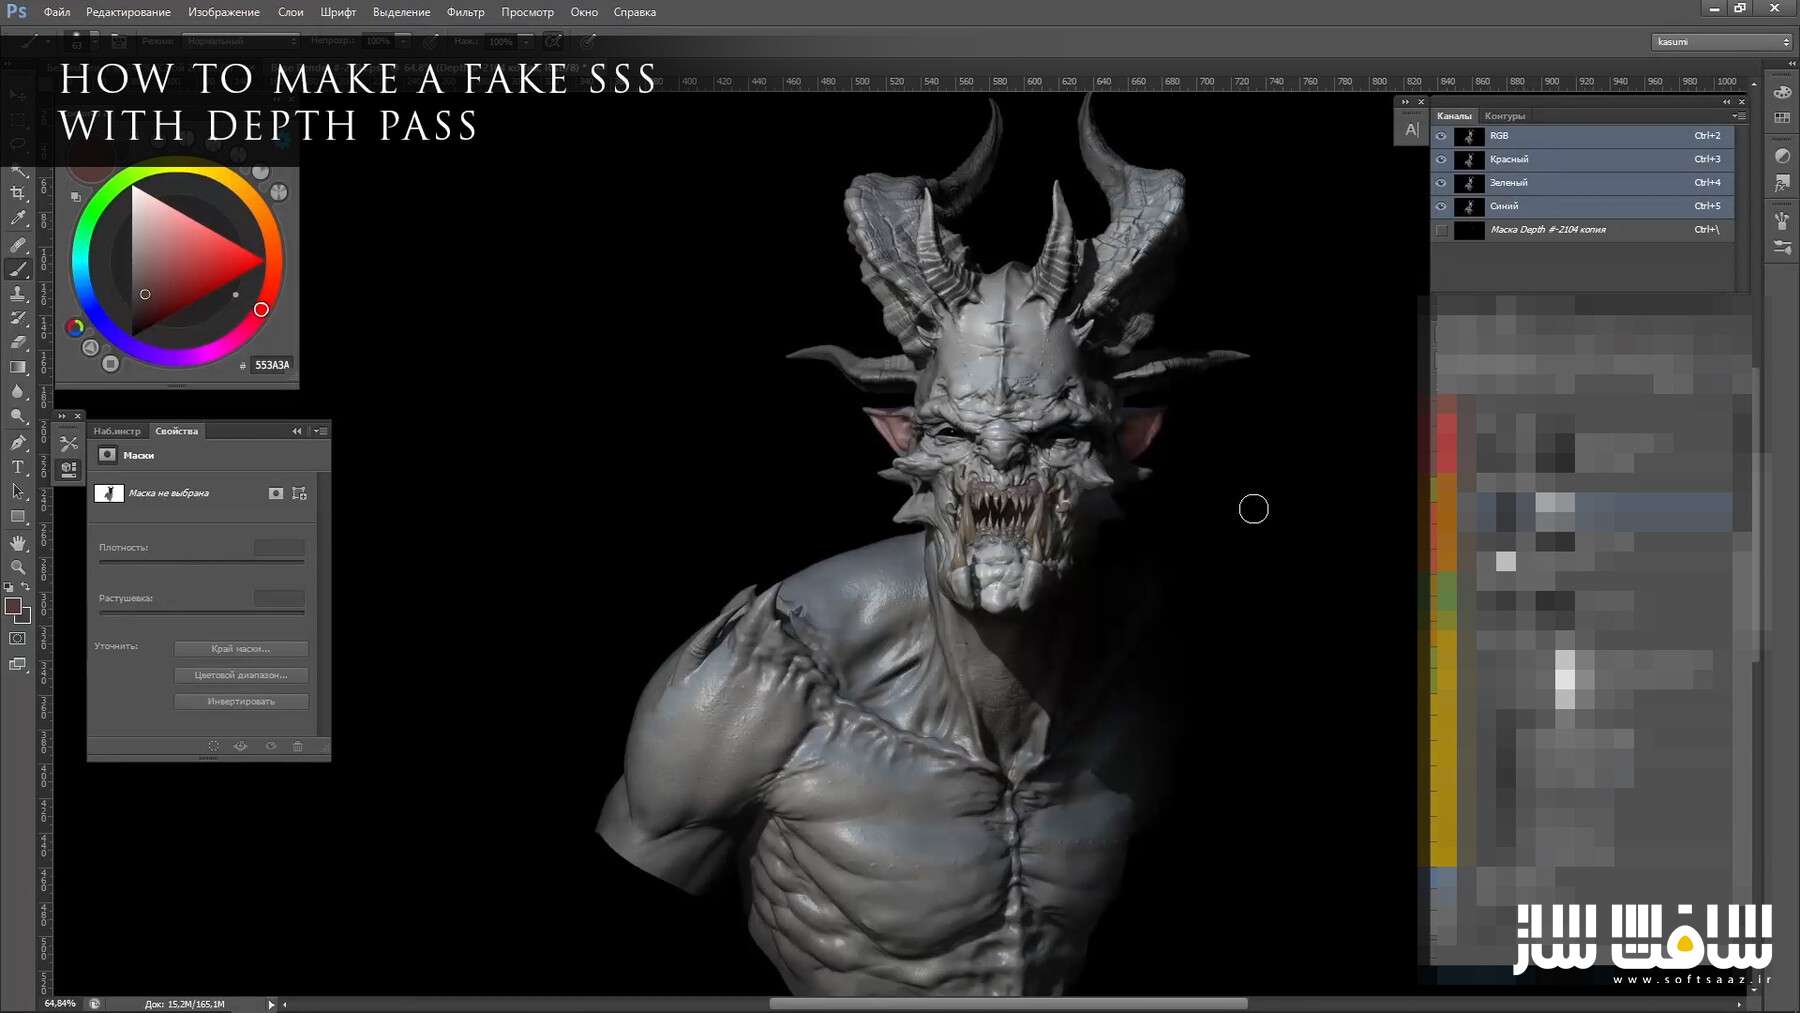
- نحوه ساخت SSS فیک
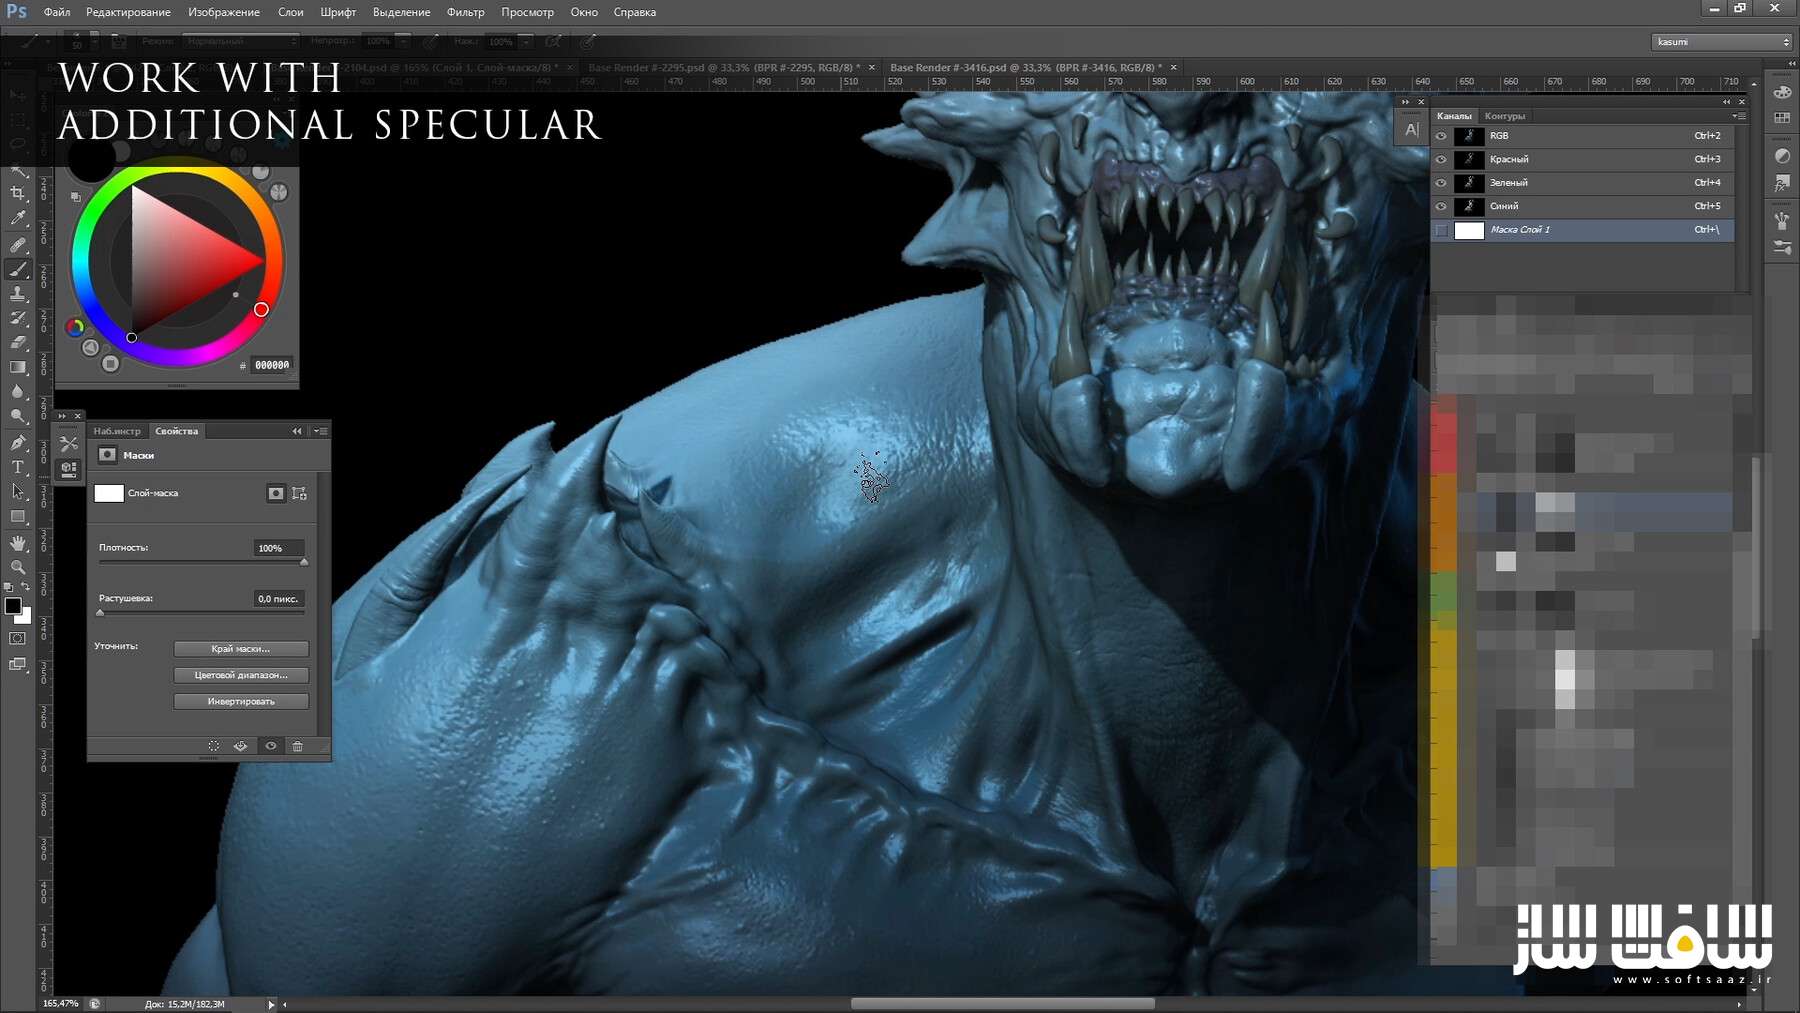
- نحوه افزودن specular برای پوست
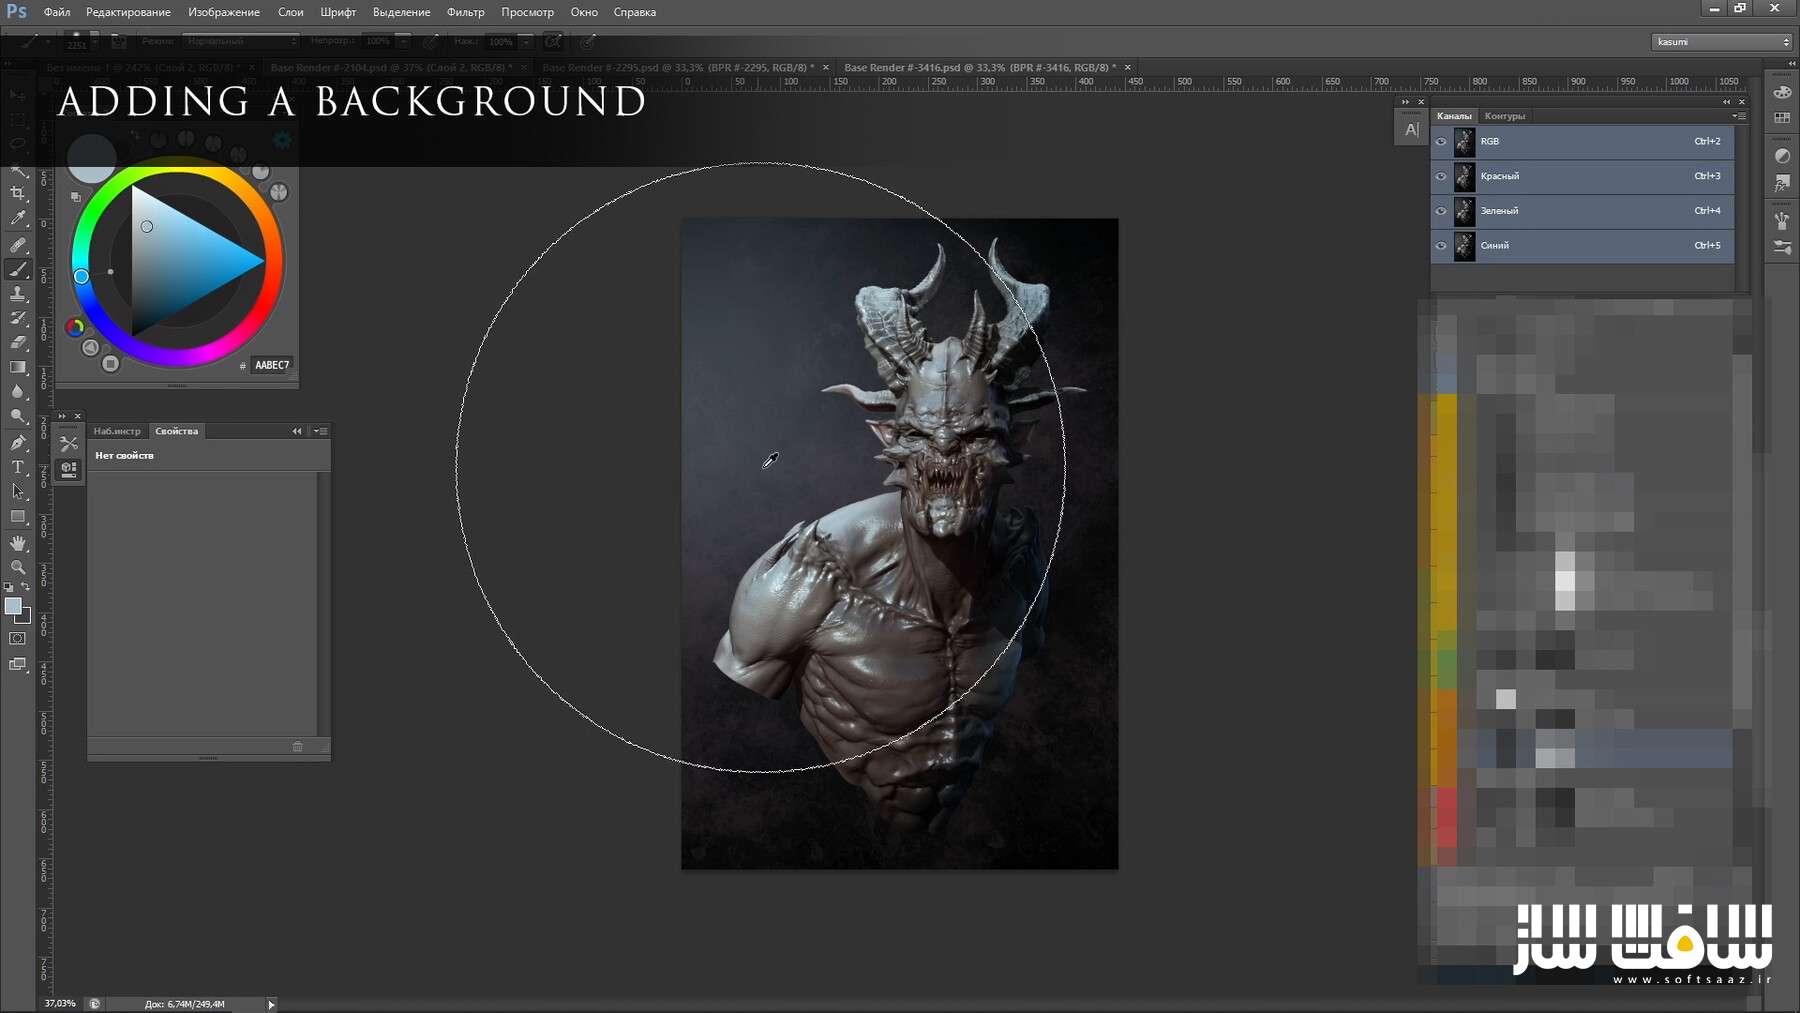
- کار با بک گراند
گالری مجموعه :
عنوان دوره : Artstation – How to render correctly in ZBRUSH
سطح : متوسط
زمان کل دوره : 30 دقیقه
تعداد فایل های تصویری : 1
سال آموزش : 2021
فایل تمرینی : دارد
مربی دوره : Maria Rogue-One
نرم افزار : ZBrush , Photoshop
زیرنویس انگلیسی : دارد
Artstation – How to render correctly in ZBRUSH
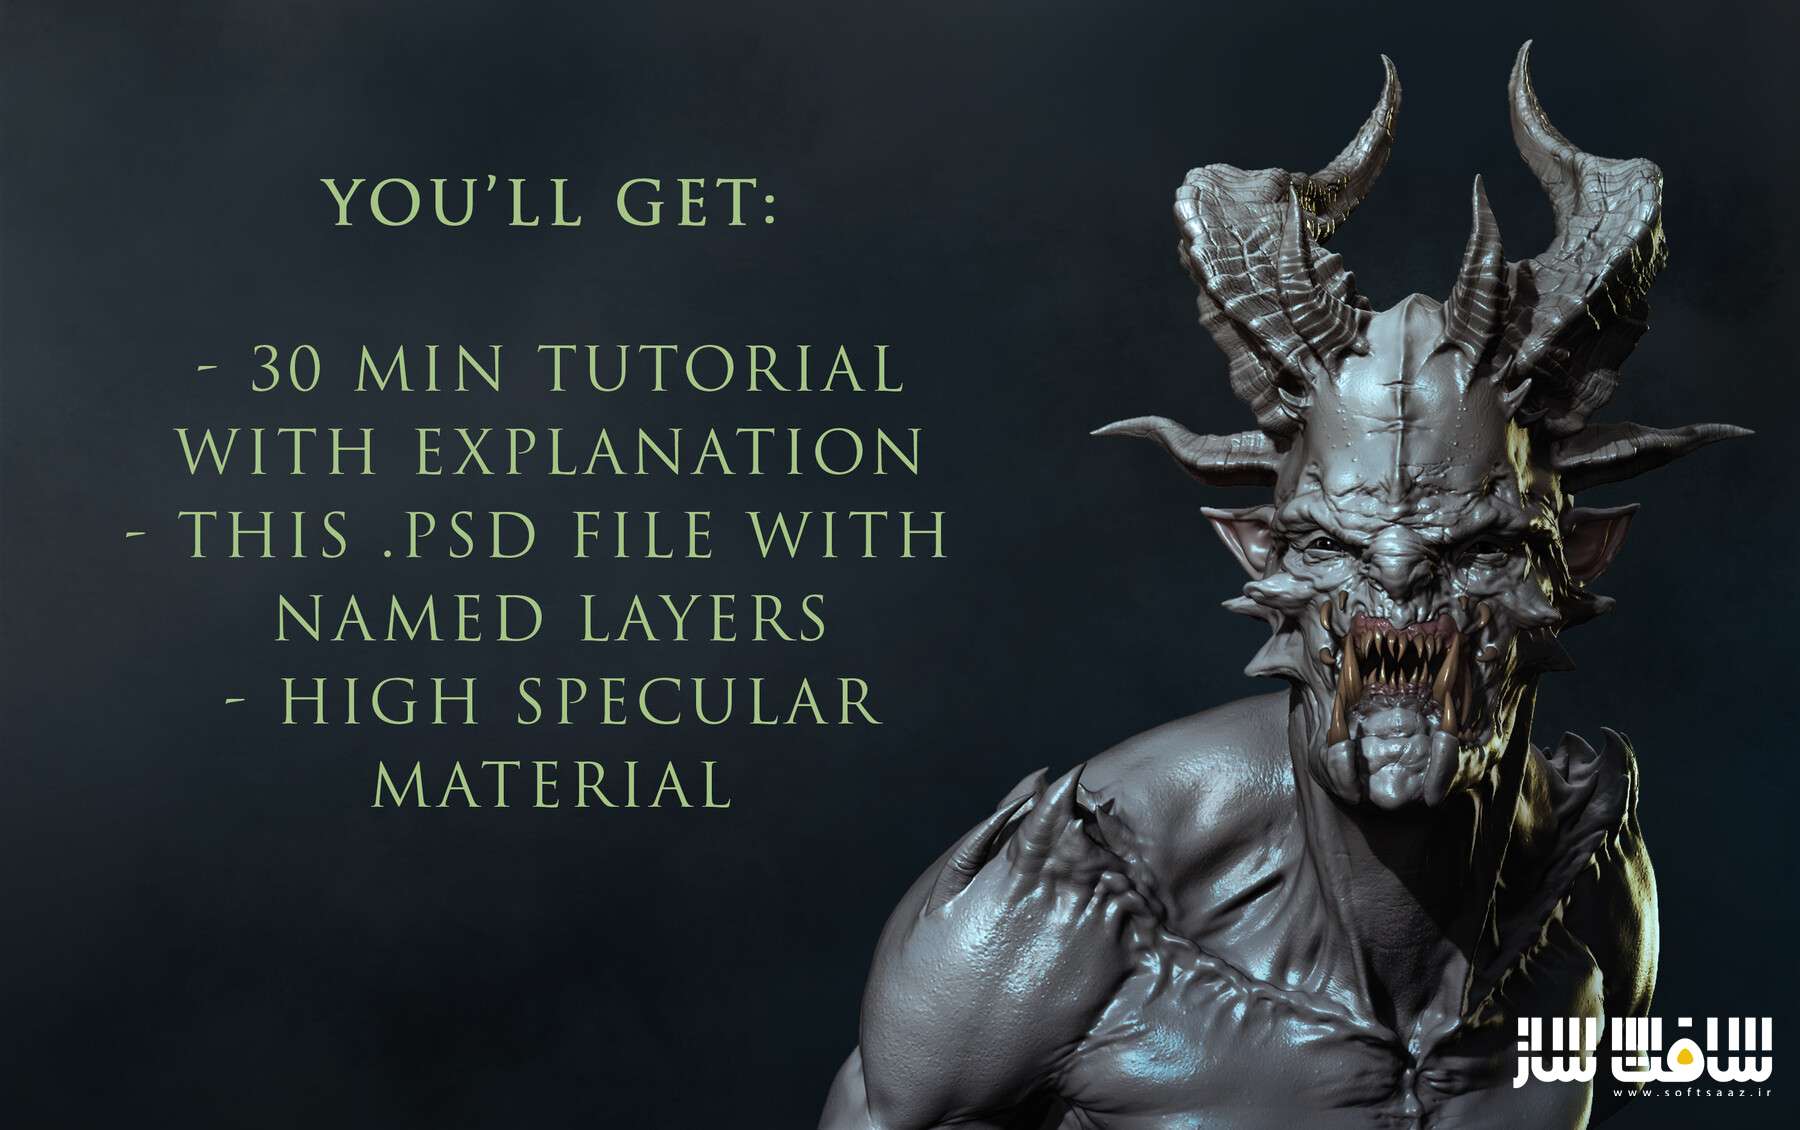
I decided to record a mini-tutorial about a very basic, but a very important thing – How you can make screenshots or render in Zbrush in high quality.
The tutorial is in Russian (audio) + It has English subtitles (.srt file)
But anyway during the video a lot of tooltips and it’s pretty clear to understand just if you see what am I doing.
I position this tutorial as information for beginners, but I think that this knowledge will help a lot of artists.
You will learn:
1 simple way to speed up BPR render
How to change the resolution of render and get your screens in 3k or more
How to remember the angle of the model
Work with the perspective of the camera
Basic lightning setting
2 presets for BPR Shadow settings
ZbrushToPhotoshop plugin pipeline with an explanation of 6 most needed passes
How to adjust passes in Photoshop
Very basic tools and hotkeys in Photoshop (masks\levels\brightness&conrast\hue&saturation\photo-philters\gradients\overlay modes\cropping)
How to make a fake SSS
How to add a cool specular for skin or wet places with the help of Additional material settings
Work with background
حجم کل : 1.4 گیگابایت

برای دسترسی به کل محتویات سایت عضو ویژه سایت شوید
برای نمایش این مطلب و دسترسی به هزاران مطالب آموزشی نسبت به تهیه اکانت ویژه از لینک زیر اقدام کنید .
دریافت اشتراک ویژه
مزیت های عضویت ویژه :
- دسترسی به همه مطالب سافت ساز
- آپدیت روزانه مطالب سایت از بهترین سایت های سی جی
- ورود نامحدود کاربران از هر دیوایسی
- دسترسی به آموزش نصب کامل پلاگین ها و نرم افزار ها
اگر در تهیه اشتراک ویژه مشکل دارید میتونید از این لینک راهنمایی تهیه اشتراک ویژه رو مطالعه کنید . لینک راهنما
For International user, You can also stay connected with online support. email : info@softsaaz.ir telegram : @SoftSaaz
امتیاز به این مطلب :
امتیاز سافت ساز
لطفا به این مطلب امتیاز بدید 🦋

