دانلود پروژه Component Names v1.0.9 برای یونیتی
Asset Store – Component Names
پروژه Component Names برای یونیتی
پروژه Component Names برای یونیتی : این پروژه به طور یکپارچه با Inspector ادغام می شود و امکان تغییر نام اجزا را به دلخواه به گونه ای می دهد که گویی یک ویژگی بومی است ، با سافت ساز همراه باشید.
عنوان : Asset Store – Component Names
فرمت : unitypackage
کاتالوگ : ندارد
موضوع : پروژه یونیتی
شرکت سازنده : Unity Asset
Asset Store – Component Names
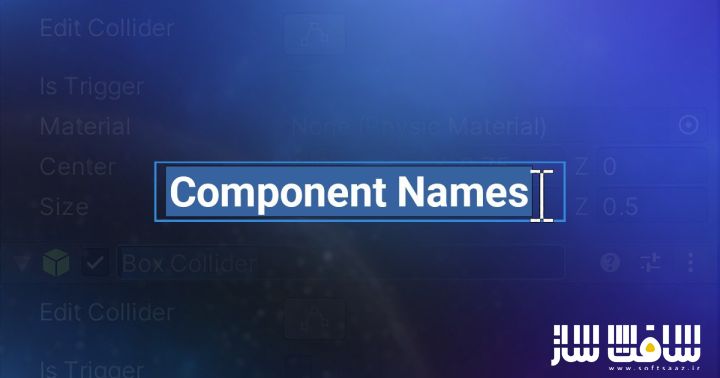
Component Names integrates seamlessly with the Inspector and makes it possible to rename components.
Ever had trouble distinguishing multiple colliders on the same GameObject from each other?
Ever wished you could rename that generic “Event Trigger” component to something a little more descriptive like “On Click Open Settings”?
What if you could attach little notes to your components to provide some clarifying context?
Wouldn’t it be great if you could see the current state of that “Health” component right in the title without having to unfold it?
Now you can!
Component Names integrates seamlessly with the Inspector and makes it possible to rename components at will as if it was a native feature.
Features
Select a component’s header and press F2 to start renaming it (or select “Rename” from the context menu if your keyboard is broken).
Default name is shown in parentheses after the custom name by default.
Custom component names can be seen in Object fields.
Custom component names can be seen in UnityEvent dropdowns.
See a summary description of components when mouseovering their header.
Give custom tooltips to components.
All custom name data is fully stripped from builds.
Features For Coders
Get component names in code using Component.GetName (great for debugging!).
Generate component names from their current state by calling Component.SetName in OnValidate.
Make Component.name and Component.ToString return custom component names by deriving from custom base class.
Highly Compatible
Compatible with Power Inspector, Odin Inspector and any custom editors you might have.
Technical details
Component Names
Select a component’s header in the Inspector and press F2 to start renaming it (or select “Rename” from the context menu).
Default name is shown in parentheses after the custom name by default.
Add a custom suffix after the default name by typing “(suffix)”.
Give a custom name and suffix by typing “Name (suffix)”.
Give a custom name without default name suffix by typing “Name ()”.
Custom component names are shown in Object fields and UnityEvent fields.
All custom name data is fully stripped from builds.
Component Tooltips
Give a custom tooltip by typing “Name | Tooltip”.
When a component class has summary documentation it is automatically shown as a tooltip when its header is mouseovered in the Inspector.
Features For Coders
Extension methods component.GetName and component.SetName make it simple to get or set component names in code as well.
Easily change Component.name and Component.ToString() to return the component’s name by extending custom base class – or by overriding them yourself with just a few lines of code.
حجم کل : 1 مگابایت

برای دسترسی به کل محتویات سایت عضو ویژه سایت شوید
برای نمایش این مطلب و دسترسی به هزاران مطالب آموزشی نسبت به تهیه اکانت ویژه از لینک زیر اقدام کنید .
دریافت اشتراک ویژه
مزیت های عضویت ویژه :
- دسترسی به همه مطالب سافت ساز
- آپدیت روزانه مطالب سایت از بهترین سایت های سی جی
- ورود نامحدود کاربران از هر دیوایسی
- دسترسی به آموزش نصب کامل پلاگین ها و نرم افزار ها
اگر در تهیه اشتراک ویژه مشکل دارید میتونید از این لینک راهنمایی تهیه اشتراک ویژه رو مطالعه کنید . لینک راهنما
For International user, You can also stay connected with online support. email : info@softsaaz.ir telegram : @SoftSaaz
امتیاز دهی به این مطلب :
امتیاز
لطفا به این مطلب امتیاز دهید


