آموزش تخریب پیشرفته : رعد و برق در Houdini
CGCircuit – Advanced Destruction Series: Lightning Strike

تخریب پیشرفته : رعد و برق در Houdini
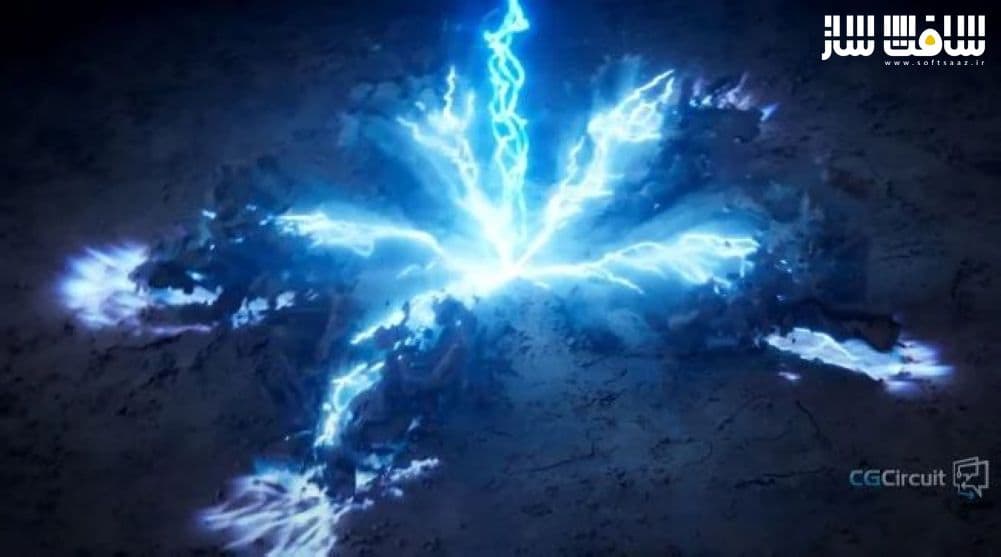
آموزش تخریب پیشرفته : رعد و برق در Houdini : در این دوره از سایت CGCircuit، هنرمند Ciobanu Razvan، کل صحنه تخریب پیشرفته در هودینی شامل تمام افکت ها،هندسه و کامپوزیشن را نشان می دهد. این دوره از صفر تا صد ساخت یک زمین، تکنیک های برش ،شبیه سازی،ایجاد چند تکه سنگ برای واقع گرایی و تنوع بیشتر را پوشش می دهد. این دوره روش های مختلف ایجاد هندسه و رعد و برق،شبیه سازی POP،ایجاد بقایای دود و ذرات،رندر و کامپوزیت ر در هودینی و Nuke را یاد می دهد. این دوره آموزشی توسط تیم ســافــت ســاز برای شما عزیزان تهیه شده است.
عنوان دوره : CGCircuit – Advanced Destruction Series: Lightning Strike
سطح : متوسط
زمان کل دوره : 7.33 ساعت
تعداد فایل های تصویری : 56
سال آموزش : 2022
فایل تمرینی : دارد
مربی دوره : Ciobanu Razvan
نرم افزار : Houdini – Nuke
زیرنویس انگلیسی : ندارد
CGCircuit – Advanced Destruction Series: Lightning Strike
We will be creating this entire scene in Houdini from scratch, including all the effects, geometry, and compositing.
We will start by first creating a terrain, using the heightfield workflow.
We are going to use multiple cutting techniques to obtain fractured pieces only where we need them.
For the simulation we will create a custom vector that will drive the movement of our pieces.
And then we will create some small rock debris which we add on top of our simulation to add more variation and realism.
• Lightning FX and Rays
For the lightning we will create the geometry in various ways. We will use a combination of POP simulations,
copy to points techniques, and attribute vops to have complete control over the lightning.
From our fractured pieces we will create some volumetric rays to add on top of the lightning.
• Debris Smoke and Dirt
And finally we will use our fractured geometry to create the smoke debris and another layer of particles which
will essentially act as dirt.
• Render and composite
In the rendering section I will go over how we can setup different renders for each layer that also contains AOV’s,
to have complete control over each of our elements.
In the Nuke section we will bring everything together to complete the final look. This part will be fairly
straightforward, with the ocasional tips and tricks, and some of my favorites nodes that I use on daily basis.
حجم کل : 7.9 گیگابایت

برای دسترسی به کل محتویات سایت عضو ویژه سایت شوید
برای نمایش این مطلب و دسترسی به هزاران مطالب آموزشی نسبت به تهیه اکانت ویژه از لینک زیر اقدام کنید .
دریافت اشتراک ویژه
مزیت های عضویت ویژه :
- دسترسی به همه مطالب سافت ساز
- آپدیت روزانه مطالب سایت از بهترین سایت های سی جی
- ورود نامحدود کاربران از هر دیوایسی
- دسترسی به آموزش نصب کامل پلاگین ها و نرم افزار ها
اگر در تهیه اشتراک ویژه مشکل دارید میتونید از این لینک راهنمایی تهیه اشتراک ویژه رو مطالعه کنید . لینک راهنما
For International user, You can also stay connected with online support. email : info@softsaaz.ir telegram : @SoftSaaz
امتیاز به این مطلب :
امتیاز سافت ساز
لطفا به این مطلب امتیاز بدید


