آموزش ریگ بندی صورت از Nico Sanghrajka
CGCircuit - Face Rigging
آموزش ریگ بندی صورت از Nico Sanghrajka
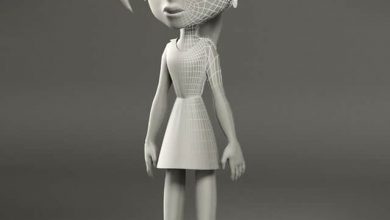
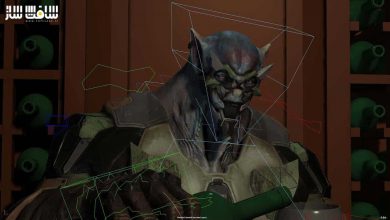
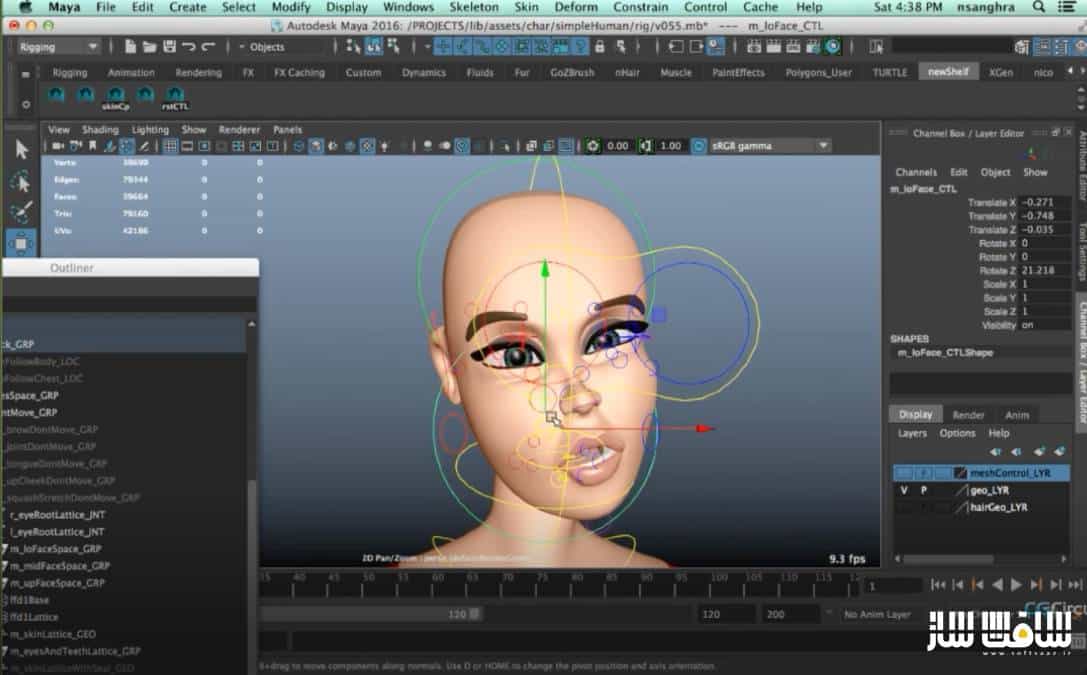
آموزش ریگ بندی صورت از Nico Sanghrajka : در این دوره 20 ساعته از CGCircuit، هنرمند Nico Sanghrajka، نگاهی به ریگ بندی صوتر با فیلم های انیمیشنی محبوب خواهد انداخت. یک ریگ بندی صورت را بصورت کامل ایجاد خواهیم کرد و به یک مولفه در یک زمان نگاه میکنیم تا هر کسی بتواند همراه با ورک شاپ به دنبال آن بگردد و چیزی از آن بیرون بیاورد. این دوره آموزشی توسط تیم ســافــت ســاز برای شما عزیزان تهیه شده است.
عناوین اصلی دوره آموزشی :
- معرفی/ مقدمات و فلسفه : شروع به تفکر در مورد چهره ها و یادگیری نحوه توجه به جزییات و تفاوت های ظریف هنگام نگاه کردن به صورت ها
- شروع کار به ریگ صورت: شروع با یک بیس ریگ،نگاهی به قرار گیری اولیه مفاصل و ریگ فک ،چشم ها و گوش ها خواهیم انداخت.
- ریگ ابرو ها : هفته سوم در مورد ریگ ابروهاست، نگاهی به wire deformer و smooth deformations می اندازیم.
- ریگ پلک ها : تنظیم پلک های گوشتی که با چشم حرکت میکنند و رفتار پیچیده ایی چون lid pushing اضافه خواهیم کرد.
- ریگ بندی برای کنترل دهان و لب: با استفاده از ترکیبی blendshape ها و مفاصل به بررسی لب و دهان می پردازیم.
- ریگ بینی،دهان و زبان : نگاهی به ناحیه داخلی دهان میکنیم و کنترلهایی را برای دندان اضافه میکنیم ، زبان را ریگ و روی ریگ بینی کار میکنیم.
- ریگ گونه ها،squash و stretch : نگاهی به حجم و نواحی گوشتی صورت می اندازیم و روی گونه و افزودن squash and stretch به صورت کار میکنیم.
- کنترل های Tweaker وlip seal : افزودن لایه اضافی دفرمیشن به صورت ، روش های افزودن lip seal به کاراکتر
- کنترلهای مش و تغییرات نهایی: نحوه پولیش ریگ های صورت برای ارائه و کامل کردن اکسپرژن صورت صحبت خواهیم کرد.
عنوان دوره : CGCircuit – Face Rigging
سطح : تمامی سطوح
زمان کل دوره : 20 ساعت
تعداد فایل های تصویری : 62
سال آموزش : 2018
فایل تمرینی : یک فایل مایا
مربی دوره : Nico Sanghrajka
نرم افزار : Maya
زیرنویس انگلیسی : ندارد
CGCircuit – Face Rigging
A look at facial rigging with animated feature films in mind. We will create a fully functioning face rig, looking at one element at a time so that anyone can follow along with the workshop and get something out of it.
The workshop week by week
Week 1: Introductions / Prequisits and Philosophy
This is meant as an introduction and just get us involved and to start thinking about faces and learning how to notice and pay attention to the details and nuances when looking at faces.
Week 2: Getting started with the face rig
In this week we will start with a base rig, look at initial joint placement and rig the jaw, eyes and ears.
Week 3: Rigging the eyebrows
This week is all about eyebrows. We will look at the wire deformer and how it can help us getting smooth deformations for our brows as well as how we can
create corrective blendshapes on top of other deformers.
Week 4: Rigging the eyelids
In this week we will focus on the eyelids. Exploring joint based rigging, we will look at a way to set up fleshy eyelids that move with the eyes and add more complex behavior such as lid pushing.
Week 5: Rigging the mouth and lip controls
Now that we have the upper part of the face rigged, we will move to the lower portion of the face and explore the mouth and lips using a combination of blendshapes and joints.
Week 6: Rigging Nose, Teeth and Tongue
In this week we will take a look at the inner mouth area and add controls for the teeth, rig the tongue and also work on a rig for the nose.
Week 7: Rigging upcheeks, cheeks and squash and stretch
Now that we have created rigs for the main features of the face, we will take a look at volumes and fleshy areas of the face and work on the cheek area and add squash and stretch to the face that will allow animators to exaggerate the performance of the character’s face.
Week 8: Tweaker controls and lip seal
This week we will look at a way to add an additional layer of deformations in form of cluster type controls that will follow the overall motion of the face and can be used to offset certain painted areas, that animators might want to have control over. This “Tweaker-Deformation”- level is optional but can be a great addition.
We will also look at a way how we can add a lip seal to allow our character to pinch the lip corners or zip the lips together to keep them closed as the jaw opens
for example.
Week 9: Mesh controls and final touches
In this final week its all about you finishing and polishing your own face rigs for the final presentation and completing a face expressions test showing of 4-6 different poses.
I also want to show you how we could add mesh controls to replace the curve controls we have, to allow animators
to directly grab the geometry and move the areas of the face around intuitively as if they were sculpting with clay.
This technique does make the face more readable as animators are posing it, but eliminating the curves controls that are otherwise in front of the face, but be advised that it will also slow down the rig – which is why this is also an optional step and not required.
Finally we will look at how we can write a script to reset all of our controls back to there default values, so that we can easily get back to the default pose of the face rig with the click of a button.
حجم کل : 7 گیگابایت

برای دسترسی به کل محتویات سایت عضو ویژه سایت شوید
برای نمایش این مطلب و دسترسی به هزاران مطالب آموزشی نسبت به تهیه اکانت ویژه از لینک زیر اقدام کنید .
دریافت اشتراک ویژه
مزیت های عضویت ویژه :
- دسترسی به همه مطالب سافت ساز
- آپدیت روزانه مطالب سایت از بهترین سایت های سی جی
- ورود نامحدود کاربران از هر دیوایسی
- دسترسی به آموزش نصب کامل پلاگین ها و نرم افزار ها
اگر در تهیه اشتراک ویژه مشکل دارید میتونید از این لینک راهنمایی تهیه اشتراک ویژه رو مطالعه کنید . لینک راهنما
For International user, You can also stay connected with online support. email : info@softsaaz.ir telegram : @SoftSaaz
امتیاز به این مطلب :
امتیاز سافت ساز
لطفا به این مطلب امتیاز بدید 🦋


