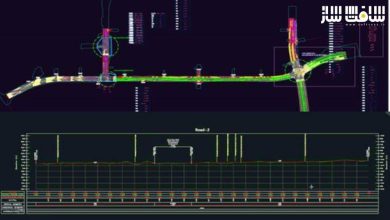
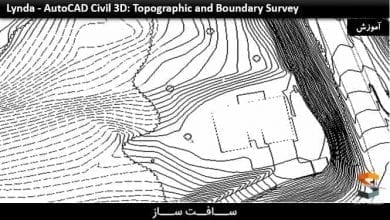
آموزش اصول اینترفیس نرم افزار Civil 3D 2023 تا 2024
Udemy – Civil 3D 2023 to 2024 Interface Essentials

آموزش اصول اینترفیس نرم افزار Civil 3D 2023 تا 2024
آموزش اصول اینترفیس نرم افزار Civil 3D 2023 تا 2024 : در این دوره از هنرمند Charles Ellison ، به بررسی اینترفیس Autodesk Civil 3D خواهد پرداخت. اینترفیس Autodesk Civil 3D قابلیت های بیشتری برای توسعه و مدیریت اطلاعات civil را به محیط پیشرفرض اتوکد اضافه میکند. در پایان با فضای کاری برنامه و چندین ابزار و کار مهم طراحی آشنا خواهید شد. این دوره آموزشی توسط تیم ســافــت ســاز برای شما عزیزان تهیه شده است.
عناوین آموزش :
- ایجاد یک طراحی جدید از قالب
- مزایای استفاده از قالب های طراحی
- مزایای استفاده از Blank Drawing
- آبجکت ها و ریبون های Civil 3D
- کاوش در تب oolspace Settings
- بررسی تب Toolspace Prospector
- ساده سازی ایرنتفیس ایجاد آبجکت Civil 3D
- شناخت تب Annotate Tab
- مشاهده تب Analyze و داشبورد Volumes
عنوان دوره : Udemy – Civil 3D 2023 to 2024 Interface Essentials
سطح : مبتدی
زمان کل دوره : 31 دقیقه
تعداد فایل های تصویری : 11
سال آموزش : 2022
فایل تمرینی : دارد
مربی دوره : Charles Ellison
نرم افزار : AutoCAD Civil 3D
زیرنویس انگلیسی : ندارد
Udemy – Civil 3D 2023 to 2024 Interface Essentials
The Autodesk Civil 3D user interface adds more capabilities for developing and managing civil design information to the default AutoCAD environment.
The ribbon and command line, which are common AutoCAD features, function the same way in Autodesk Civil 3D as they do in AutoCAD.
You can start using the application workspace and several crucial design tools and tasks after watching these videos.
Design data in Autodesk Civil 3D is arranged as object collections in the Toolspace panel. The hierarchy of design elements, including points, surfaces, and alignments, is shown in Toolspace’s Prospector tab. An object style hierarchy, including styles for labels and tables, is shown on the Settings page.
The Panorama window shows data in a grid that is horizontally aligned, which makes it simpler to view several columns at once. A unique tab, called a “vista,” is used by each type of data displayed in Panorama and is tailored specifically to that data type.
Visual Styles, Named Views, and the Object Viewer are just a few of the many methods to examine Autodesk Civil 3D objects.
The tutorials drawings folder contains all of the illustrations used in these lessons. To avoid overwriting the original drawings when saving your work from these lessons, save the drawings to the My Tutorial Data folder.
What you’ll learn
Creating a New Drawing From a Template
Advantages Of Using a Drawing Template
Advantages Of Using a Blank Drawing
Civil 3D Objects and Ribbons
Exploring the Toolspace Settings Tab
Exploring the Toolspace Prospector Tab
Simplifying the Civil 3D Object Creation Interface
Understanding the Annotate Tab
Viewing the Analyze Tab and Volumes Dashboard
حجم کل : 0.5 گیگابایت

برای دسترسی به کل محتویات سایت عضو ویژه سایت شوید
برای نمایش این مطلب و دسترسی به هزاران مطالب آموزشی نسبت به تهیه اکانت ویژه از لینک زیر اقدام کنید .
دریافت اشتراک ویژه
مزیت های عضویت ویژه :
- دسترسی به همه مطالب سافت ساز بدون هیچ گونه محدودیتی
- آپدیت روزانه مطالب سایت از بهترین سایت های سی جی
- بدون تبلیغ ! بله با تهیه اکانت ویژه دیگه خبری از تبلیغ نیست
- دسترسی به آموزش نصب کامل پلاگین ها و نرم افزار ها
اگر در تهیه اشتراک ویژه مشکل دارید میتونید از این لینک راهنمایی تهیه اشتراک ویژه رو مطالعه کنید . لینک راهنما
For International user, You can also stay connected with online support. email : info@softsaaz.ir telegram : @SoftSaaz
امتیاز به این مطلب :
امتیاز سافت ساز
لطفا به این مطلب امتیاز بدید


