آموزش نورپردازی کارکتر در رندرمن RenderMan
Character Lighting in RenderMan 19 RIS
نورپردازی کارکتر در رندرمن
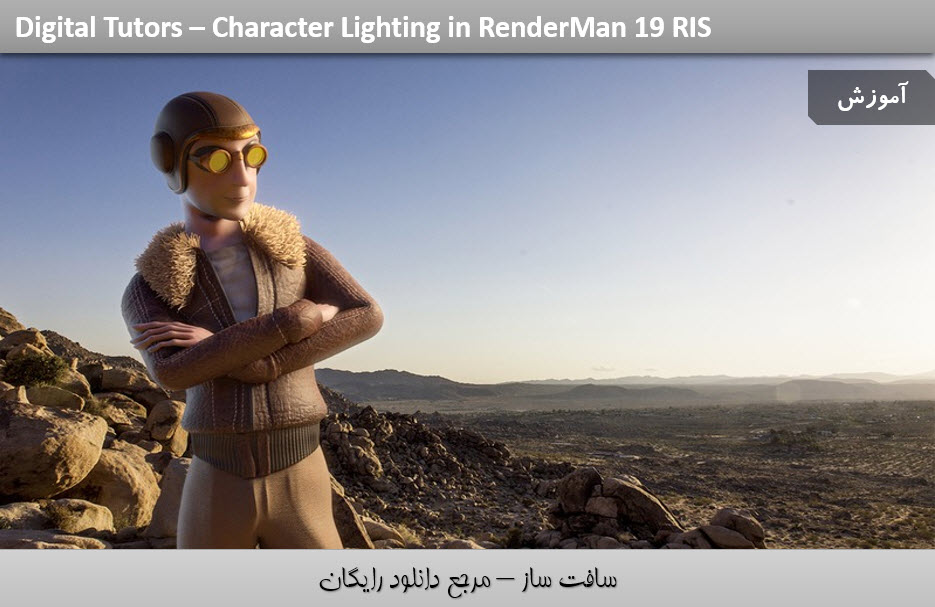
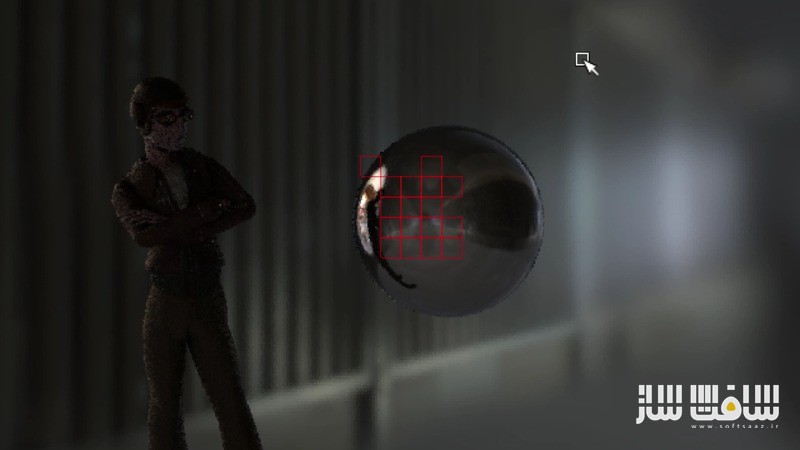
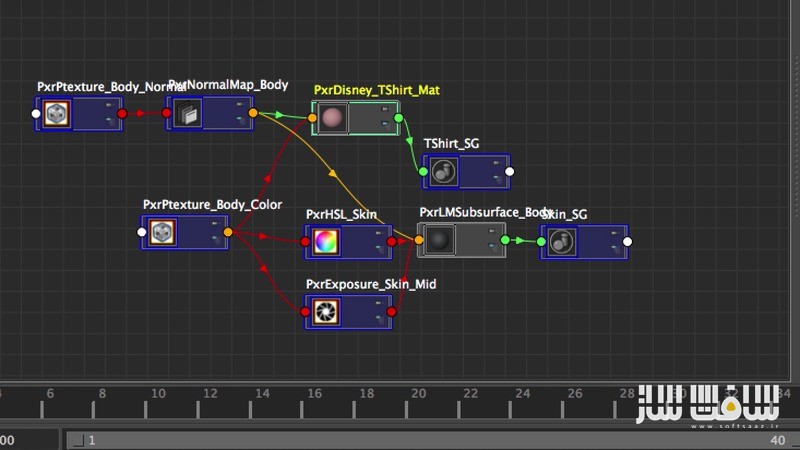
در این آموزش ” نورپردازی کارکتر در رندرمن ” از شرکت Digital Tutors مربی دوره Miguel Lleras Villaveces ، شما را با نحوه نورپردازی و متریال دهی به یک کاراکتر در نرم افزار Maya و موتور رندر RenderMan آشنا خواهید کرد . از RenderMan RIS و سیستم قدرتمند و کارآمد GI در جاهایی که نور ارگانیک و واقعی تر است ، استفاده می کنیم. به تطابق نورپردازی کاراکتر در 2 صفحه متفاوت خواهیم پرداخت. در نهایت ، آموزش با ایجاد پرتره کاراکتر با استفاده از تکنیک های شبیه به آنها در یک استودیوی عکاسی واقعی به پایان می رسد.با سافت ساز همراه باشید .
عناوین اصلی این دوره آموزشی :
- تنظیم متریال
- پوشش متریال پوست
- تنظیمات خز
- تنظیمات AOV
- ایجاد طرح نورپردازی
- ایجاد نور محیط
- تعریف نور کلیدی
- استفاده کردن از GI
- ایجاد اتمسفر
- نورپردازی کارکتر در رندرمن
- و …
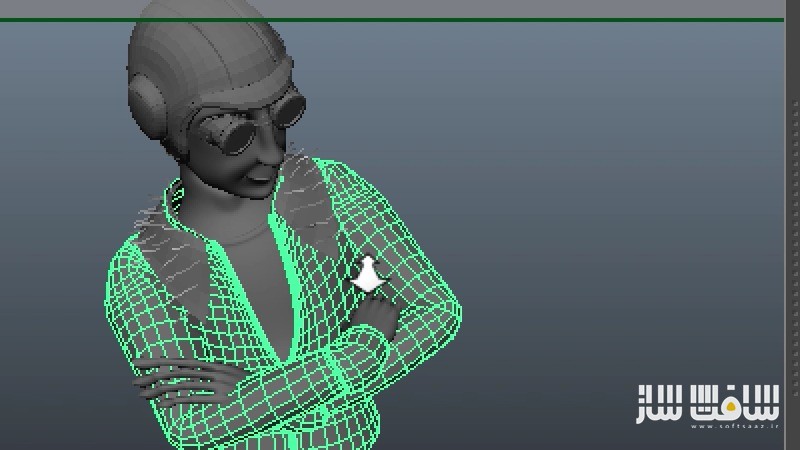
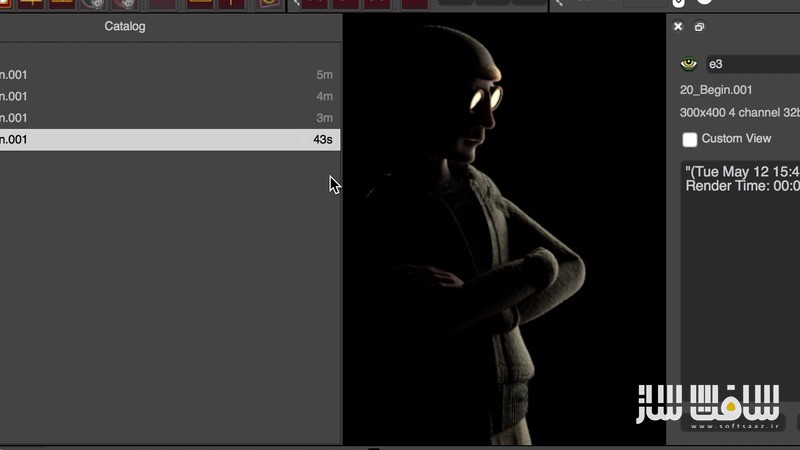
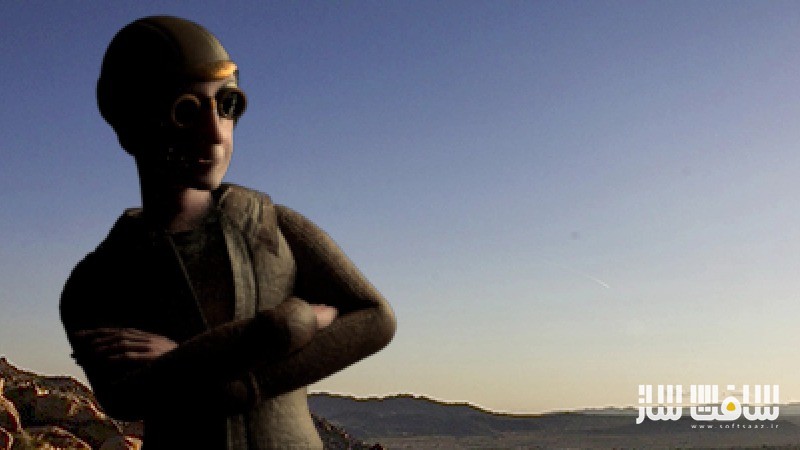
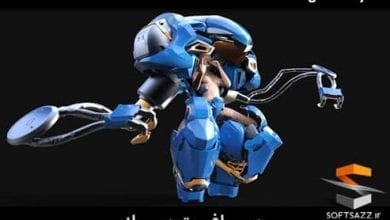
تصاویری از نورپردازی کارکتر در رندرمن :
لطفا قبل از دانلود پیشنمایش دوره را مشاهده فرمایید:
عنوان دوره : Digital Tutors – Character Lighting in RenderMan 19 RIS
سطح : پیشرفته
زمان کل دوره : 3.5 ساعت
تعداد فایل های تصویری : 23
سال آموزش : 2015
فایل تمرینی : دارد
مربی دوره : Miguel Lleras Villaveces
نرم افزار : Maya 2015, RenderMan 19
زیرنویس : ندارد
Digital Tutors – Character Lighting in RenderMan 19 RIS
Throughout these lessons, we’ll learn about character lighting using three different techniques and workflows. We’ll use RenderMan RIS and its powerful and efficient GI system, where lighting is more organic and realistic. We’ll match the lighting for our character into two different plates. The first one will follow a more traditional art directed approach while the second will explore a more realistic approach that is closer to the workflow used in the VFX industry. Finally, we’ll create a portrait of our character using techniques similar to the ones used in a real life photography studio. Software required: Maya 2015, RenderMan 19.
1 Introduction and project overview 00:53
2 Exploring the project files 06:45
3 Explaining render globals 07:42
4 Setting up materials 06:47
5 Continuing to set up materials 06:50
6 Covering skin materials 09:27
7 Setting up fur 08:02
8 Applying the light rig 07:14
9 Setting up AOVs 07:53
10 Creating the first lighting layout 06:51
11 Establishing the environment light 10:23
12 Designing the key light 09:09
13 Enhancing the key light 08:59
14 Creating the rim light 11:57
15 Finishing the first light scenario 08:17
16 Beginning the second light scenario 08:01
17 Creating the back window light 08:32
18 Applying the top light 09:33
19 Using GI to create additional bounces 12:26
20 Beginning the third light scenario 07:25
21 Using a bounce card for indirect light 09:35
22 Creating the atmosphere 06:44
23 Finishing the atmosphere and project overview 07:11
حجم کل :

برای دسترسی به کل محتویات سایت عضو ویژه سایت شوید
برای نمایش این مطلب و دسترسی به هزاران مطالب آموزشی نسبت به تهیه اکانت ویژه از لینک زیر اقدام کنید .
دریافت اشتراک ویژه
مزیت های عضویت ویژه :
- دسترسی به همه مطالب سافت ساز
- آپدیت روزانه مطالب سایت از بهترین سایت های سی جی
- ورود نامحدود کاربران از هر دیوایسی
- دسترسی به آموزش نصب کامل پلاگین ها و نرم افزار ها
اگر در تهیه اشتراک ویژه مشکل دارید میتونید از این لینک راهنمایی تهیه اشتراک ویژه رو مطالعه کنید . لینک راهنما
For International user, You can also stay connected with online support. email : info@softsaaz.ir telegram : @SoftSaaz
امتیاز دهی به این مطلب :
امتیاز سافت ساز
لطفا به این مطلب امتیاز دهید ?

