ساخت تایتل های اعتباری انیمیت شده با دوربین های سه بعدی و After Effects
Domestika - Credit Titles Animated with 3D Cameras and After Effects
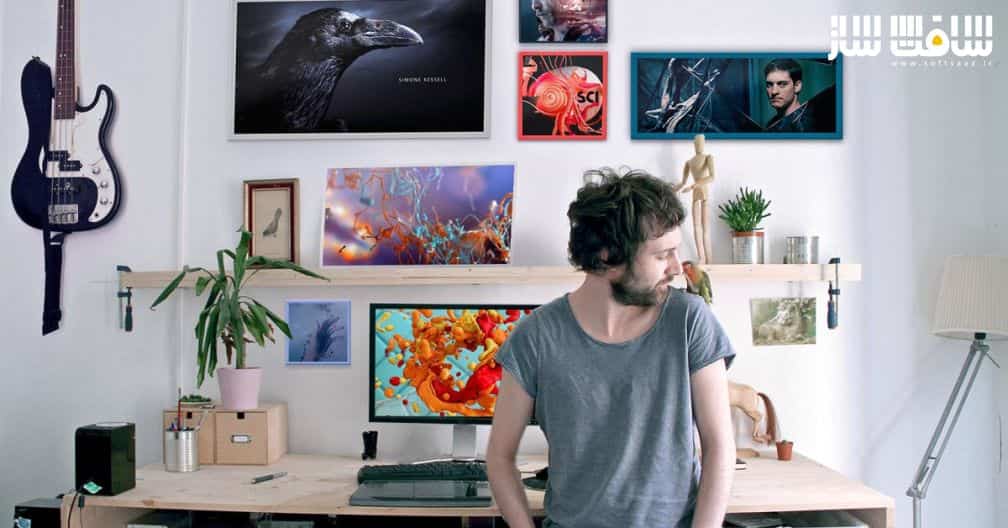
ساخت تایتل های اعتباری انیمیت شده با دوربین های سه بعدی
ساخت تایتل های اعتباری انیمیت شده با دوربین های سه بعدی و After Effects : در این دوره از سایت اسپانیایی Domestika، هنرمند Fernando Domínguez Cóza، با نحوه طراحی و انیمیت تیراژ فیلم از اسکچ تا پست پروداکشن نهایی آشنا خواهید شد. ایشان طراح و انیماتور عناوینی فیلم هایی چون Spiderman یا Star Trek می باشد که نحوه خلق این تایتل ها را به اشتراک می گذارد. ایشان فرآیند های مختلف از استوری بورد گرفته تا طراحی،انتخاب تایپوگرافی،انیمیشن،پست پروداکشن و ویرایش نهایی را پوشش می دهد. این دوره آموزشی توسط تیم ســافــت ســاز برای شما عزیزان تهیه شده است.
عناوین آموزش :
- دسته بندی ایده ها
- طراحی استایل فریم و انیماتیک
- انیمیشن استایل فریم ها
- ایجاد ایونت ها و دوربین ها
- طراحی در سه بعدی
- رندرینگ
- پست پروداکشن با After Effects
عنوان دوره : Domestika – Credit Titles Animated with 3D Cameras and After Effects
سطح : مبتدی
زمان کل دوره : 3.46 ساعت
تعداد فایل های تصویری : 17
سال آموزش : 2016
فایل تمرینی : ندارد
مربی دوره : Fernando Domínguez Cóza
نرم افزار :3ds Max – After Effects – Photoshop
زیرنویس انگلیسی : دارد
Domestika – Credit Titles Animated with 3D Cameras and After Effects
You will begin by getting to know the works and influences of the designer and art director Fernando Domínguez in the field of credit titles.
Then you will enter the phase of ideation in which you will discover the importance of good planning. You will develop the first sketches by way of styleframes with Photoshop and you will give movement as an animatic with 3D Studio Max.
For this task, Fernando will review the basic concepts of 3D Studio Max and teach you how to create a three-dimensional zone where you can place the events (or points where the actions of interest occur) and the camera.
Once we have clear the “events” where the camera orbits, begin the artistic and design work of the different elements that make up the art of styleframes. You will learn techniques and tricks that will save you very long render times to be able to do tests in an agile way.
When the composition and design work is ready, you will discover how to position typography in three-dimensional space.
Then, it will be time to perform the final render where you will see what formats to use to export the sequence of images and what elements of the scene you must render separately to be able to postproduce independently in After Effects.
Next, you will know the tools that help to adjust the color of the sequence and you will import different animated objects in 3D, achieving a feeling of uniformity throughout the piece.
Finally, you will create different planes with several cameras, you will learn to adjust your speed, you will import the audio and you will correctly export the credit titles once the piece is finished.
حجم کل : 2.3 گیگابایت

برای دسترسی به کل محتویات سایت عضو ویژه سایت شوید
برای نمایش این مطلب و دسترسی به هزاران مطالب آموزشی نسبت به تهیه اکانت ویژه از لینک زیر اقدام کنید .
دریافت اشتراک ویژه
مزیت های عضویت ویژه :
- دسترسی به همه مطالب سافت ساز
- آپدیت روزانه مطالب سایت از بهترین سایت های سی جی
- ورود نامحدود کاربران از هر دیوایسی
- دسترسی به آموزش نصب کامل پلاگین ها و نرم افزار ها
اگر در تهیه اشتراک ویژه مشکل دارید میتونید از این لینک راهنمایی تهیه اشتراک ویژه رو مطالعه کنید . لینک راهنما
For International user, You can also stay connected with online support. email : info@softsaaz.ir telegram : @SoftSaaz
امتیاز به این مطلب :
امتیاز سافت ساز
لطفا به این مطلب امتیاز بدید


