دوره داستان سرایی بصری برای آرک ویز سه بعدی
Domestika – Visual Storytelling for 3D ArchViz
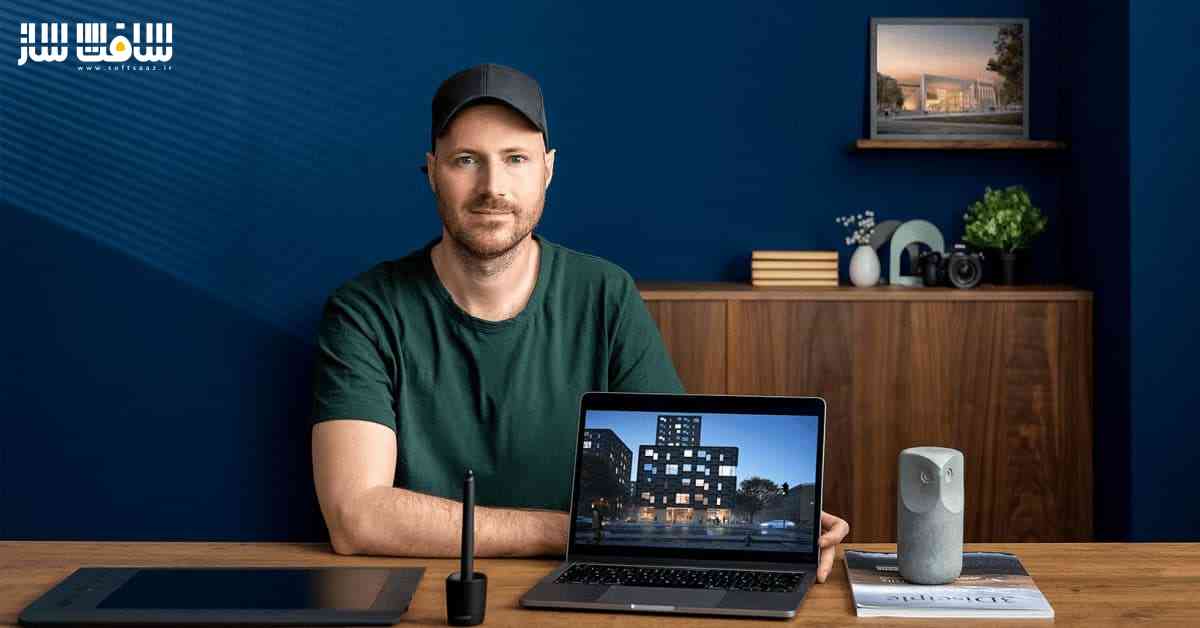
دوره داستان سرایی بصری
در این دوره داستان سرایی بصری از هنرمند Sonny Holmberg ، با نحوه ساخت یک تجسم معماری رئالستیک با رندرینگ و کامپوزیشن با استفاده از 3ds Max, V-Ray و RailClone آشنا خواهید شد. تجسم معماری،فرصتی برای بیان داستان از فضا،حال و هوا یا آینده دلخواه است. ایجاد ترکیبات بصری آرک ویز است که مشتریان را جذب می کند.
ایشان نحوه داستان سرایی بصری را با استفاده از نرم افزار تری دی مکس را یاد می دهد. Sonny گام به گام مراحل طراحی تجسم معماری را با افزونه های مختلف را نشان خواهد داد. این دوره آموزشی توسط تیم ســافــت ســاز برای شما عزیزان تهیه شده است.
عناوین اصلی دوره آموزشی :
- مروری بر داستان سرایی بصری در تجسم معماری
- نحوه ساخت داستان با کامپوزیشن و تئوری رنگ
- نحوه استفاده از تصاویر Google Earth و Google Street View جهت ایجاد پروژه سایت در مکس
- نحوه افزودن جزییات واقعی با تکنیک های مدلینگ ساده در RailClone
- نحوه مدل کردن طراحی معماری مسکونی با اشکال حجمی
- ایجاد نمای مدولار برای ساختمان
- نحوه تنظیم کامپوزیشن برای تصویر با دوربین فیزیکی در مکس
- نورپردازی صحنه با نورهای واقعی با V-Ray Dome Light
- استفاده از رندرهای white clay
- تنظیم نور متناسب با روایت بصری
- اصول تکسچرینگ صحنه با متریال های ویری در مکس
- نحوه اعمال تکسچر ها به صحنه با RailClone برای ایجاد صحنه واقعی
- فرآیند تکسچرسازی صحنه با Quixel Megascans
- خروجی رندر در فتوشاپ
عنوان دوره : Domestika – Visual Storytelling for 3D ArchViz
سطح : مبتدی
زمان کل دوره : 3.20 ساعت
تعداد فایل های تصویری : 22
سال آموزش : 2021
فایل تمرینی : ندارد
مربی دوره : Sonny Holmberg
نرم افزار : 3ds Max , V-Ray , RailClone , Photoshop
زیرنویس انگلیسی : دارد
Domestika – Visual Storytelling for 3D ArchViz
In this course, get an in-depth walkthrough of the powerful ArchViz software, 3ds Max. Sonny guides you step-by-step through the design process to create a compelling design with the different software plug-ins. Discover how to craft ArchViz designs that communicate the visual language of any space.
Get an overview of visual storytelling in architectural visualization by learning how to build a narrative with composition and color theory. Learn how to use images from Google Earth and Google Street View to create a project site in 3ds Max. See how to add realistic detail with simple modelling techniques in RailClone. Then, learn how to model a residential architectural design using volumetric shapes and create a modular facade for the building.
Discover how to set up the composition for your image using the Physical Camera in 3ds Max. Then, illuminate your scene with realistic lighting using V-Ray Dome Light. Discover the advantages of using “white clay” renders, which help adjust lighting to fit the visual narrative you want to communicate. Refine your composition by finding and adding assets that bring your scene to life.
Explore the basics of texturizing your scene with V-Ray materials in 3ds Max. See how to apply textures to elements created with RailClone to create a realistic scene. Sonny guides you through the process of texturizing your scene using Quixel Megascans before preparing the final render output.
Dive into the post-production phase by learning how to edit the different aspects of your render output in Photoshop using adjustment layers. See how to implement 2D cut out people into your scene to produce a convincing image. Create a storytelling experience in your work by adding atmosphere, depth, and additional lighting. Wrap up the course by adding the finishing touches through color grading and final edits.
What is this course’s project?
Create an ArchViz image of a residential project in an urban location through a storytelling approach.
What you need
Basic notions of 3ds Max is required.
To take this course, you need access to a computer with 3ds Max installed, as well as the program plug-ins V-Ray, RailCone, Forest Pack, and Quixel Megascans. For the post-production process, Photoshop or similar software is required.
حجم کل : 2.1 گیگابایت

برای دسترسی به کل محتویات سایت عضو ویژه سایت شوید
برای نمایش این مطلب و دسترسی به هزاران مطالب آموزشی نسبت به تهیه اکانت ویژه از لینک زیر اقدام کنید .
دریافت اشتراک ویژه
مزیت های عضویت ویژه :
- دسترسی به همه مطالب سافت ساز بدون هیچ گونه محدودیتی
- آپدیت روزانه مطالب سایت از بهترین سایت های سی جی
- بدون تبلیغ ! بله با تهیه اکانت ویژه دیگه خبری از تبلیغ نیست
- دسترسی به آموزش نصب کامل پلاگین ها و نرم افزار ها
اگر در تهیه اشتراک ویژه مشکل دارید میتونید از این لینک راهنمایی تهیه اشتراک ویژه رو مطالعه کنید . لینک راهنما
For International user, You can also stay connected with online support. email : info@softsaaz.ir telegram : @SoftSaaz
امتیاز به این مطلب :
امتیاز سافت ساز
لطفا به این مطلب امتیاز بدید 🦋

