ساخت کاراکتر بازی در 3ds Max و Zbrush
Game Character Creation in 3ds Max and ZBrush
ساخت کاراکتر بازی در مکس و زیبراش
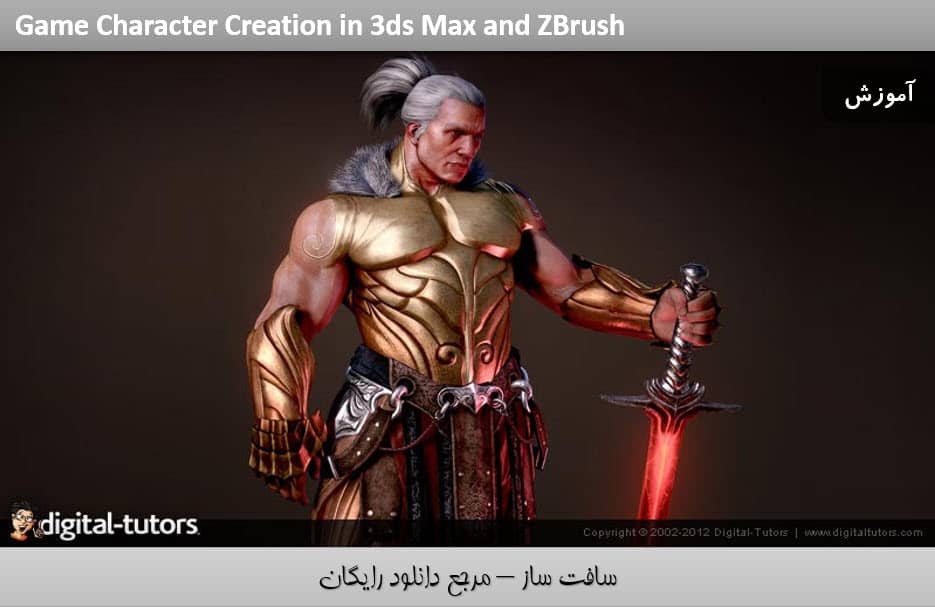
در این آموزش ” ساخت کاراکتر بازی ” از شرکت Digital Tutors مربی دوره Fabricio Moraes ، نحوه ساخت کاراکتر بازی با جزییات زیاد را خواهید آموخت. روند ساخت و طراحی کاراکتر مخصوص بازی را از ابتدا بررسی خواهیم کرد.
اسکچ اولیه کاراکتر را با استفاده از ZBrush مدل سازی خواهیم کرد و در ادامه مدل را برای ایجاد یو وی مناسب و تکسچرینگ به نرم افزار مکس منتقل می کنیم.در پایان این دوره شما شناخت کاملی از نحوه ساخت مدل ها با جزییات زیاد مخصوص بازی را پیدا کرده اید.با سافت ساز همراه باشید .
عناوین دوره ساخت کاراکتر بازی :
- ایجاد پایه مدل با DynaMesh
- مدل سازی لباس در 3ds max
- اصلاح و بهینه سازی مدل
- ایجاد جزییات برروی مدل ها
- ریتوپولوژی مدل
- ساخت یو وی مدل
- ساخت نرمال مپ
- ترکیب مپ ها در فتوشاپ
- ساخت مو برای کاراکتر
- ساخت مپ درخشندگی
- و…
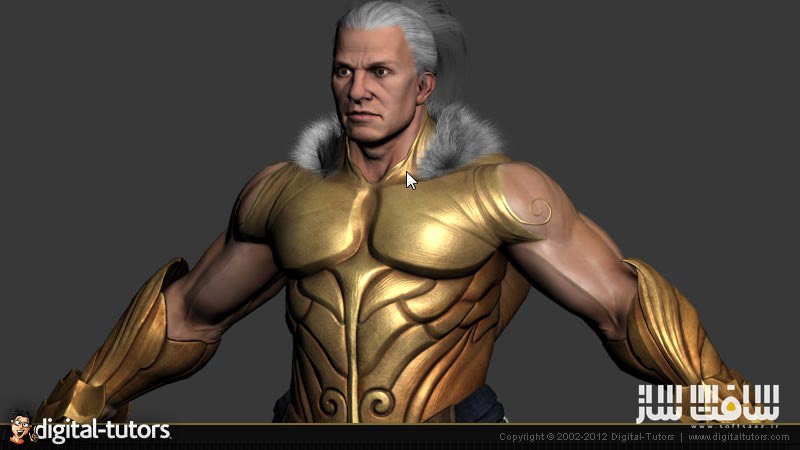
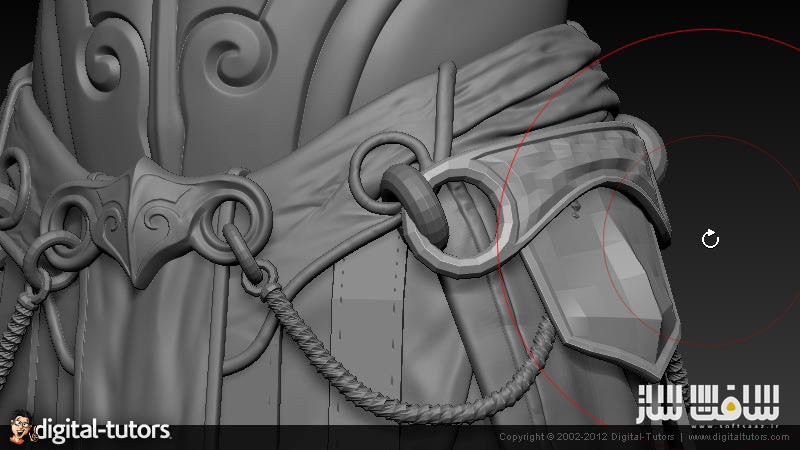
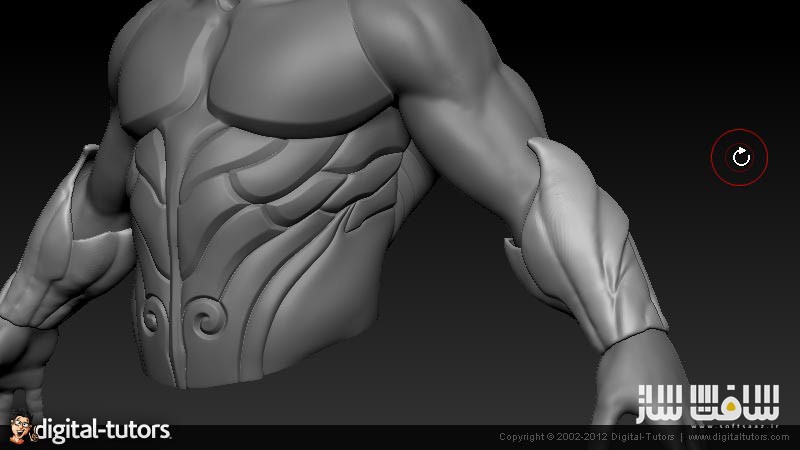
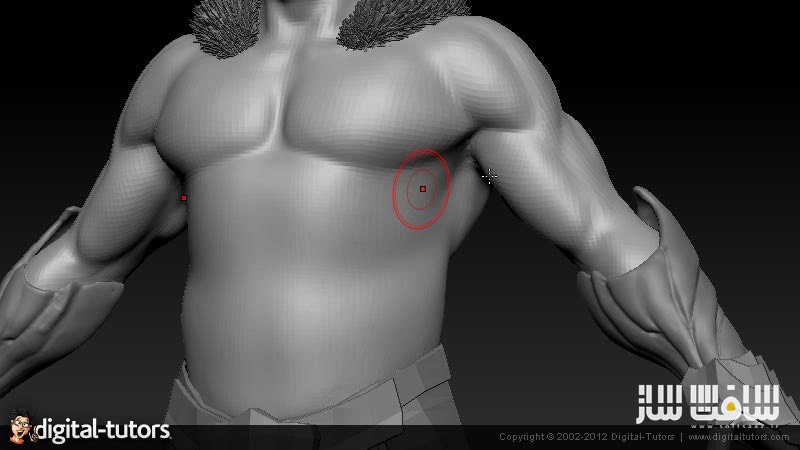
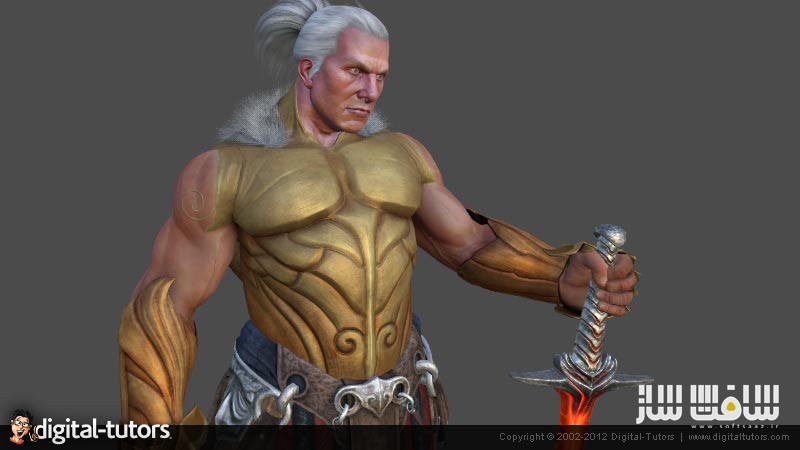
تصاویری از دوره ساخت کاراکتر بازی :
لطفا قبل از دانلود پیشنمایش دوره را مشاهده فرمایید:
عنوان دوره : Digital Tutors – Game Character Creation in 3ds Max and ZBrush
سطح : پیشرفته
زمان کل دوره : 8 ساعت
تعداد فایل های تصویری : 68
سال آموزش : 2012
فایل تمرینی : دارد
مربی دوره : Fabricio Moraes
نرم افزار : ZBrush 4R2, 3ds Max 2012, Photoshop CS5, Mudbox 2012, Marmoset Toolbag 1.05
زیرنویس : ندارد
Digital Tutors – Game Character Creation in 3ds Max and ZBrush
In this tutorial we will learn how to create a highly detailed game character.Throughout these lessons we will look at the steps required to build a game character from scratch. We will start by using ZBrush to create a 3D sketch based on our character’s concept art.Along the way we will use 3ds Max to lay out our UVs and create our texture maps. By the end of this tutorial you will have a solid understand of the workflows that are required to create a highly detailed game character.
1 Introduction and project overview 00:48
2 Defining the main shape with DynaMesh 20:37
3 Continuing to shape our character 08:41
4 Building our character’s legs 14:00
5 Starting to make the clothes in 3ds Max 20:39
6 Exporting our character from 3ds Max to ZBrush 04:20
7 Making new elements for our model 14:07
8 Continuing to refine the base elements 07:16
9 Using Transpose Master to rotate the arm 14:08
10 Separating the armor from the arm 05:14
11 Making the refined high poly armor 08:21
12 Continuing to make a high poly version of the armor 05:33
13 Adding detail to the armor 07:52
14 Building in more armor detail in 3ds Max 02:49
15 Starting to detail the head in ZBrush 06:55
16 Continuing to refine the head 02:41
17 Adding more detail to the head 01:55
18 Rotating the head and sketching the hair 06:57
19 Sending the bracelet mesh to 3ds Max 05:29
20 Starting to retopologize the arm plate 08:49
21 Beginning to tweak the arm plate shape 07:31
22 Continuing to refine the shape of our character’s arm plate 06:09
23 Starting to tweak the clothes 08:31
24 Adding some other cloth elements 12:34
25 Creating a rope in 3ds Max 11:45
26 Modeling a belt strap for our character 03:56
27 Refining the belt buckle 07:47
28 Continuing to refine the belt buckle 06:33
29 Adding details to the clothes 08:19
30 Building in some details to the metal armor 14:30
31 Continuing to add details to the metal armor 04:48
32 Defining the arm shape 23:17
33 Adding a piece of armor on the arms 08:31
34 Redefining the armor in ZBrush 03:35
35 Continuing to tweak the shape of the armor 09:24
36 Adding some details to our high polygon model in ZBrush 01:33
37 Adding scratches and imperfections to the armor 15:57
38 Creating imperfections on our character’s face 06:00
39 Sending the high poly mesh to 3ds Max 15:41
40 Working on our final low polygon mesh 14:04
41 Modeling the final arm mesh 03:56
42 Starting to model the low polygon clothes 09:32
43 Finishing our character’s clothes 03:13
44 Creating UV maps for the torso 08:10
45 Continuing to unwrap the UVs for our character 05:35
46 Rearranging the UVs in 3ds Max 02:05
47 Unwrapping the UVs for the head 04:12
48 Baking the normal and occlusion maps 03:21
49 Applying the normal and occlusion maps to the head 04:33
50 Combining our maps in Photoshop 02:26
51 Projecting our masks in 3ds Max 02:37
52 Starting to make the base textures in Photoshop 03:59
53 Creating the base colors for our character’s head 03:25
54 Painting base colors for our character’s clothes 03:49
55 Continuing to paint base colors for our character’s clothes 01:31
56 Projecting our textures on the final model in Mudbox 08:26
57 Using Mudbox and Photoshop to tweak the head texture 07:59
58 Refining our character’s hair texture 06:03
59 Detailing the armor textures in Photoshop 06:33
60 Adding some refinement to the cloth textures 09:21
61 Continuing to refine the cloth textures 05:32
62 Starting to add hair and fur to our low polygon character 07:20
63 Finishing the fur for our character 05:14
64 Finalizing our character’s hair 04:09
65 Making specular and gloss maps 03:28
66 Finishing our specular and gloss maps 01:54
67 Creating specular and gloss maps for the head 05:39
68 Reviewing our final render 03:36
حجم کل :

برای دسترسی به کل محتویات سایت عضو ویژه سایت شوید
برای نمایش این مطلب و دسترسی به هزاران مطالب آموزشی نسبت به تهیه اکانت ویژه از لینک زیر اقدام کنید .
دریافت اشتراک ویژه
مزیت های عضویت ویژه :
- دسترسی به همه مطالب سافت ساز
- آپدیت روزانه مطالب سایت از بهترین سایت های سی جی
- ورود نامحدود کاربران از هر دیوایسی
- دسترسی به آموزش نصب کامل پلاگین ها و نرم افزار ها
اگر در تهیه اشتراک ویژه مشکل دارید میتونید از این لینک راهنمایی تهیه اشتراک ویژه رو مطالعه کنید . لینک راهنما
For International user, You can also stay connected with online support. email : info@softsaaz.ir telegram : @SoftSaaz
امتیاز دهی به این مطلب :
امتیاز سافت ساز
لطفا به این مطلب امتیاز دهید ?

