آموزش نحوه حجاری یک سر با سبک خاص در Blender
Gumroad – How to Sculpt a Stylized Head in Blender
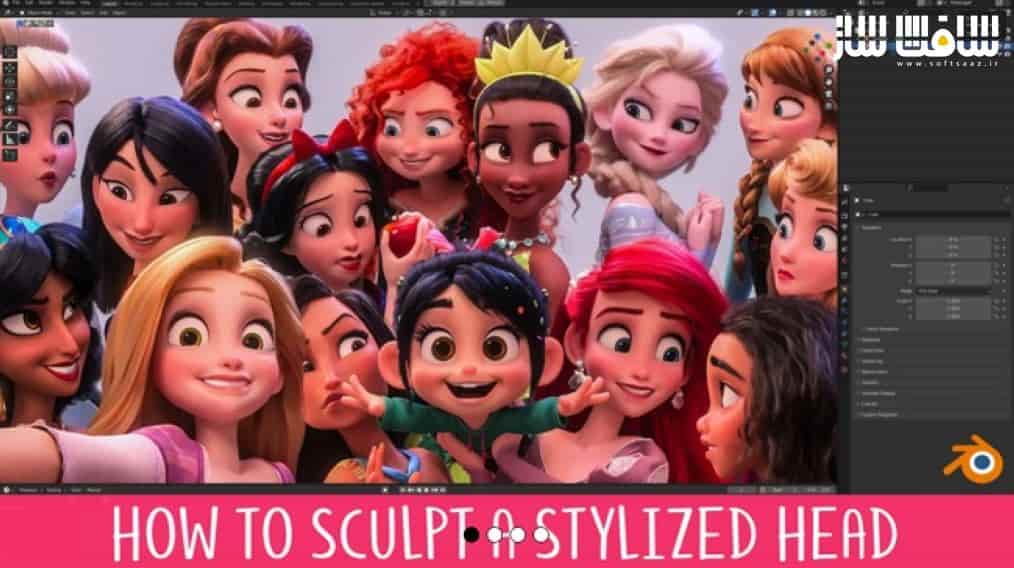
نحوه حجاری یک سر با سبک خاص در Blender
آموزش نحوه حجاری یک سر با سبک خاص در Blender : این دوره کل فرآیند حجاری سر کاراکتر را به 8 سطح قابل مدیریت تقسیم میکند. در این دوره با نحوه حجاری یک سر با سبک خاص در Blender آشنا خواهید شد.
این دوره شامل 8 درس برای هر شکل سر،8 مش مرجع سه بعدی،26 تصویر مرجع دو بعدی می باشد. این دوره آموزشی توسط تیم ســافــت ســاز برای شما عزیزان تهیه شده است.
عناوین آموزش نحوه حجاری یک سر با سبک خاص در Blender :
- نسخه ایبوک درسهای حجاری
- فایلهای صحنه استفاده شده برای مدل نهایی
- نحوه ریتوپولوژی سر در بلندر
- نحوه یووی لایوت و نقاشی پوست در بلندر
- نحوه ایجاد مو در بلندر
- نحوه نورپردازی با انجین رندر Cycles در بلندر
- نحوه کامپوزیشن در فتوشاپ
عنوان دوره : Gumroad – How to Sculpt a Stylized Head in Blender
سطح : متوسط
زمان کل دوره : –
تعداد فایل های تصویری : 9
سال آموزش : 2022
فایل تمرینی : دارد
مربی دوره : –
نرم افزار : Blender
زیرنویس انگلیسی : دارد
Gumroad – How to Sculpt a Stylized Head in Blender
It’s time to Level Up!
You’ve probably been taught that sculpting the head starts with a sphere and ends with a head. That’s like reading a book without chapters! This unorganised approach makes the information more difficult to understand and retain.
This course takes a different approach by breaking the process up into 8 manageable levels. You can think of these levels like checkpoints, and each builds on the one before it. This organises what you need to do and takes away much of the stress that comes with the daunting task of sculpting a head!
Each level also becomes it’s own exercise, so you can really focus in on those areas you struggle most with!
References that Work
We all know the importance of using reference when working but 2D references are limiting, especially when you’re learning. Most of the time you have just a single image to work from. If you’re lucky you might have a character sheet that gives you Front, Side and 3/4 views. This is slightly better, but it’s far from ideal.
The problem is that when you work in 3D you need to know how the model should look from any percievable angle, otherwise it falls apart. Unfortunately, character sheets don’t include references showing the model 37° to the left and 23° tiilted downwards.
Having a 3D reference right there in the viewport removes any doubt by allowing you to rotate around the model however you like, whenever you like. I sincerely wish I had this when I was starting out.
حجم کل : 7.7 گیگابایت

برای دسترسی به کل محتویات سایت عضو ویژه سایت شوید
برای نمایش این مطلب و دسترسی به هزاران مطالب آموزشی نسبت به تهیه اکانت ویژه از لینک زیر اقدام کنید .
دریافت اشتراک ویژه
مزیت های عضویت ویژه :
- دسترسی به همه مطالب سافت ساز
- آپدیت روزانه مطالب سایت از بهترین سایت های سی جی
- ورود نامحدود کاربران از هر دیوایسی
- دسترسی به آموزش نصب کامل پلاگین ها و نرم افزار ها
اگر در تهیه اشتراک ویژه مشکل دارید میتونید از این لینک راهنمایی تهیه اشتراک ویژه رو مطالعه کنید . لینک راهنما
For International user, You can also stay connected with online support. email : info@softsaaz.ir telegram : @SoftSaaz
امتیاز به این مطلب :
امتیاز سافت ساز
لطفا به این مطلب امتیاز بدید


