آموزش تکسچرینگ واقعی پوست یک کاراکتر
Texturing Realistic Skin for Characters
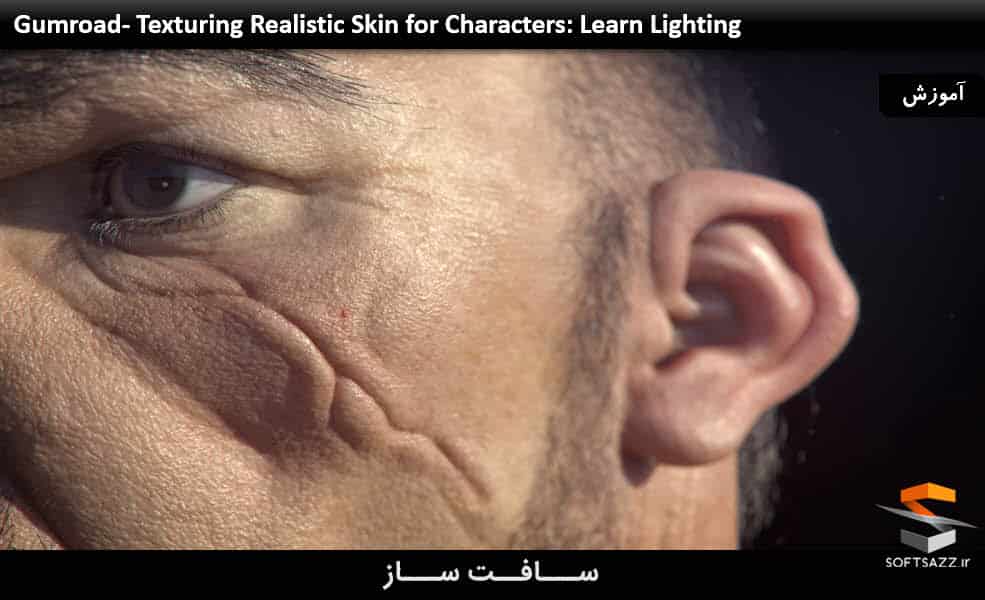
تکسچرینگ واقعی پوست یک کاراکتر
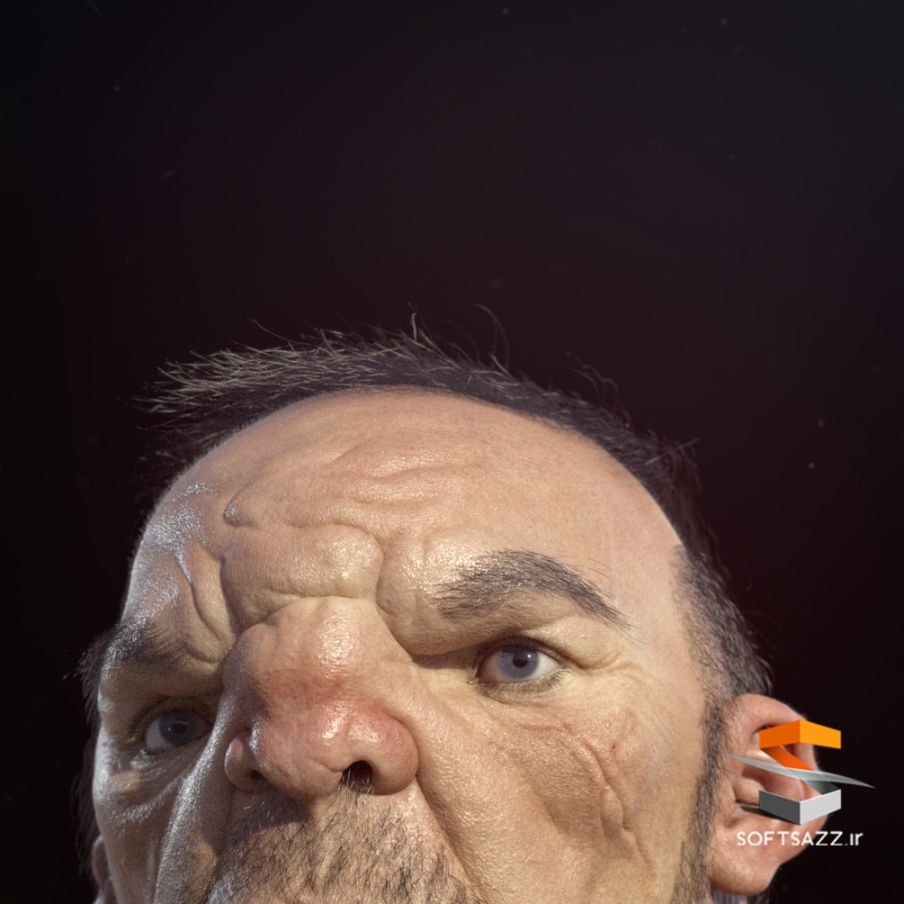
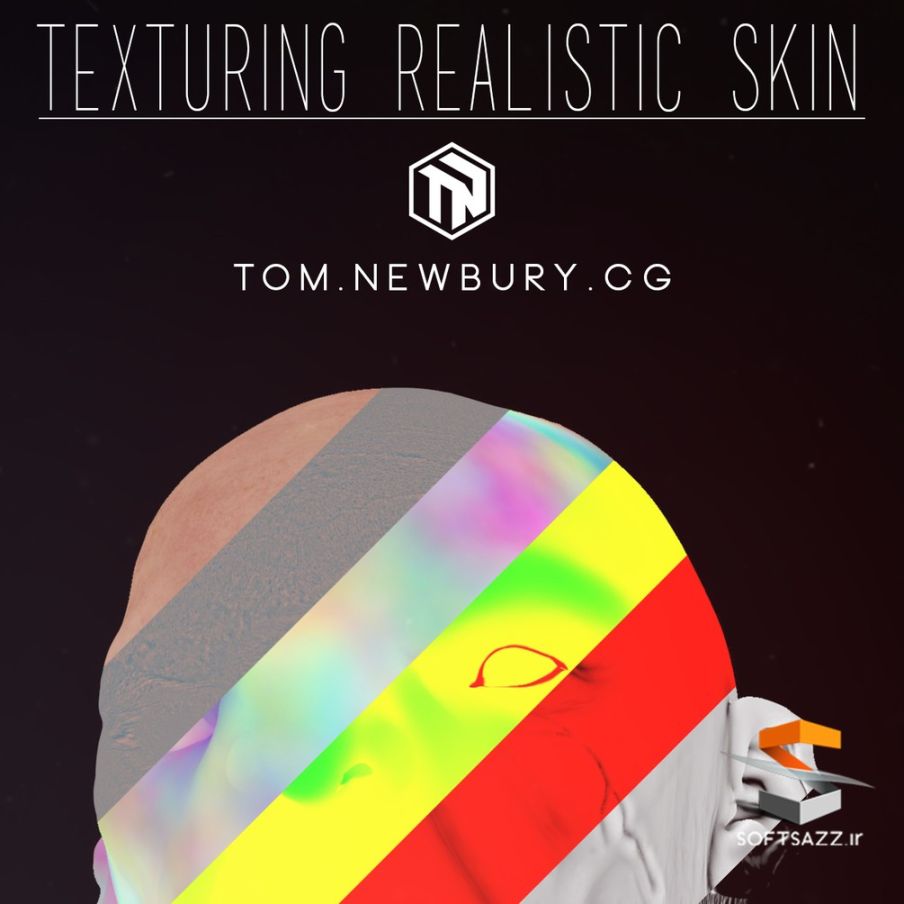
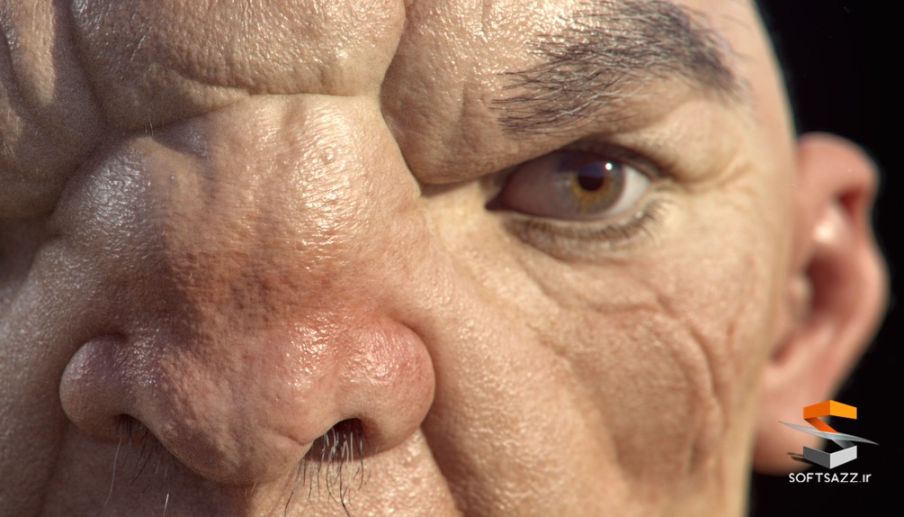
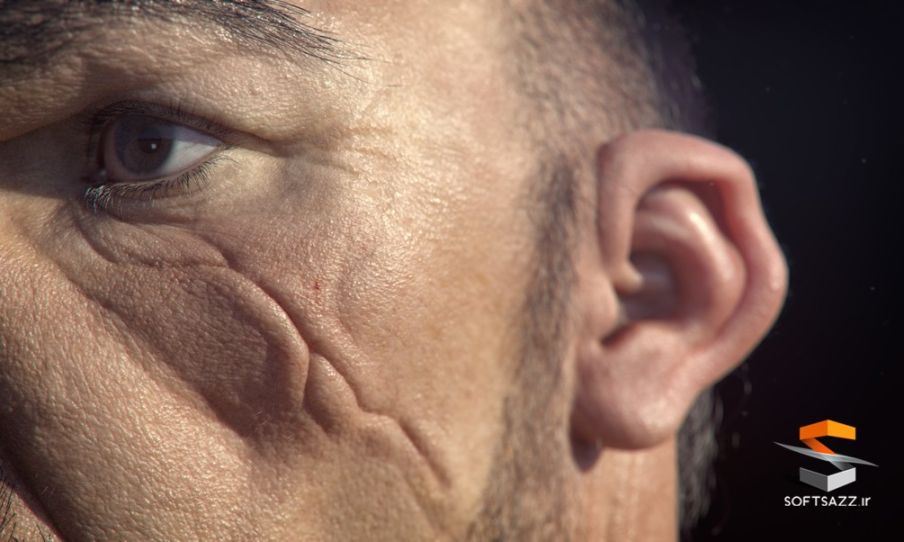
در این دوره از سایت Gumroad ، مربی دوره Tom Newburry ، روند ایجاد پوست بسیار واقعی برای کاراکتر را به شما مراجعین عزیز سافت ساز آموزش می دهد. ایشان از منابع بسیار با ارزش و فوق العاده سایت texturing xyz استفاده خواهد کرد. تمام مراحل با استفاده از این تکسچر ها ، شروع به ترکیب سطوح جداگانه جزییات در یک مپ rgb قابل استفاده میکنیم. این کار رو در دو نرم افزار Photoshop و nuke انجام می دهیم. سپس به Mari رفته ، مروری سریع خواهیم داشت و سپس شروع به طرح ریزی روی مپ های diffuse و مپ های displacement خواهیم داشت.
همچنین دو آموزش که یکی فرآیند ایجاد تکسچر های tile-able را در فتوشاپ و دیگری روند اتمام نقشه های displacement را در زیبراش را آموزش می دهد در مجموعه قرار گرفته اند. این آموزش گام به گام و در 20 بخش جدا شده تهیه شده است. نرم افزار های مورد نیاز : Mari , Zbrush ، Photoshop . با سافت ساز همراه باشید.
تصاویری از این آموزش رو مشاهده کنید :
لطفا قبل از دانلود پیش نمایش دوره را مشاهده فرمایید:
عنوان دوره : Gumroad – Texturing Realistic Skin for Characters
سطح : متوسط تا پیشرفته
زمان کل دوره : –
تعداد فایل های تصویری : 20
سال آموزش : 2017
فایل تمرینی : ندارد
مربی دوره : Tom Newburry
نرم افزار : Mari , Zbrush , Photoshop
زیرنویس : ندارد
Gumroad – Texturing Realistic Skin for Characters
This is the first of 2 tutorials where I go through my process of creating realistic skin for characters.
In this tutorial I will be taking advantage of the fantastic resource, texturing xyz. Here is a link to the website: http://texturing.xyz/
I go through the entire process of using these textures, starting with combining the separate levels of detail into a usable rgb map. I do this in both Photoshop and nuke. I then launch into Mari where I give a quick into to the software and then we begin with projecting on the diffuse maps and then the displacement maps.
I also provide a couple of side tutorials which go through my process of creating tile-able textures in photoshop as well as my process of taking the finished displacement maps back into zbrush where we can continue adding details and irregularities.
This is a step by step tutorial separated out into 20 chapters. I don’t skip any parts of the process and I don’t use time lapses at any point.
The software used in this tutorial is: Mari,Zbrush,Photoshop
Even if you are using a different software such as mudbox for texturing, the methods I use in this tutorial should translate over to those packages.
Topics include:
Navigating the AutoCAD 2019 interface
Starting the DWG Compare command
Adjusting the comparison margins
Saving a comparison drawing
Creating a shared design view
Using layers in the shared view
Marking up the shared view
Using the URL view links
حجم کل :

برای دسترسی به کل محتویات سایت عضو ویژه سایت شوید
برای نمایش این مطلب و دسترسی به هزاران مطالب آموزشی نسبت به تهیه اکانت ویژه از لینک زیر اقدام کنید .
دریافت اشتراک ویژه
مزیت های عضویت ویژه :
- دسترسی به همه مطالب سافت ساز
- آپدیت روزانه مطالب سایت از بهترین سایت های سی جی
- ورود نامحدود کاربران از هر دیوایسی
- دسترسی به آموزش نصب کامل پلاگین ها و نرم افزار ها
اگر در تهیه اشتراک ویژه مشکل دارید میتونید از این لینک راهنمایی تهیه اشتراک ویژه رو مطالعه کنید . لینک راهنما
For International user, You can also stay connected with online support. email : info@softsaaz.ir telegram : @SoftSaaz
امتیاز
جمع امتیاز
لطفا به این آموزش امتیاز بدهید


