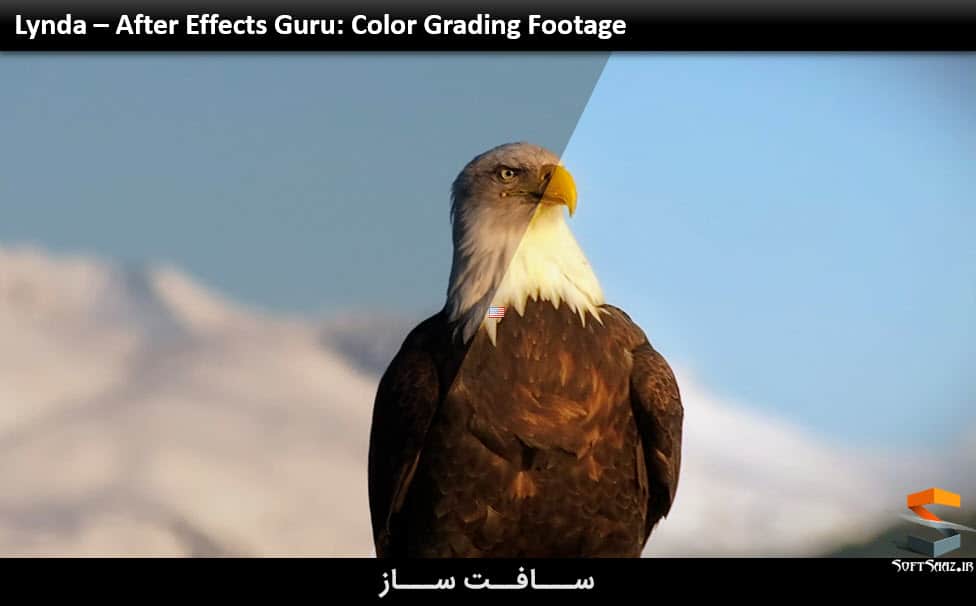
آموزش تکنیک های اصلاح رنگ فیلم در After Effects
Lynda – After Effects Guru Color Grading Footage

تکنیک های اصلاح رنگ فیلم در After Effects
After Effects ابزاری ارزشمند را برای بهبود رنگ هنری و تکنیکی برای فوتیج شما ارائه می نماید و این کلاس برای شما عزیزان تهیه شده است ، در این آموزش از سایت Lynda مدرس ریچ هرینتون یک ورک فلوی پایه را برای گرفتن یک شات برای بهترین حالت طبیعی را مورد بررسی قرار میدهد و در ادامه تکنیک های پیچیده ای را بازگو میکند که اجازه میدهد تا فوتیج خود را بیشتر تغییر دهید. این تغییرات شامل تبدیل آن به رنگ های سیاه و سفید یا درج رنگ خلاق می باشد. الان شروع کنید و نحوه ایجاد ویدئو را در افتر افکت فرا بگیرید. با سافت ساز همراه باشید.
عناوین اصلی این دوره آموزشی:
- ارزیابی شات
- فیکس کردن تعادل رنگ سفید
- فیکس کردن میزان نور و رنگ
- تنظیم رنگ
- تبدیل سیاه و سفید
- تنینگ
- ایجاد یک film look
- افزودن تکسچر
- و …
لطفا قبل از دانلود پیش نمایش دوره را مشاهده فرمایید:
عنوان دوره : Lynda – After Effects Guru Color Grading Footage
سطح : مناسب برای همه
زمان کل دوره : 2.53 ساعت
تعداد فایل های تصویری : 50
سال آموزش : 2017
فایل تمرینی : دارد
مربی دوره : Richard Harrington
نرم افزار : After Effects CC
زیرنویس : ندارد
Lynda – After Effects Guru Color Grading Footage
Whether you’re looking to “fix it in post” or “make it pop,” After Effects offers a wealth of tools for making both technical and artistic color enhancements to your footage. And this class has you covered. Rich Harrington introduces a basic workflow for getting a shot back to its best natural state, and then advanced techniques that allow you to push your footage a little further: converting it to black and white or adding creative color. Start now and learn how to make your video look its best within After Effects. This course was created by RHED Pixel. We’re honored to host this training in our library.
Topics include:
Evaluating the shot
Fixing white balance
Fixing exposure and tone
Adjusting color
Converting to black and white
Toning
Creating a film look
Adding texture
1. The Color Grading Workflow
Evaluating the shot 1m 46s
Fixing white balance 2m 51s
Fixing exposure and tone 1m 46s
Adjusting color 1m 25s
Applying enhancements 2m 25s
2. Essential Techniques
Using adjustment layers 3m 2s
Applying LUTs with the Lumetri effect Updated 5m 12s
Saving presets 2m 23s
Strategies for tough white-balance issues 6m 17s
Comparing effects 1m 48s
7/20 Strategies for tough white balance 8m 35s
3. Fixing Exposure and Tone
Fixing exposure with levels 2m 48s
Fixing exposure and tone with curves Updated 3m 13s
The use of auto adjustments to fix exposure and tone 2m 41s
The Shadow/Highlights command 2m 23s
Using the Black & White effect for contrast 1m 30s
Using the Equalize command 1m 37s
Fixing tone with the Lumetri effect New 4m 35s
Reading the Lumetri Scopes panel for tone New 7m 8s
4. Primary Color Correction
Fixing color casts with individual levels 2m 46s
Using the Color Stabilizer effect 2m 51s
Adding vibrance 5m 5s
Using photo filters 1m 59s
Fixing color cast with tint and white balance New 4m 45s
Fixing color with primary color correction New 5m 38s
Isolating color cast with the Lumetri effect New 4m 28s
Using a reference color checker New 6m 56s
Reading the Lumetri scopes for color New 5m 32s
5. Secondary Color Correction
Creating spot colors with the Black & White effect 3m 10s
Using the Leave Color effect 4m 29s
Adjusting a single color with the Change Color effect 2m 41s
Adding masks and mattes to adjustment layers 5m 29s
Secondary color correction with the Lumetri effect New 10m 54s
6. Black and White and Color Toning
Black-and-white conversion: Method one 1m 22s
Black-and-white conversion: Method two 1m 44s
Black-and-white conversion: Method three 1m 32s
Creating duotone effects 3m 16s
Enhancing with the Colorama effect 1m 30s
Creating custom gradients 2m 32s
7. Finishing Touches
Creating a film look 2m 40s
Adding a power window 3m 4s
Adding texture 2m 36s
Using the creative controls in the Lumetri Color effect New 9m 38s
حجم کل :

برای دسترسی به کل محتویات سایت عضو ویژه سایت شوید
برای نمایش این مطلب و دسترسی به هزاران مطالب آموزشی نسبت به تهیه اکانت ویژه از لینک زیر اقدام کنید .
دریافت اشتراک ویژه
مزیت های عضویت ویژه :
- دسترسی به همه مطالب سافت ساز
- آپدیت روزانه مطالب سایت از بهترین سایت های سی جی
- ورود نامحدود کاربران از هر دیوایسی
- دسترسی به آموزش نصب کامل پلاگین ها و نرم افزار ها
اگر در تهیه اشتراک ویژه مشکل دارید میتونید از این لینک راهنمایی تهیه اشتراک ویژه رو مطالعه کنید . لینک راهنما
For International user, You can also stay connected with online support. email : info@softsaaz.ir telegram : @SoftSaaz
امتیاز
جمع امتیاز
لطفا به این آموزش امتیاز بدهید


