آموزش توسعه شیدر واقعی در Arnold برای Cinema 4D
Developing realistic shaders in Arnold for Cinema 4d , Vol. 01
آموزش شیدر واقعی
در این آموزش شیدر واقعی هشت ساعته از شرکت Mographplus ، قادر به فراگیری نحوه ساخت متریال های پیشرفته و واقع گرایانه در سینما فوردی به وسیله موتور رندر آرنولد هستیم این مجموعه اولین دوره از مجموعه آموزشهای آرنولد است که توسط تیم سافت ساز تهیه و توضیع شده است.
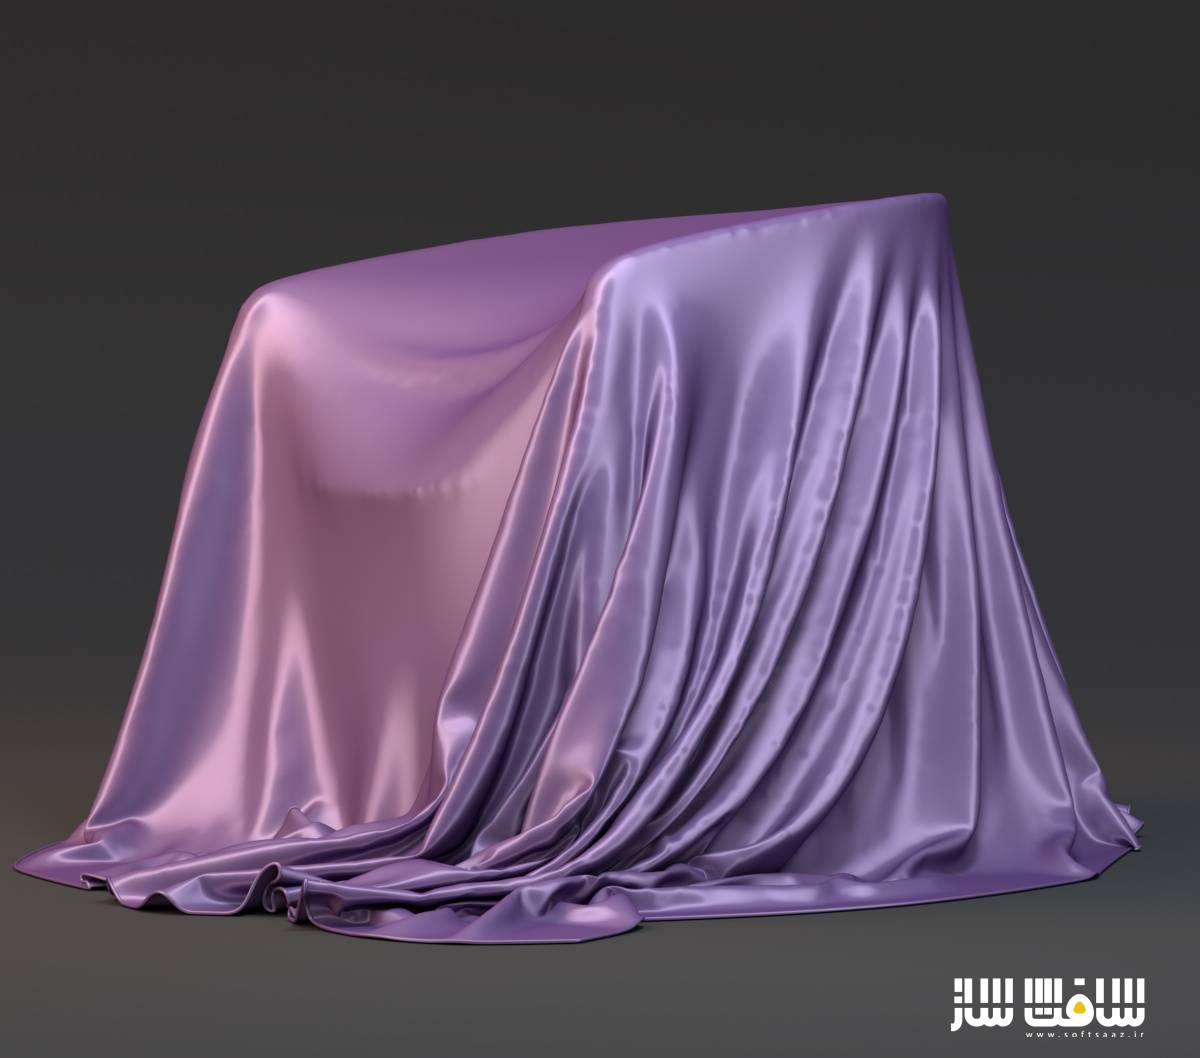
علیرغم مباحث مذکور ما چشمان شما را برای بهتر دیدن آماده میکنیم تا قادر به تجزیه و تحلیل و بازسازی اشیای پیرامون خود باشید. در فصل اول این مجموعه ما به نحوه ساخت چهار متریال پلاستیک ، شیشه ، فلز و پارچه میپردازیم. سعی ما این است در هر فصل شما را با ویژگی های آن متریال در دنیای واقعی آشنا کنیم.
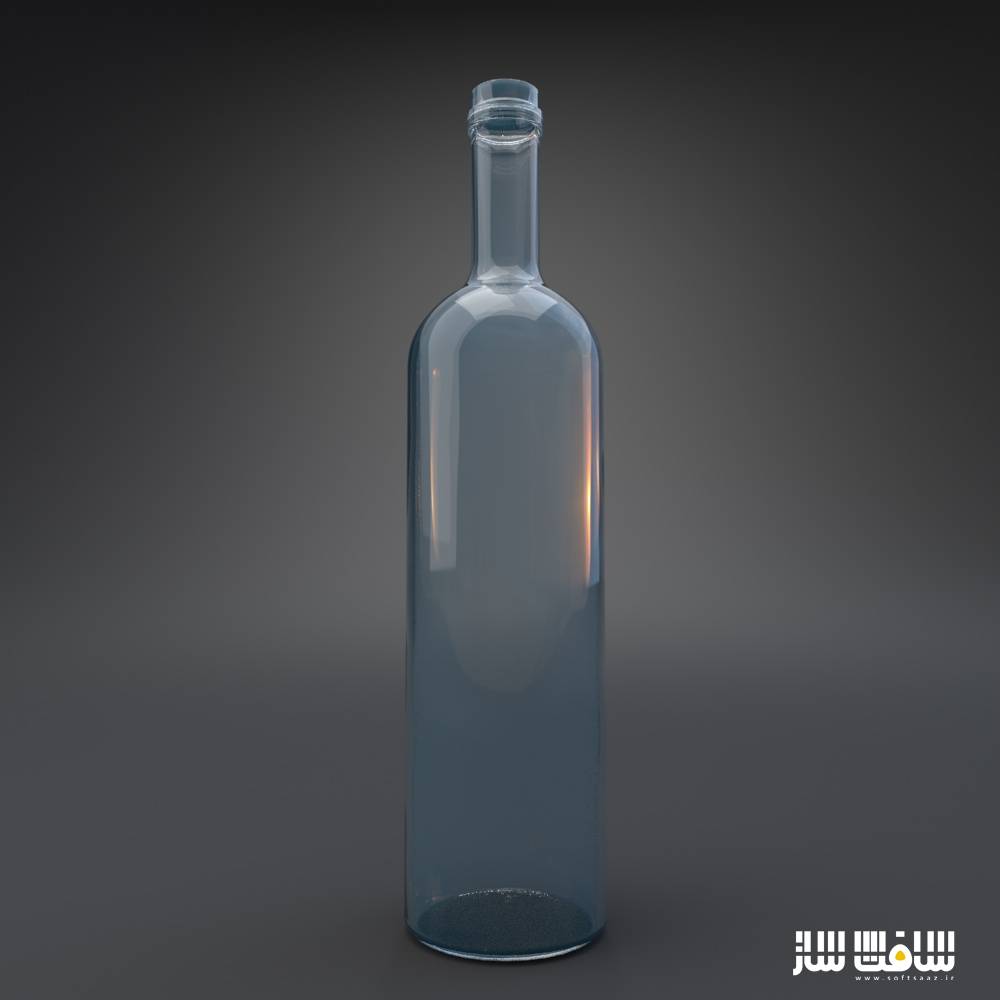
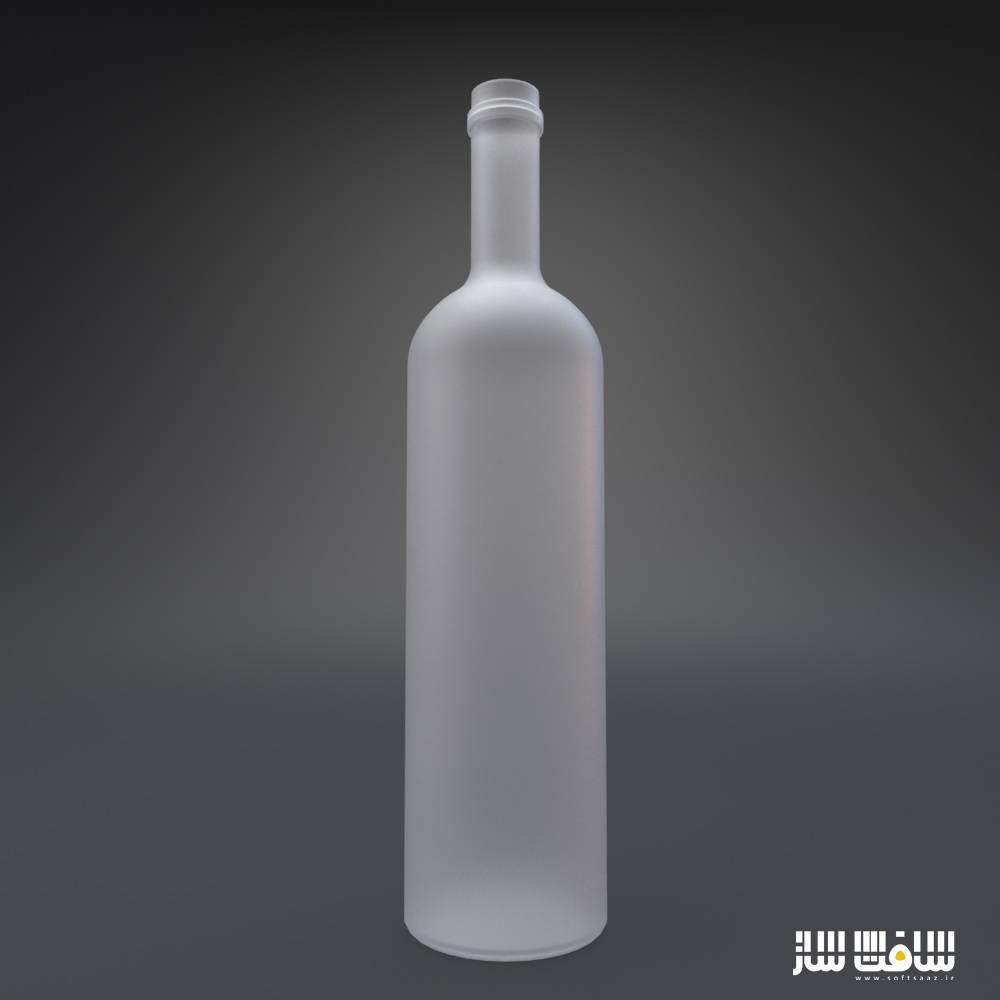
و به شما نشان دهیم که چطور میتوانیم آن را در دنیای سه بعدی باز سازی کنیم. در درس بعدی به نحوه ساخت متریال های چرک، پلاستیک و براق خواهیم پرداخت. در اولین درس این قسمت بعد از فهم ویژگی های فیزیکی شیشه سعی میکنیم آن را به متدهای دیگر تعمیم دهیم تا شیشه ها را با حالتهای مختلف بسازیم سپس نگاهی به ایجاد یک مثال فوق العاده میکنیم یعنی آموزش نحوه ساخت متریال شیشه رنگی و به شما این قول را میدهم که نکات زیادی در این قسمت یاد خواهید گرفت.
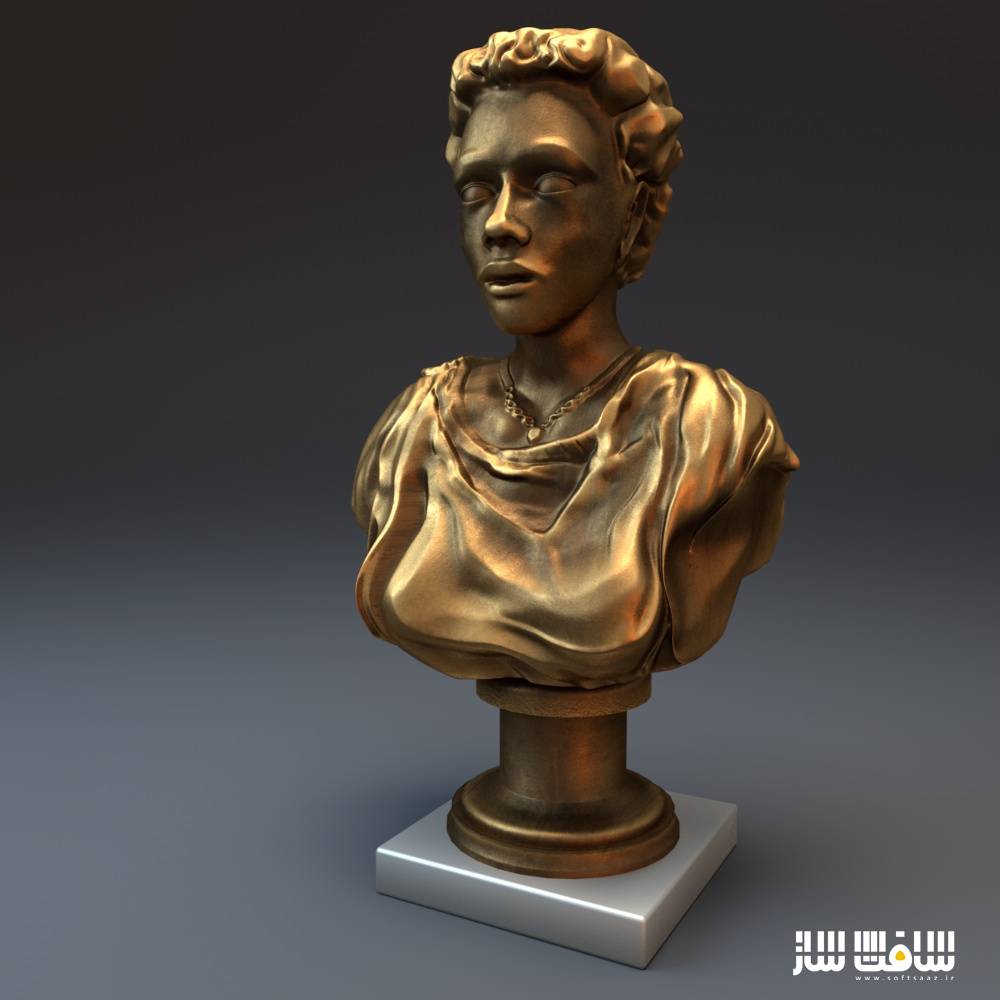
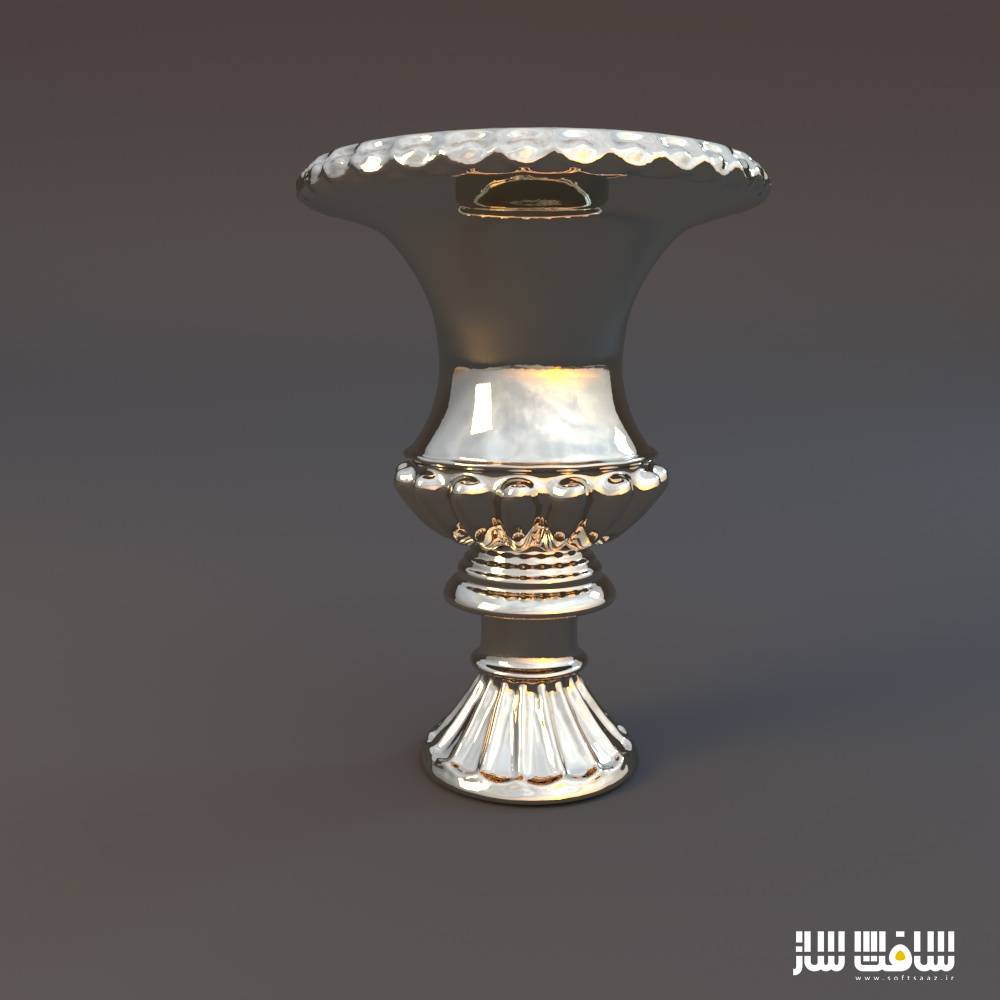
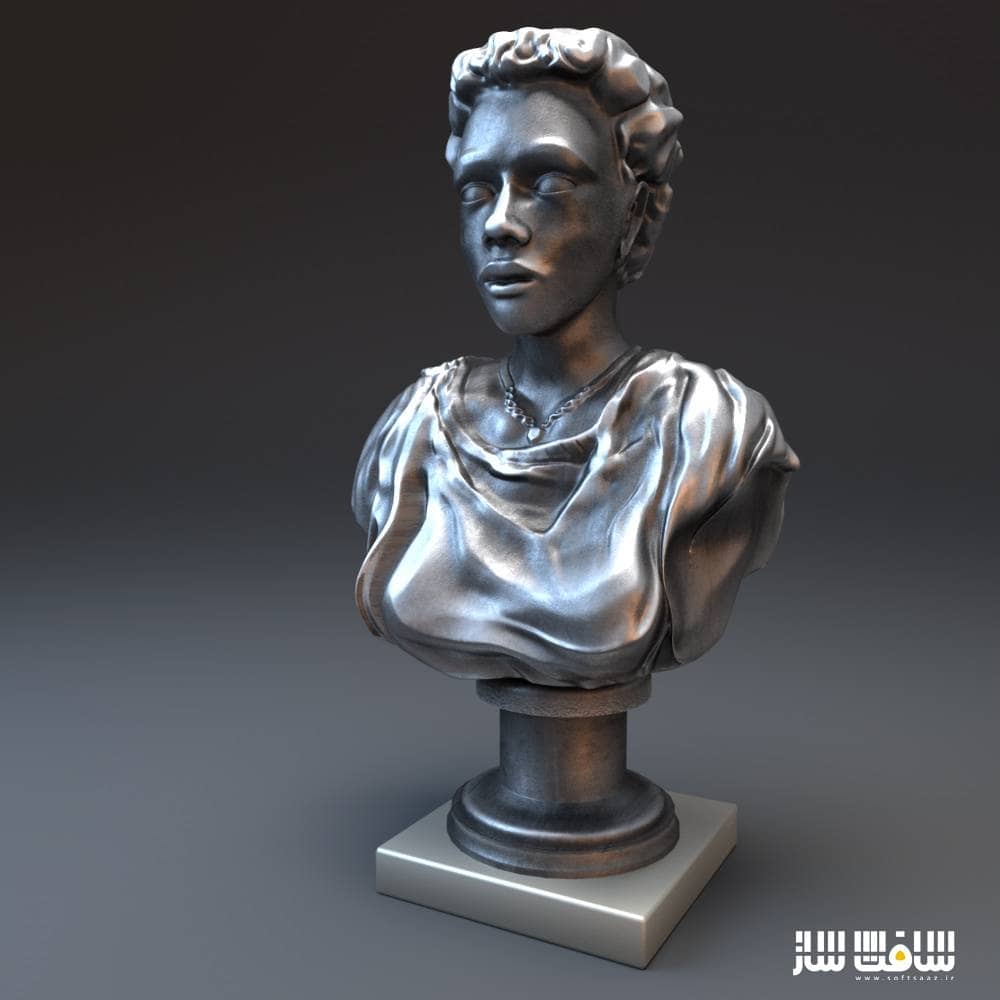
در قسمت بعدی مشابه روشی که برای ساخت پلاستیک و شیشه انجام دادیم ابتدا یاد میگیریم چگونه فلزها در دنیای واقعی ایفای نقش میکنند سپس به ساخت انواع مختلفی از فلزات میپردازیم پس از مباحث فوق الذکر به نحوه ساخت یک مجسمه برنزی در سینما فوردی به وسیله موتور قدرتمند آرنولد میپردازیم. این دوره آموزشی توسط تیم ســافــت ســاز برای شما کاربران عزیز، تهیه و آماده دانلود شده است.
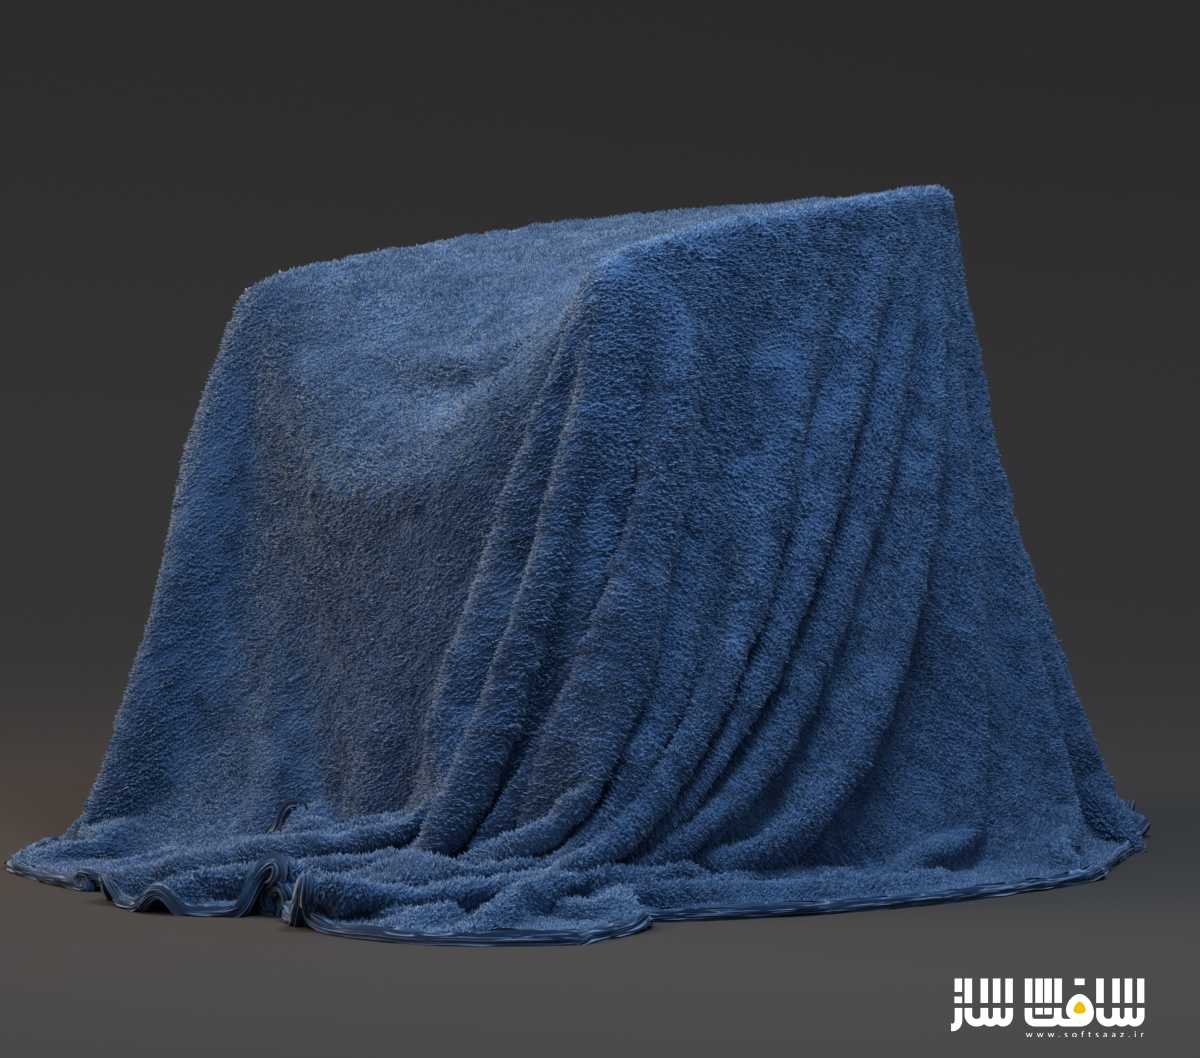
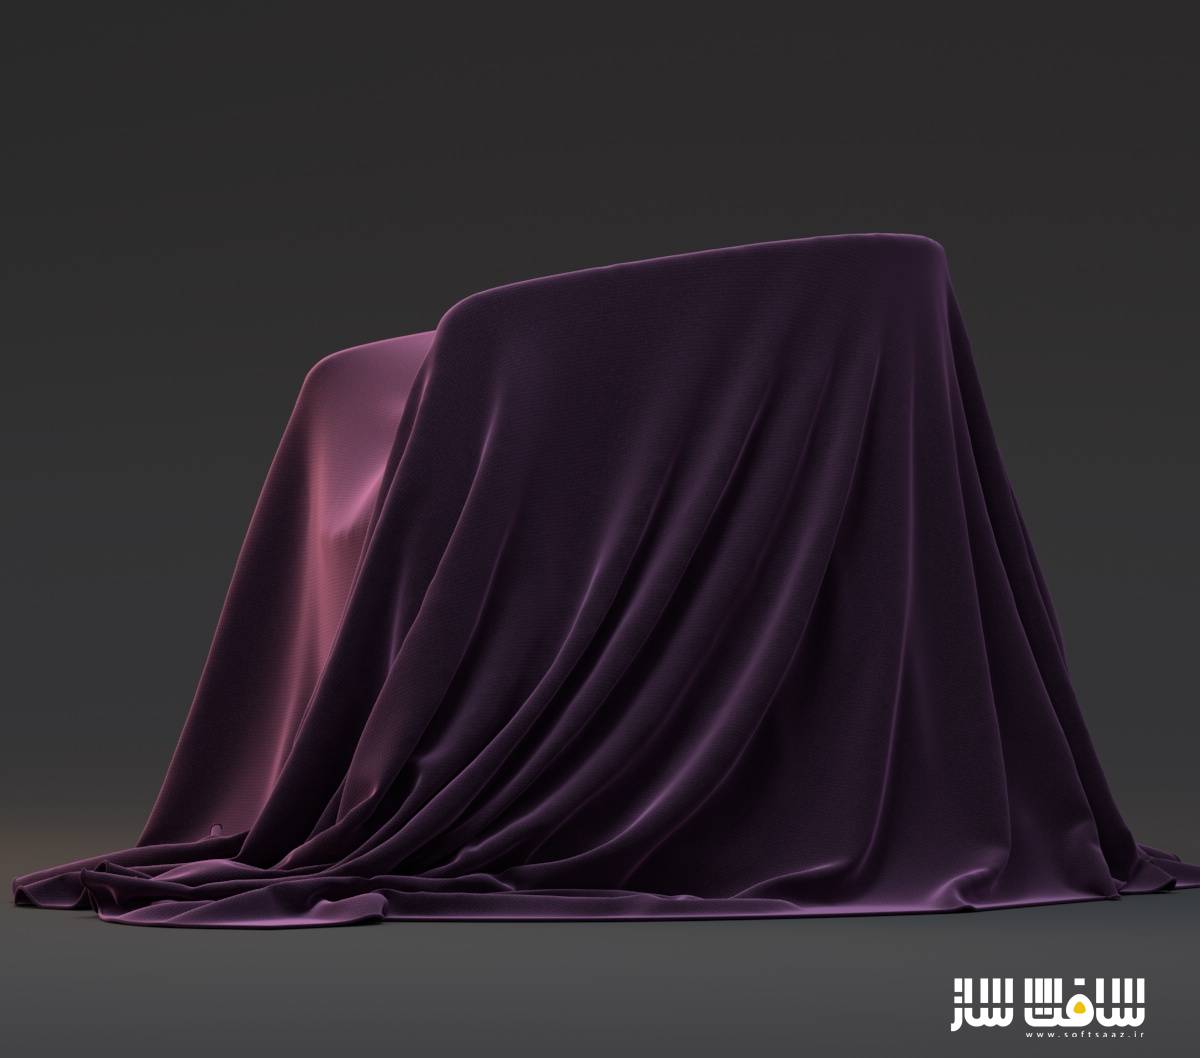
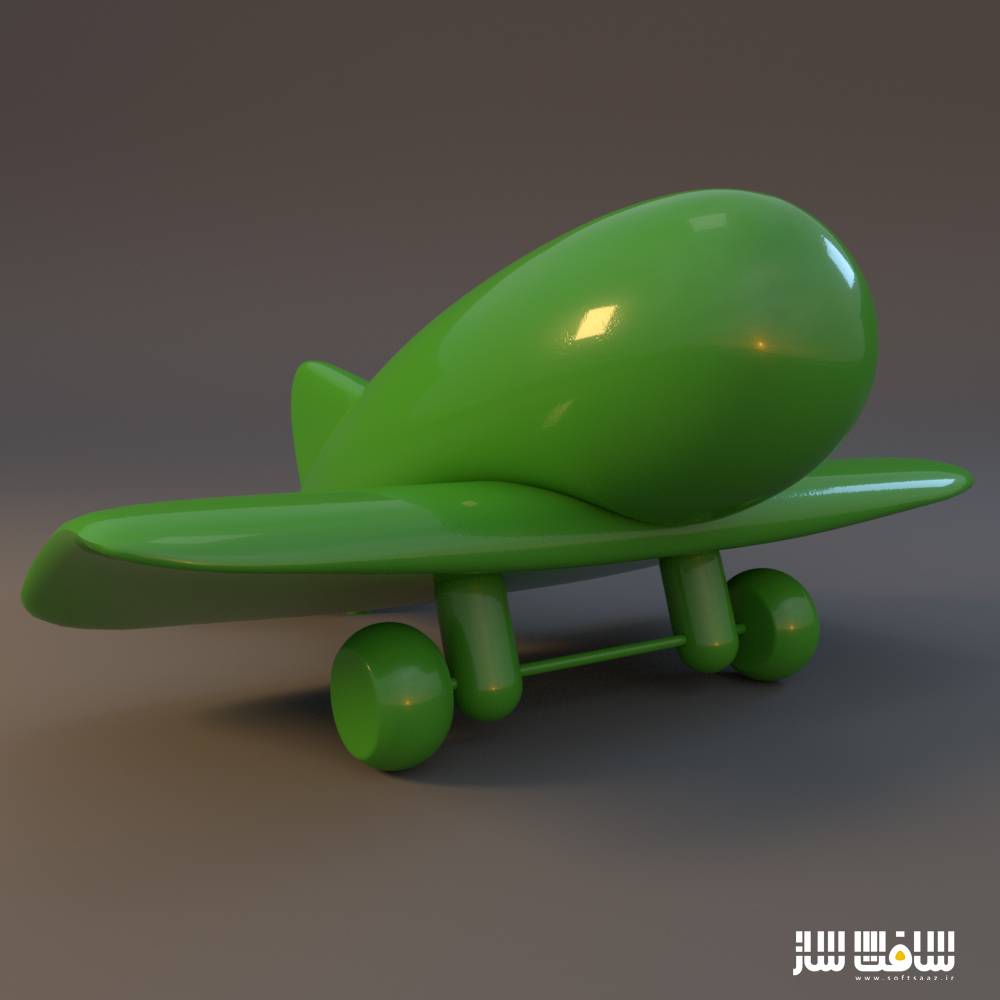
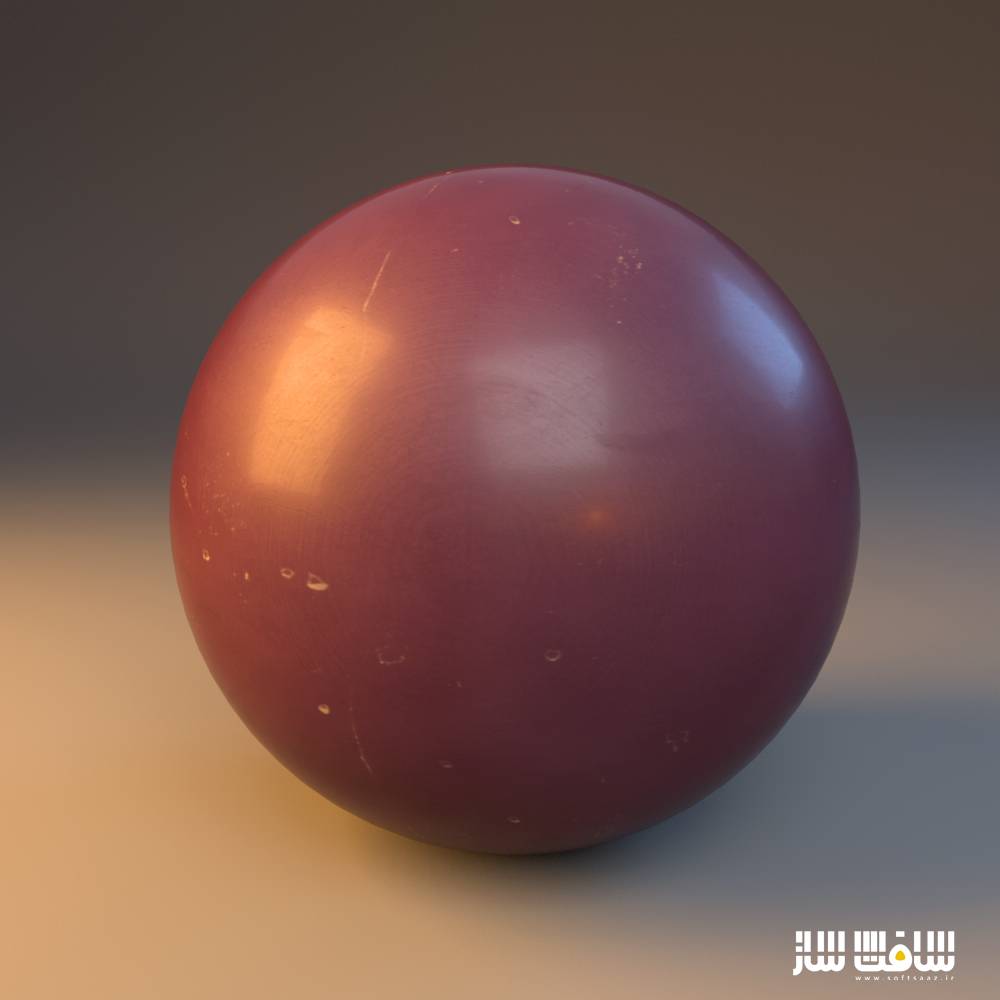
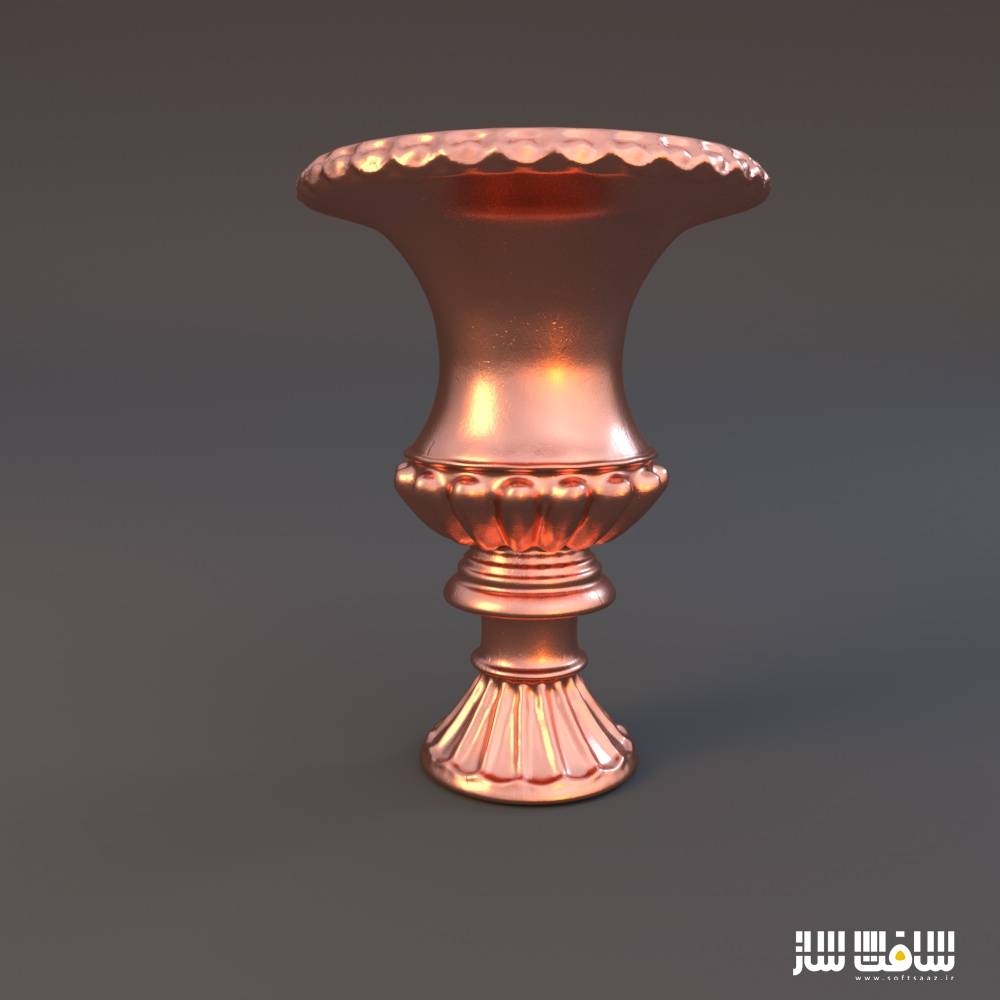
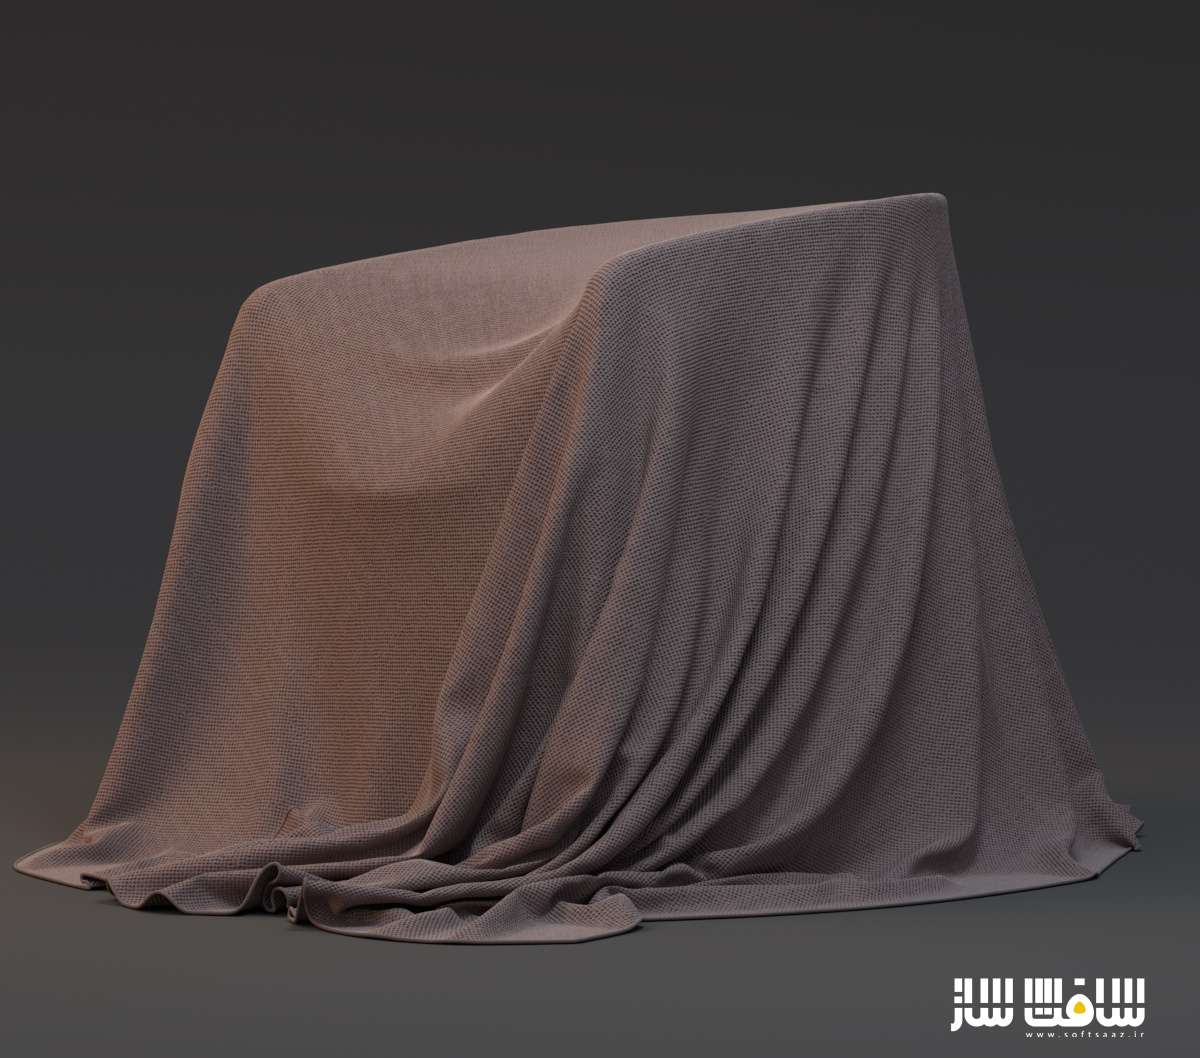
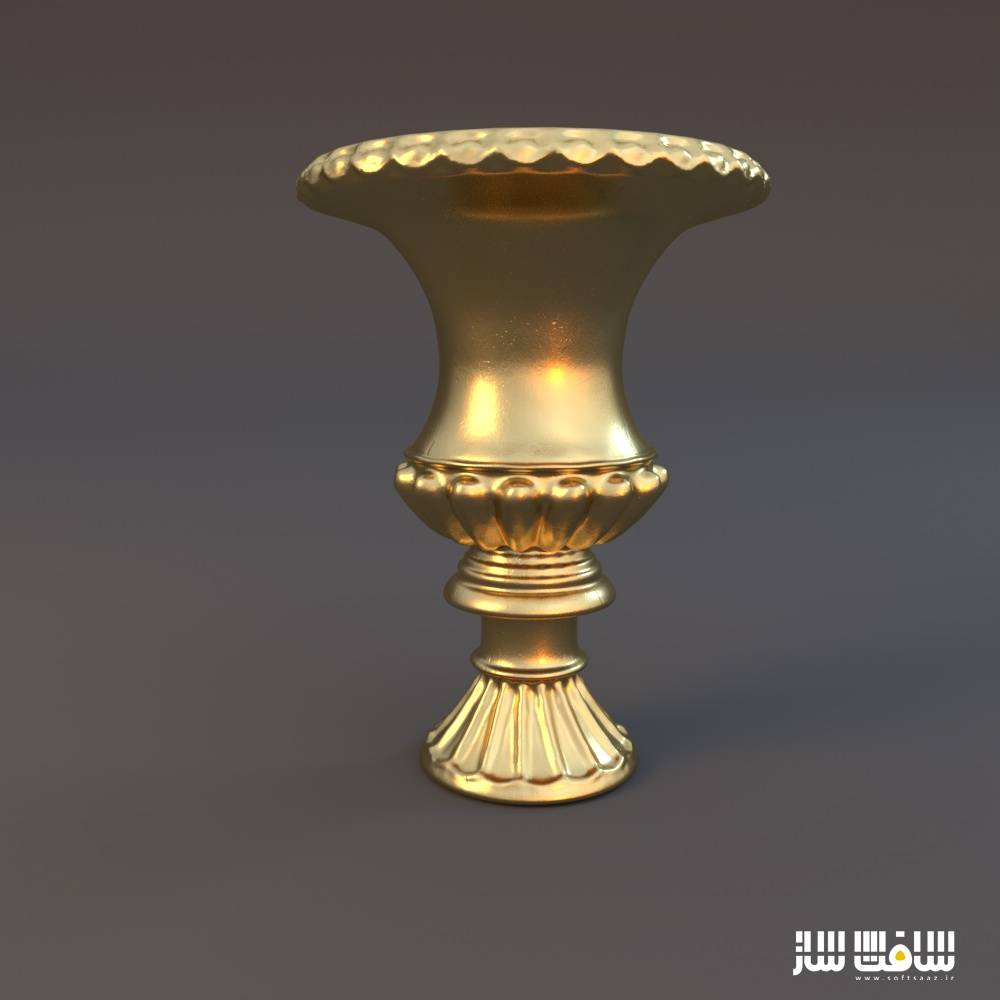
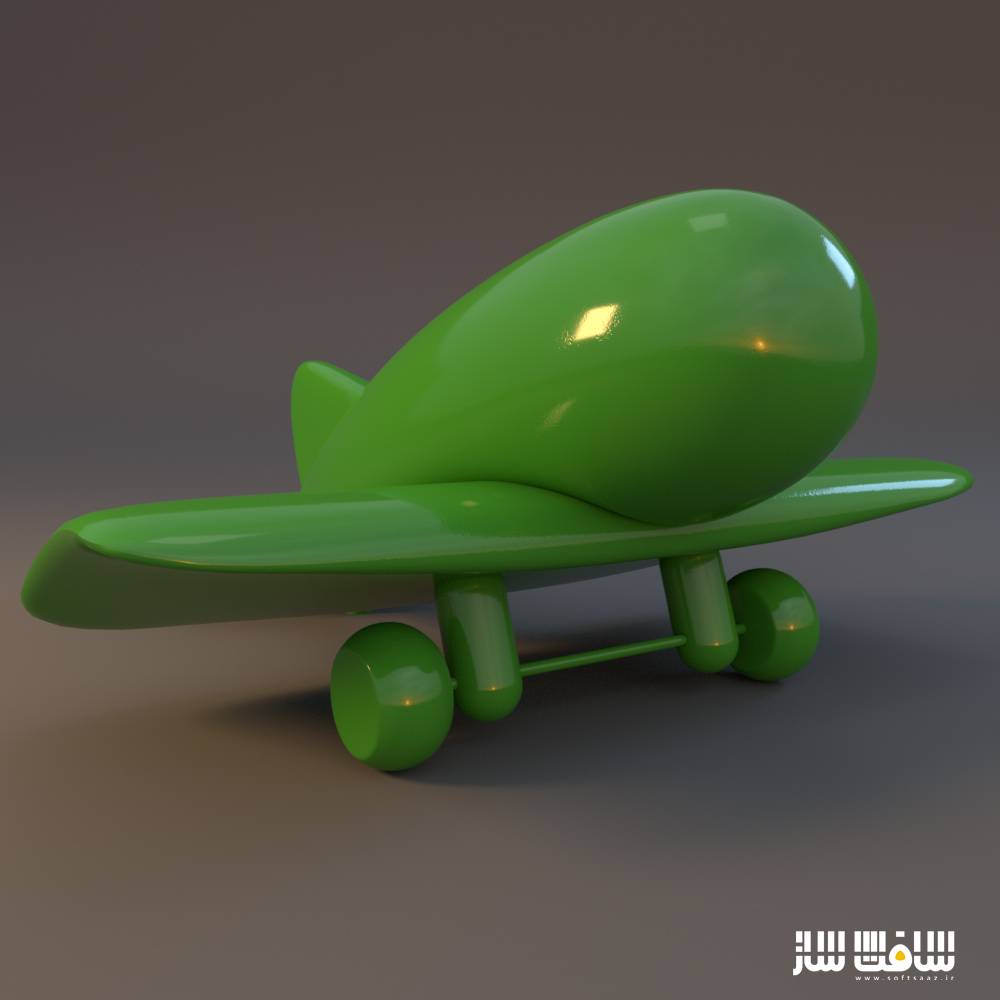
تصاویری از آموزش شیدر واقعی :
عنوان دوره : Mographplus – Developing realistic shaders in Arnold for Cinema 4d , Vol. 01
سطح : متوسط
زمان کل دوره : 8 ساعت
تعداد فایل های تصویری : 14
سال آموزش : 2018
فایل تمرینی : دارد
مربی دوره : Kamel Khezri
نرم افزار : Cinema 4D ، Arnold
زیرنویس : ندارد
Mographplus – Developing realistic shaders in Arnold for Cinema 4d , Vol. 01
In this series of premium tutorials , in almost 8 hours , we learn how to develop advanced and realistic shaders in Arnold for Cinema 4d .
In this series of premium tutorials, in almost 8 hours, we learn how to develop advanced and realistic shaders in Arnold for Cinema 4d.
My name is Kamel Khezri and I’ll be your host in this course.
This is the first volume of a series of courses created at mographplus.com intended to introduce the tools and workflows for creating complex and realistic shaders , utilizing Solid angle’s Arnold renderer in Cinema 4d.
Our goal in this course is not only how to create realistic shaders but before that how to train your eyes to see real world surfaces and analyze their features, and then recreate those surfaces and shaders in Arnold.
In this first volume will be covering four major shader categories, Plastics, glasses, metals and fabrics.
For each category, first we try to familiarize you with the features of that shader type in real world and then show you how to recreate those features using Arnold shaders and nodes.
We start with plastic,
In the first lesson of this course we learn how plastics tend to appear in real world and what features they have, after that we start using Arnold for Cinema 4d to recreate those features.
In the second lesson we try to recreate a highly-detailed Bowling ball shader and we really go all the way and make it as detailed and realistic as possible.
Next we create the shader for a vintage shiny dirty plastic phone
Then we start discussing glasses,
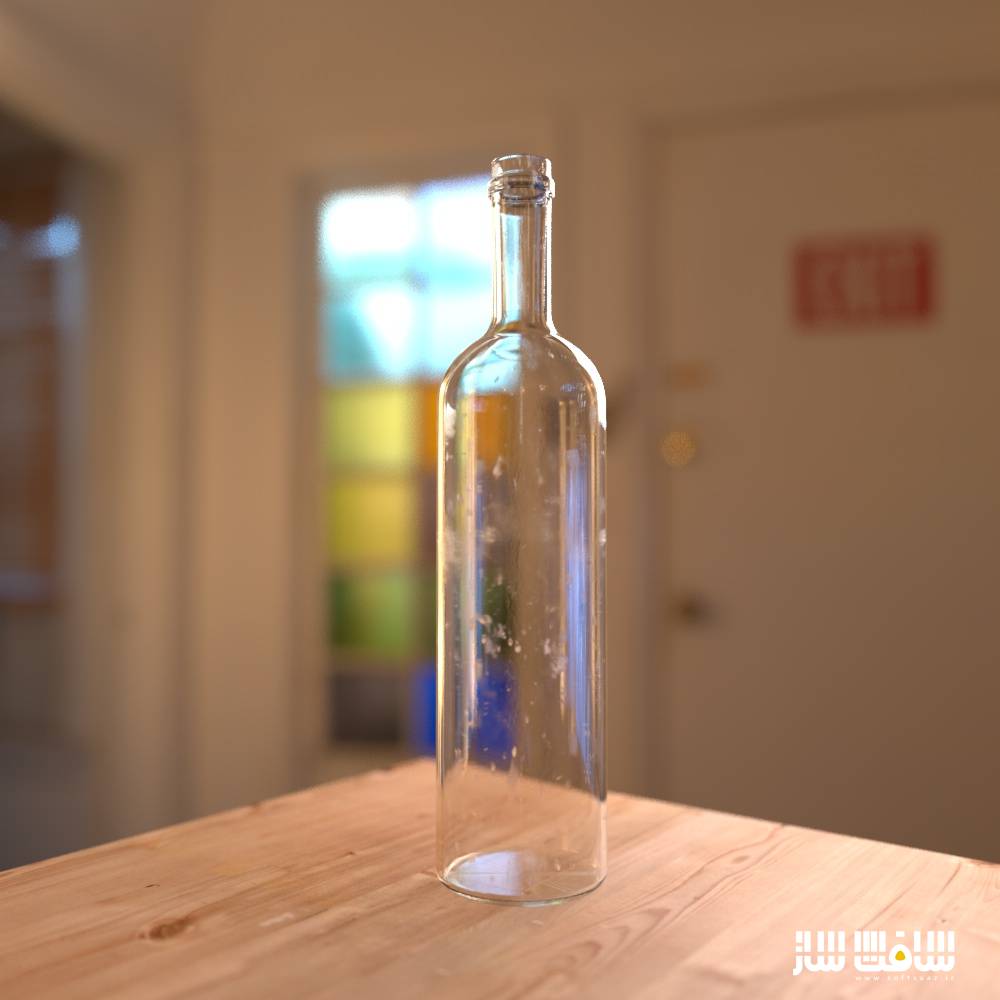
In the first lesson of this section, after understanding physical features of glasses, we try to recreate different type of glasses in their bare minimum form.
In the second lesson we recreate a smudged glass shader, and it takes time but the result definitely worth the effort.
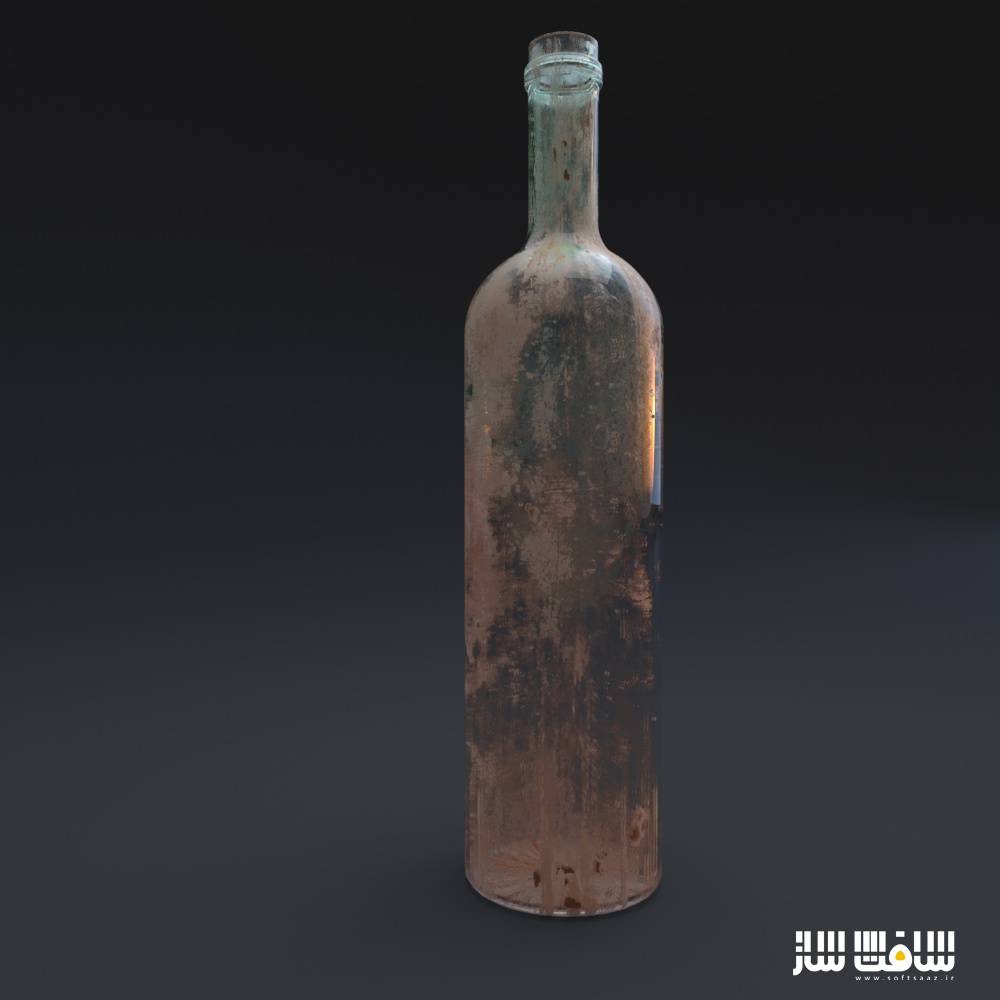
Then we take a look at creating an extreme example which is going to be a dirty rusty colored glass shader, and I promise you there is a lot to learn here.
The next category would be metals.
In the first lesson of this section, as we did with plastic and glass, first we figure out how metals work in real world and then we create different types of metals.
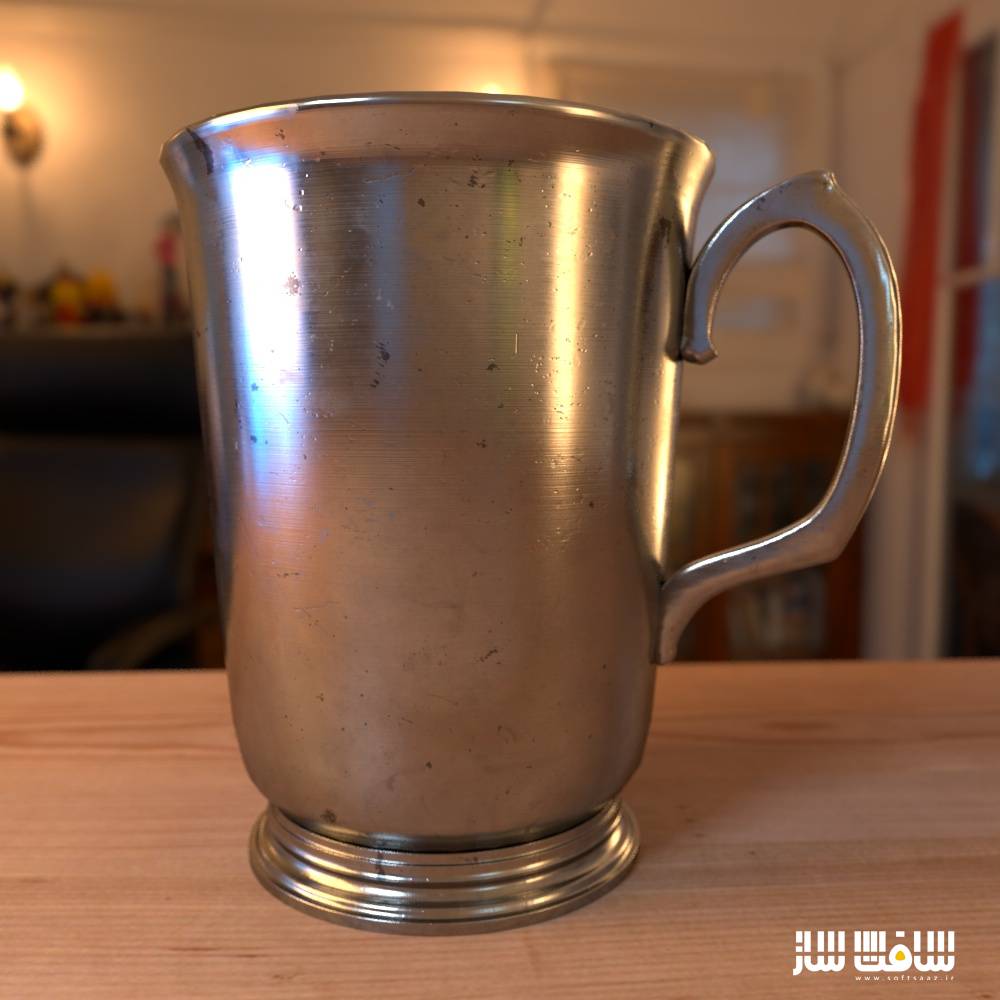
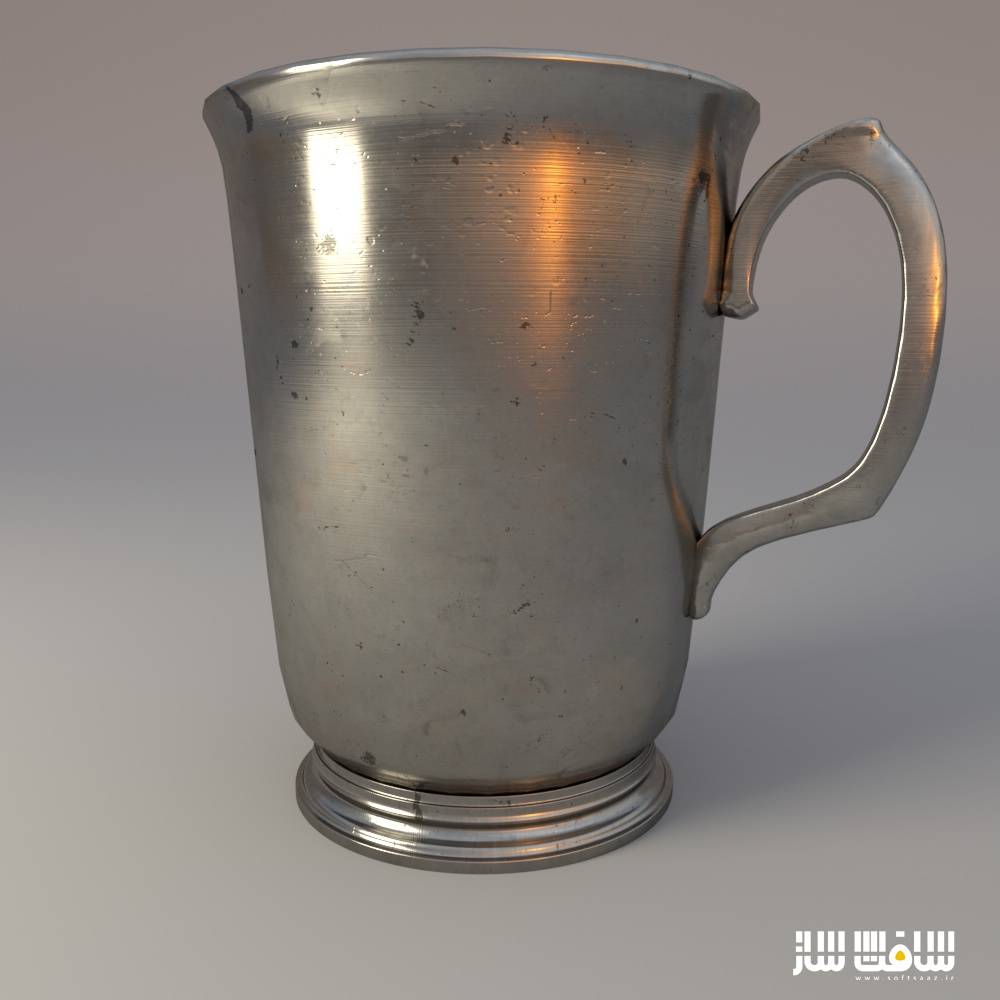
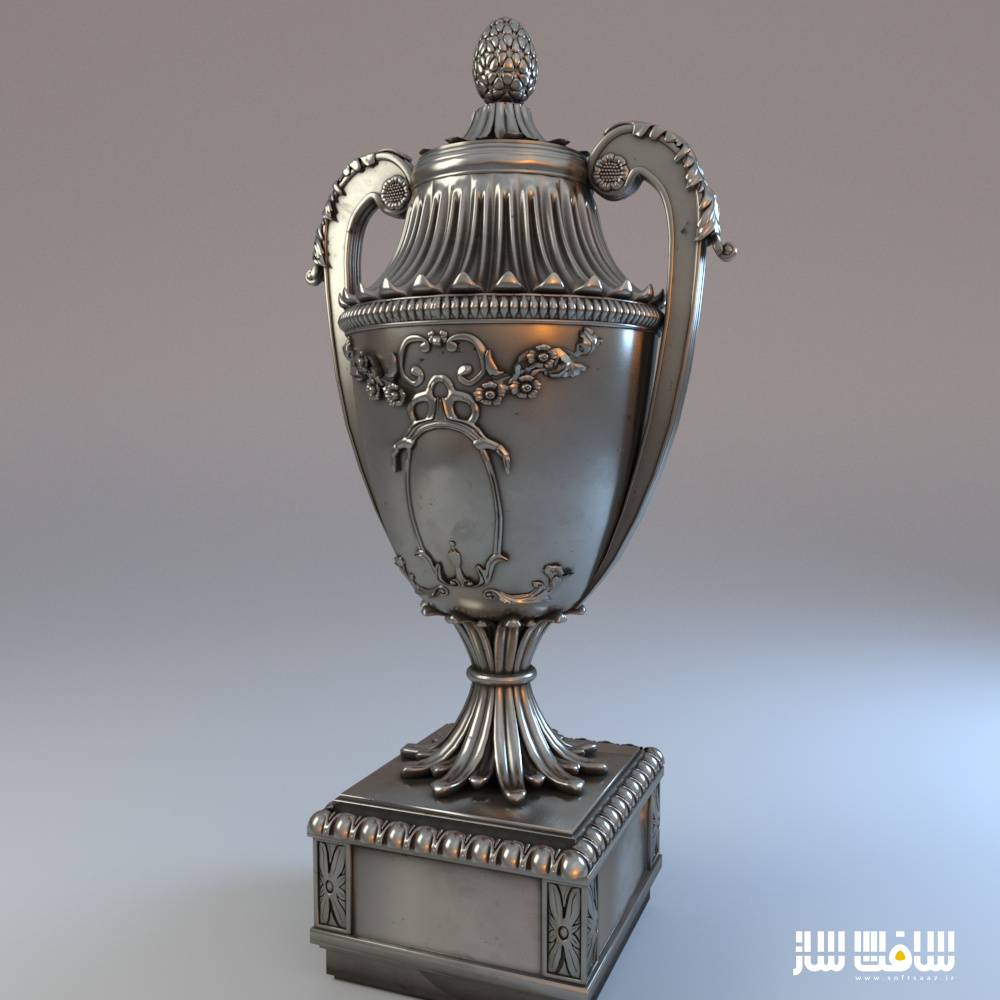
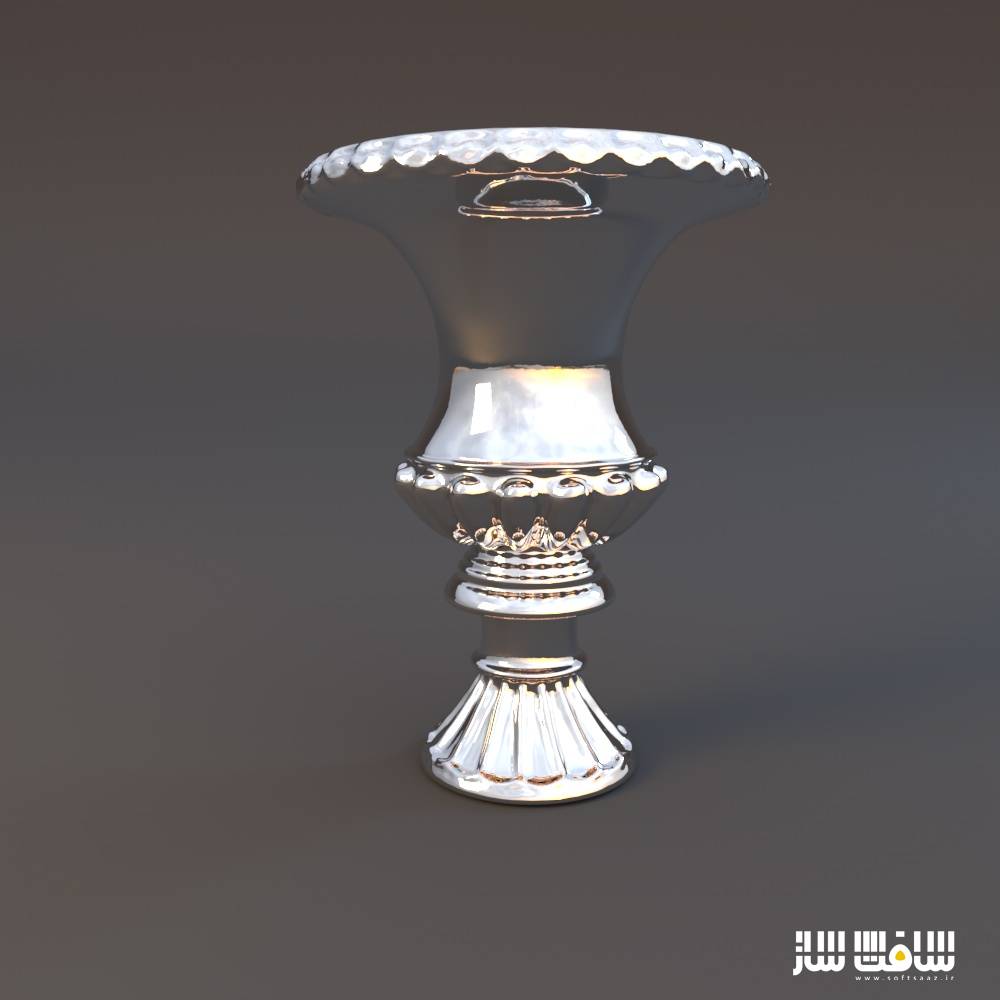
In the second lesson we create a detailed scratched vintage silver mug and I show you how to create every little detail in the reference photo.
Next we create the shader for a bronze cast sculpture and also a few other versions of the same shader to make it more interesting.
After that you learn how to create antique metal shaders.
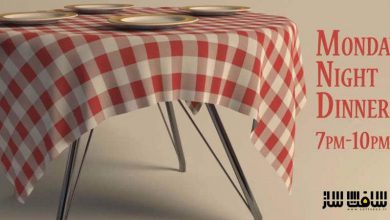
In the final lesson of the first volume, we explore fabrics and show you how to realistically create different types of fabrics in Arnold Renderer.
For the majority of the course , we’ll be taking a reference photo and use Arnold for Cinema 4d to recreate that shader , but to be as informative as possible and to not repeat ourselves we might change that rule sometimes .
Also this is a live course, and if there is a request for a specific shader in those 4 covered categories, I’ll be updating the course with more video so you can get the most out of this course.
In the second volume of this course which is planned to be released in the near future, we plan to cover, wood shaders, translucent shaders like chocolate, jade and marble, leather, plants shader and much more … stay tuned for that.
So there is a lot to learn in this course and if you are trying to take your Arnold knowledge to the next level and learn how to build complex shader networks in Arnold, you are in the right place.
حجم کل : 3 گیگابایت

برای دسترسی به کل محتویات سایت عضو ویژه سایت شوید
برای نمایش این مطلب و دسترسی به هزاران مطالب آموزشی نسبت به تهیه اکانت ویژه از لینک زیر اقدام کنید .
دریافت اشتراک ویژه
مزیت های عضویت ویژه :
- دسترسی به همه مطالب سافت ساز
- آپدیت روزانه مطالب سایت از بهترین سایت های سی جی
- ورود نامحدود کاربران از هر دیوایسی
- دسترسی به آموزش نصب کامل پلاگین ها و نرم افزار ها
اگر در تهیه اشتراک ویژه مشکل دارید میتونید از این لینک راهنمایی تهیه اشتراک ویژه رو مطالعه کنید . لینک راهنما
For International user, You can also stay connected with online support. email : info@softsaaz.ir telegram : @SoftSaaz
امتیاز به این مطلب :
امتیاز سافت ساز
لطفا به این مطلب امتیاز دهید :)


