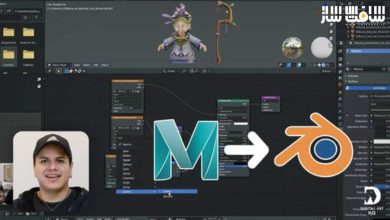
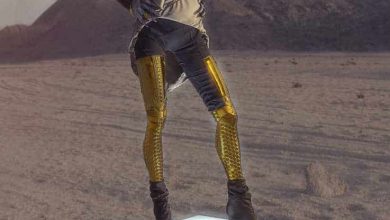
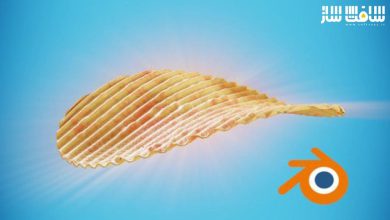
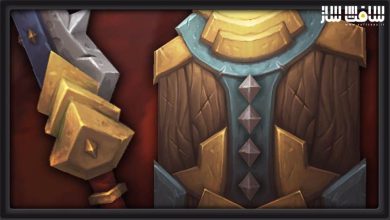
آموزش ساخت وسایل سه بعدی رئالستیک برای فیلم ها در Blender
Udemy – Realistic 3D Prop for Films in Blender

آموزش ساخت وسایل سه بعدی رئالستیک برای فیلم ها در Blender
آموزش ساخت وسایل سه بعدی رئالستیک برای فیلم ها در Blender : در این دوره از Victory3D LLC ، با نحوه مدلینگ و تکسچرینگ دارایی های حرفه ایی در بلندر آشنا خواهید شد. این دوره با استفاده از نرمافزار بلندر، یاد میدهد که چگونه آبجکت های واقعگرایانه برای فیلمها طراحی و به صورت حرفهای رندر کنید.
این دوره، اصول اساسی بلندر، مدلسازی سهبعدی، شبیهسازی فیزیکی و استفاده از موتور رندرینگ Cycles ،ساخت آبجکت ها با دقت بالا، استفاده از متریالهای مختلف، نورپردازی و قرار دادن دوربین، و رندرینگ را پوشش می دهد. این دوره آموزشی توسط تیم ســافــت ســاز برای شما عزیزان تهیه شده است.
عناوین آموزش :
- مدلینگ سطوح سخت سه بعدی
- تکنیک های بولین cutting-edge
- ایجاد مپ یووی UDIM
- فرآیند تکسچرینگ با کیفیت بالا
- ایجاد جزییاتی چون گرد و غبار و خاک
- ساخت شیدر های واقعی
- تنظیم دوربین و نورپردازی
عنوان دوره : Udemy – Realistic 3D Prop for Films in Blender
سطح : متوسط
زمان کل دوره : 17.41 ساعت
تعداد فایل های تصویری : 41
سال آموزش : 2023
فایل تمرینی : ندارد
مربی دوره : Victory3D LLC
نرم افزار : Blender
زیرنویس انگلیسی : ندارد
Udemy – Realistic 3D Prop for Films in Blender
Welcome, everyone! Get ready to take your 3D modeling skills to the next level with me, Hamidreza, a professional 3D artist and teacher. In this course, we will be creating a jaw-dropping realistic 3D asset for films using cutting-edge techniques!
We’ll start by setting up our project like the pros and gathering top-notch reference pictures for our handheld console. Then, it’s time to dive into the modeling process! We’ll create the front part of our asset and make the action buttons and D-Pad’s hole using boolean methods. But we’re not stopping there – we’ll also craft the back cover using vertex and face extrusion.
Next, we’ll add the finishing touches by unwrapping the model inside Blender using the UDIM approach. This will give us the best possible texture quality to make our asset truly shine! After that, we’ll export the model to Substance 3D Painter to start the texturing process.
With the new Baker to Bake Mesh-Maps, we’ll learn how to make different materials for each part. But that’s not all – we’ll also create detailed dirt and dust to make the final product seem more realistic than ever before.
Then, we’ll export our textures to use in Blender for shading. We’ll go through the process of setting up our lights and camera after the Shader is configured. Finally, we’ll create the final render shot after adjusting the render parameters.
حجم کل : 15.3 گیگابایت

برای دسترسی به کل محتویات سایت عضو ویژه سایت شوید
برای نمایش این مطلب و دسترسی به هزاران مطالب آموزشی نسبت به تهیه اکانت ویژه از لینک زیر اقدام کنید .
دریافت اشتراک ویژه
مزیت های عضویت ویژه :
- دسترسی به همه مطالب سافت ساز
- آپدیت روزانه مطالب سایت از بهترین سایت های سی جی
- ورود نامحدود کاربران از هر دیوایسی
- دسترسی به آموزش نصب کامل پلاگین ها و نرم افزار ها
اگر در تهیه اشتراک ویژه مشکل دارید میتونید از این لینک راهنمایی تهیه اشتراک ویژه رو مطالعه کنید . لینک راهنما
For International user, You can also stay connected with online support. email : info@softsaaz.ir telegram : @SoftSaaz
امتیاز به این مطلب :
امتیاز سافت ساز
لطفا به این مطلب امتیاز بدید


