آموزش انیمیت با حروف : بخش اول ریگ بندی
skillshare - Animating With Character - Rigging

آموزش انیمیت با حروف
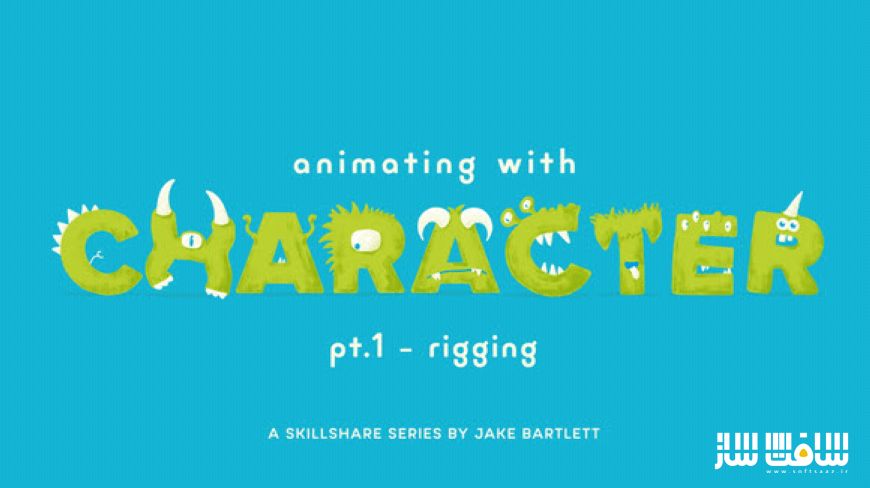
آموزش انیمیت با حروف : در این سری 3 قسمتی آموزش انیمیت با حروف از هنرمند معروف Jake Bartlett، با نحوه طراحی و ریگ حروف و کاراکتر ها برای انیمیشن در After Effects آشنا خواهید شد. ریگینگ فرآیند تنظیم آثار هنری است که ورک فلوی انیمیشن را ساده می کند. هر چیزی که نیاز دارید را در این دوره فرا می گیرید.
نکته مهم در مورد این روش اینست که به هیچ سبک طراحی محدود نمیشود. میتوانید یک کاراکتر وکتور مسطح در Illustrator و یا یک دست مصور شده و دارای تکسچر را در فتوشاپ ایجاد کنید. اگر بتوانید آن را طراحی کنید،نحوه انیمیت آن را نشان خواهم داد. این دوره آموزشی توسط تیم ســافــت ســاز برای شما عزیزان تهیه شده است.
عناوین اصلی دوره آموزشی :
- افزودن پیچیدگی به کاراکتر
- راهنمایی ها و دستورالعمل های طراحی برای شروع
- نصب DUIK و ایمپورت آثار هنری
- کار با ابزار Puppet
- ریگ بندی یک بازو با IK
- ریگ بندی پا و بدن Trevor
- پاکسازی تایم لاین و قفل Neutral Pose
- ریگ بندی Stu
- ریگ بندی Allen
- انیمیت یک موج با Trevor
عنوان دوره : skillshare – Animating With Character – Rigging
سطح : متوسط
زمان کل دوره : 1.28 ساعت
تعداد فایل های تصویری : 22
سال آموزش : 2020
فایل تمرینی : –
مربی دوره : Jake Bartlett
نرم افزار : After Effects
زیرنویس انگلیسی : ندارد
skillshare – Animating With Character – Rigging
In part 1 of this 3 part series, I’ll show you how to design and rig a character for animation in After Effects! Rigging is the setup process of your artwork that streamlines the animating workflow. You’ll learn everything you need to get up and running with character animation.
The great thing about this technique is that it isn’t limited to any design style. You could create a flat vector character in Illustrator, or a hand illustrated and textured character in Photoshop. If you can design it, I’ll show you how to animate it.
Class Outline
- Character Complexity. By adding complexity to your character, you add complexity to your rigging. You’ll get a preview of different levels of difficulty of animation design by going over three different character shapes.
- Design Requirements and Guidelines. To start, you’ll learn how to make your animation character large for rigging, and you’ll cement your character’s style. (You can’t change the shape after you rig it.) You’ll also learn how to overlap separated joints for your character, and make guide layers for your character’s joints in Photoshop.
- Install DUIK, and Import Your Artwork. DUIK is a free After Effects plugin. It includes multiple features that will help you rig your character. You’ll see how to set DUIK up in After Effects. Otherwise, prepare your composition settings, including frame rate and pixel resolution. Then you can begin rigging.
- The Puppet Tool. This tool is key for After Effects animation. The puppet tool can determine how your creature moves, as well as its resolution. You’ll learn to place pins with the puppet tool, in order to create linear motion paths. Then you’ll use DUIK to make those motion paths more complex.
- Rigging an Arm with IK. Starting with your character’s left arm, you’ll learn how to animate with the IK system. After placing pins by using the puppet tool, you’ll rename your pins, in order to keep better track of your process. Then you’ll learn how to attach separated parts of the arm by “parenting.” Next, you’ll learn how to animate one part of the arm in a way that makes the rest of the arm move around—based on that single, localized motion.
- Rigging Trevor’s Legs and Body. The process for rigging your character’s leg is the same as the one used for the arm. So you’ll get a brief refresher before moving onto the body. Once you lock the limbs and anchor your character’s hair to its head, you’ll see how to parent the limbs to the body. Then you can ultimately ensure that different movements in your character correspond to one another.
- Clean Up Your Timeline, and Lock the Neutral Pose. You’ll find out tips for remembering how to distinguish the multiple controllers for your character’s movements, and you’ll learn to lock certain characteristics of your work. For instance, your scale stays the same as you animate.
- Rigging Stu. Since Stu has a longer body, he represents the type of character that will require multiple movement points in his torso. You’ll learn where to add anchor points, in order to create comprehensive body movements in a long-bodied character.
- Rigging Allen. Now that you’ve worked your way up to the most complicated rigging challenge in this lesson, you’ll learn how to make your character’s belly rotate with its shoulders. And you’ll get its head to rotate in tandem with its neck.
- Animating a Wave with Trevor. Finally, you’ll create a full, animated loop with all the skills you’ve learned so far. By setting multiple key frames, you’ll be able to make your character wave.
As you can see, animation really involves attaching multiple elements of a design to make it move as a single, convincing unit.
حجم کل : 890 مگابایت

برای دسترسی به کل محتویات سایت عضو ویژه سایت شوید
برای نمایش این مطلب و دسترسی به هزاران مطالب آموزشی نسبت به تهیه اکانت ویژه از لینک زیر اقدام کنید .
دریافت اشتراک ویژه
مزیت های عضویت ویژه :
- دسترسی به همه مطالب سافت ساز
- آپدیت روزانه مطالب سایت از بهترین سایت های سی جی
- ورود نامحدود کاربران از هر دیوایسی
- دسترسی به آموزش نصب کامل پلاگین ها و نرم افزار ها
اگر در تهیه اشتراک ویژه مشکل دارید میتونید از این لینک راهنمایی تهیه اشتراک ویژه رو مطالعه کنید . لینک راهنما
For International user, You can also stay connected with online support. email : info@softsaaz.ir telegram : @SoftSaaz
امتیاز به این مطلب :
امتیاز سافت ساز
لطفا به این مطلب امتیاز بدید 🦋


