آموزش ایجاد انیمیشن دست در یک ساعت با Blender
Skillshare – Create Hand Animation in 1 Hour
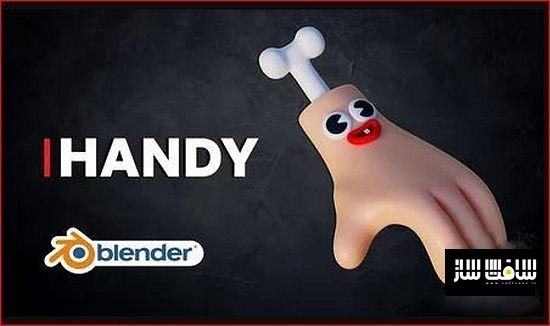
آموزش ایجاد انیمیشن دست
در این آموزش ایجاد انیمیشن دست از هنرمند Dino، با نحوه مدل سازی،ریگ و انیمیت دست یک کاراکتر در Blender آشنا خواهید شد. این آموزش،مراحل اساسی و گام به گام نحوه ایجاد انیمیشن کاراکتر ساده را در بلندر یاد می دهد. در ابتدا مدلینگ کاراکتر را شروع و از مادیفایر ها و مش های ساده شروع میکنیم.
سپس مدلینگ دست را به پایان می رسانیم و استخوان دست را اضافه میکنیم. پس از اتمام مدل با تمامی ویژگی هایش، اولین مراحل نحوه ریگ کاراکتر و نحوه اتچ کردن ریگ و ایجاد مش را پوشش می دهیم. این دوره آموزشی توسط تیم ســافــت ســاز برای شما عزیزان تهیه شده است.
عناوین اصلی دوره آموزشی :
- تنظیم دوربین روی صحنه
- افزودن فریم های کلیدی به dope sheet
- استفاده از متریال ها و تصاویر HDRI
- آشنایی با تنظیمات رندر
- ایجاد کاراکتر های انیمیت شده
- اشتراک گذاری کاراکتر انیمیت شده
عنوان دوره : Skillshare – Create Hand Animation in 1 Hour
سطح : مبتدی
زمان کل دوره : 1 ساعت
تعداد فایل های تصویری : –
سال آموزش : 2021
فایل تمرینی : ندارد
مربی دوره : Dino Bandzovic
نرم افزار : Blender
زیرنویس انگلیسی : ندارد
Skillshare – Create Hand Animation in 1 Hour
Hello and welcome to the new blender course! My name is Dino and in this course, I will show you how to model rig, and animate hand character using Blender.
We are going to cover all the basic and beginner steps on how to create simple character animation in Blender.
Firstly we will start modeling the character and for that, we will need to use some of the modifiers and also simple meshes.
Once we finish modeling the hand we will add the bone that is peeking out of hand.
Once the model is done with all its features we will then cover the first steps on how you can rigg your character and how to attach rigg that we will create to the mesh.
After we are done rigging our model we will then start the animating process.
Firstly we will set our camera to the scene which we will then render out and after that, we will animate the impatience movement of the hand by adding keyframes to the dope sheet.
After we finish animating our model it’s going to be time for the materials for which we will use basic materials and later to see the character in its fullest light we will import HDRI and we will finish the course.
In the end, we will play around with the final render settings and at the end, you will have amazing animated characters done in less than 1 Hour.
You will be able to animate it further and post it to your social media or share it with your friends.
This course is mainly for beginners because we will cover all beginner steps on how to create a fully functional character but if you are an advanced 3d artist it can be helpful for a quick exercise.
حجم کل : 0.6 گیگابایت

برای دسترسی به کل محتویات سایت عضو ویژه سایت شوید
برای نمایش این مطلب و دسترسی به هزاران مطالب آموزشی نسبت به تهیه اکانت ویژه از لینک زیر اقدام کنید .
دریافت اشتراک ویژه
مزیت های عضویت ویژه :
- دسترسی به همه مطالب سافت ساز
- آپدیت روزانه مطالب سایت از بهترین سایت های سی جی
- ورود نامحدود کاربران از هر دیوایسی
- دسترسی به آموزش نصب کامل پلاگین ها و نرم افزار ها
اگر در تهیه اشتراک ویژه مشکل دارید میتونید از این لینک راهنمایی تهیه اشتراک ویژه رو مطالعه کنید . لینک راهنما
For International user, You can also stay connected with online support. email : [email protected] telegram : @SoftSaaz
امتیاز به این مطلب :
امتیاز سافت ساز
لطفا به این مطلب امتیاز بدید 🦋


