آموزش ساخت کاراکتر “Gravity Falls” در Blender
Skillshare - Get Good at Blender: Create a 3D "Gravity Falls" Character
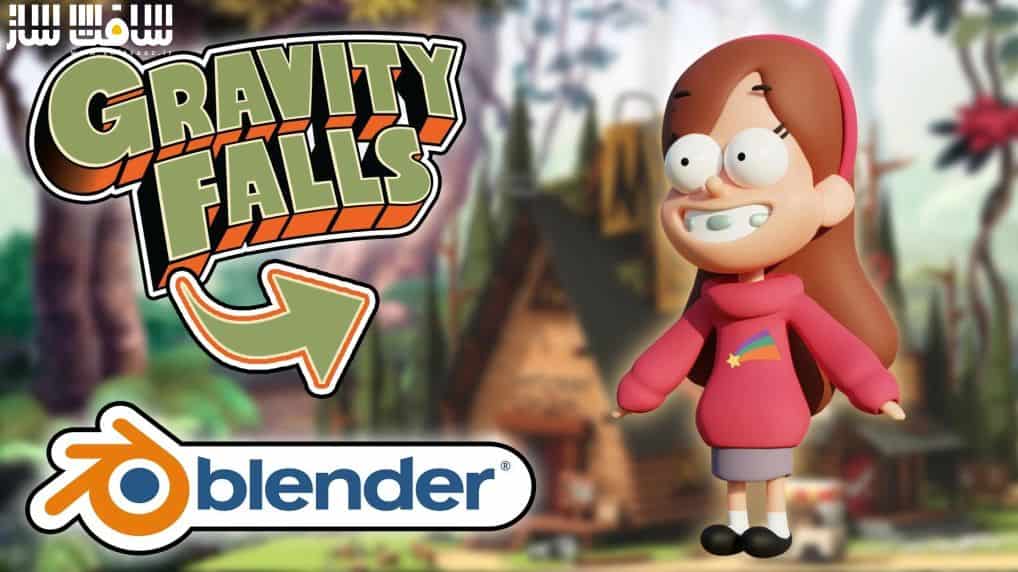
ساخت کاراکتر “Gravity Falls”
آموزش ساخت کاراکتر “Gravity Falls” در Blender :در این دوره از هنرمند Zerina 3D، با نحوه ساخت یک کاراکتر با استفاده از mash های پایه و مادیفایر ها در بلندر آشنا خواهید شد. این آموزش مناسب مبتدیان است. قبل از شروع به مدلینگ، به تصاویر مرجعی نیاز داریم که از Mable Pines دانلود میکنیم و پس از ایمپورت تصاویر مرجع به ساخت کاراکتر ادامه می دهیم.
ابتدا سر ،لب،بینی وگوش و سپس روی کره چشم تمرکز میکنیم. پس از اتمام مدلینگ سر، روی حامپر و دامن مدل و در نهایت پای کاراکتر تمرکز میکنیم. در آخر،روی دست ها،مو،جزییات نهایی چون ابرو،مژه و …. کار میکنیم. در پایان دوربین را اضافه و به تنظیمات رندر می پردازیم. این دوره آموزشی توسط تیم ســافــت ســاز برای شما عزیزان تهیه شده است.
عنوان دوره : Skillshare – Get Good at Blender: Create a 3D “Gravity Falls” Character
سطح : مبتدی
زمان کل دوره : 1.33 ساعت
تعداد فایل های تصویری : 10
سال آموزش : 2021
فایل تمرینی : ندارد
مربی دوره : Zerina 3D
نرم افزار : Blender
زیرنویس انگلیسی : ندارد
Skillshare – Get Good at Blender: Create a 3D “Gravity Falls” Character
We will start the character creation using basic mashes and modifiers. It will be a low-poly model, easy modeling, and suitable for beginners.
Before we start modeling the character, we will need the reference images that you can download here Mable Pines References. After importing the reference images, we will continue to create the character.
Firstly we will model the head with lips, nose, and ears, later focusing on the eyeballs.
When we finish modeling the head, we will be ready to hop onto Mabel’s jumper and skirt.
Once we finish modeling the skirt, we will model the legs with her shoes.
Then, I will show you how to add modifiers correctly and use them in the correct order.
After we finish modeling the body and the clothes, we will focus on the hands, hair, and final details such as braces, eyebrows, and eyelashes. When we finish the modeling, we’ll start applying the materials and finalizing the character creation. In the end, we will place Backdrop behind the model, add the camera, and play around with the final render settings.
Then, finally, we will be ready to render out the image! Also, I created a bonus video, in the end, to show you how to add Mabel’s iconic rainbow print on the sweater, so stay tuned till the end!
حجم کل : 1.4 گیگابایت

برای دسترسی به کل محتویات سایت عضو ویژه سایت شوید
برای نمایش این مطلب و دسترسی به هزاران مطالب آموزشی نسبت به تهیه اکانت ویژه از لینک زیر اقدام کنید .
دریافت اشتراک ویژه
مزیت های عضویت ویژه :
- دسترسی به همه مطالب سافت ساز
- آپدیت روزانه مطالب سایت از بهترین سایت های سی جی
- ورود نامحدود کاربران از هر دیوایسی
- دسترسی به آموزش نصب کامل پلاگین ها و نرم افزار ها
اگر در تهیه اشتراک ویژه مشکل دارید میتونید از این لینک راهنمایی تهیه اشتراک ویژه رو مطالعه کنید . لینک راهنما
For International user, You can also stay connected with online support. email : info@softsaaz.ir telegram : @SoftSaaz
امتیاز به این مطلب :
امتیاز سافت ساز
لطفا به این مطلب امتیاز بدید


