آموزش نحوه ساخت یک کاراکتر Rick And Morty در Blender
Skillshare – Learn How to Create 3D Rick And Morty Character

آموزش نحوه ساخت یک کاراکتر Rick And Morty در Blender
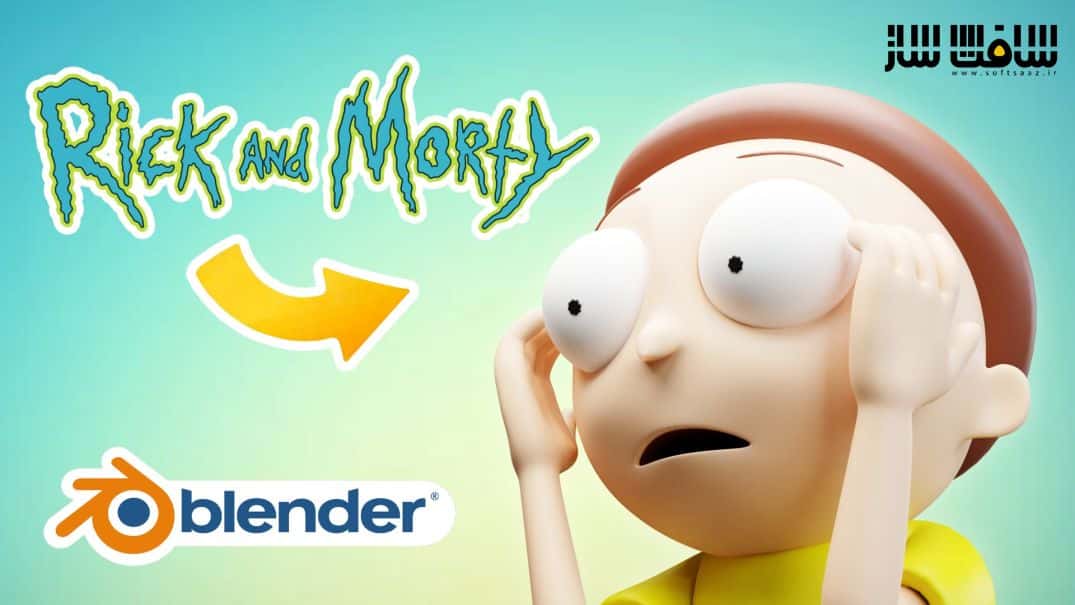
آموزش نحوه ساخت یک کاراکتر Rick And Morty در Blender : در این دوره از هنرمند Zerina 3D، با نحوه استفاده از مش ها و مادیفایر ها جهت ساخت یک کاراکتر Rick And Morty در بلندر آشنا خواهید شد. این دوره اصول اولیه مدلینگ،ایجاد مو و ابر و صورت،استفاده از متریال ها و نهایی سازی کاراکتر،ریگ بندی آن و رندرینگ آن را پوشش میدهد.این دوره آموزشی توسط تیم ســافــت ســاز برای شما عزیزان تهیه شده است.
عنوان دوره : Skillshare – Learn How to Create 3D Rick And Morty Character
سطح : مبتدی
زمان کل دوره : 1.38 ساعت
تعداد فایل های تصویری : 11
سال آموزش : 2022
فایل تمرینی : ندارد
مربی دوره : Zerina 3D
نرم افزار : Blender
زیرنویس انگلیسی : دارد
Skillshare – Learn How to Create 3D Rick And Morty Character
Hello guys, it’s Zerina here, welcome to a new Blender course.
In this course, we will create Morty, from the famous TV Show Rick and Morty.
We will start the character creation using basic mashes and modifiers. It is going to be a low-poly model, easy modeling, and suitable for beginners.
Before we start modeling the character, we will need the reference images which we provided for you in the link:Morty references After we’ve imported the image reference we will then continue to create the character. Firstly we will model the base for the head, then, we’ll model the rest of the body.
Once we finish modeling the limbs and the body of Morty we will focus on the face on which we’ll use the basic principles of modeling. When we finish modeling Morty’s face we will then add the hair and the eyebrows.
Later, when we finish modeling the character, we’ll start applying the materials and finalizing the character creation. You’ll see how the Riggify Add On works, how you can add the meta rig to the character, how to assemble the bones, and how to pose the character. In the end, we’ll pose the character, adjust the settings then we’ll be ready to render our scene.What are we waiting for let’s hop on to the video!
حجم کل : 1.2 گیگابایت

برای دسترسی به کل محتویات سایت عضو ویژه سایت شوید
برای نمایش این مطلب و دسترسی به هزاران مطالب آموزشی نسبت به تهیه اکانت ویژه از لینک زیر اقدام کنید .
دریافت اشتراک ویژه
مزیت های عضویت ویژه :
- دسترسی به همه مطالب سافت ساز
- آپدیت روزانه مطالب سایت از بهترین سایت های سی جی
- ورود نامحدود کاربران از هر دیوایسی
- دسترسی به آموزش نصب کامل پلاگین ها و نرم افزار ها
اگر در تهیه اشتراک ویژه مشکل دارید میتونید از این لینک راهنمایی تهیه اشتراک ویژه رو مطالعه کنید . لینک راهنما
For International user, You can also stay connected with online support. email : info@softsaaz.ir telegram : @SoftSaaz
امتیاز به این مطلب :
امتیاز سافت ساز
لطفا به این مطلب امتیاز بدید


