آموزش مبانی ریگینگ در Blender
CGFastTrack - Rigging Fundamentals LTS

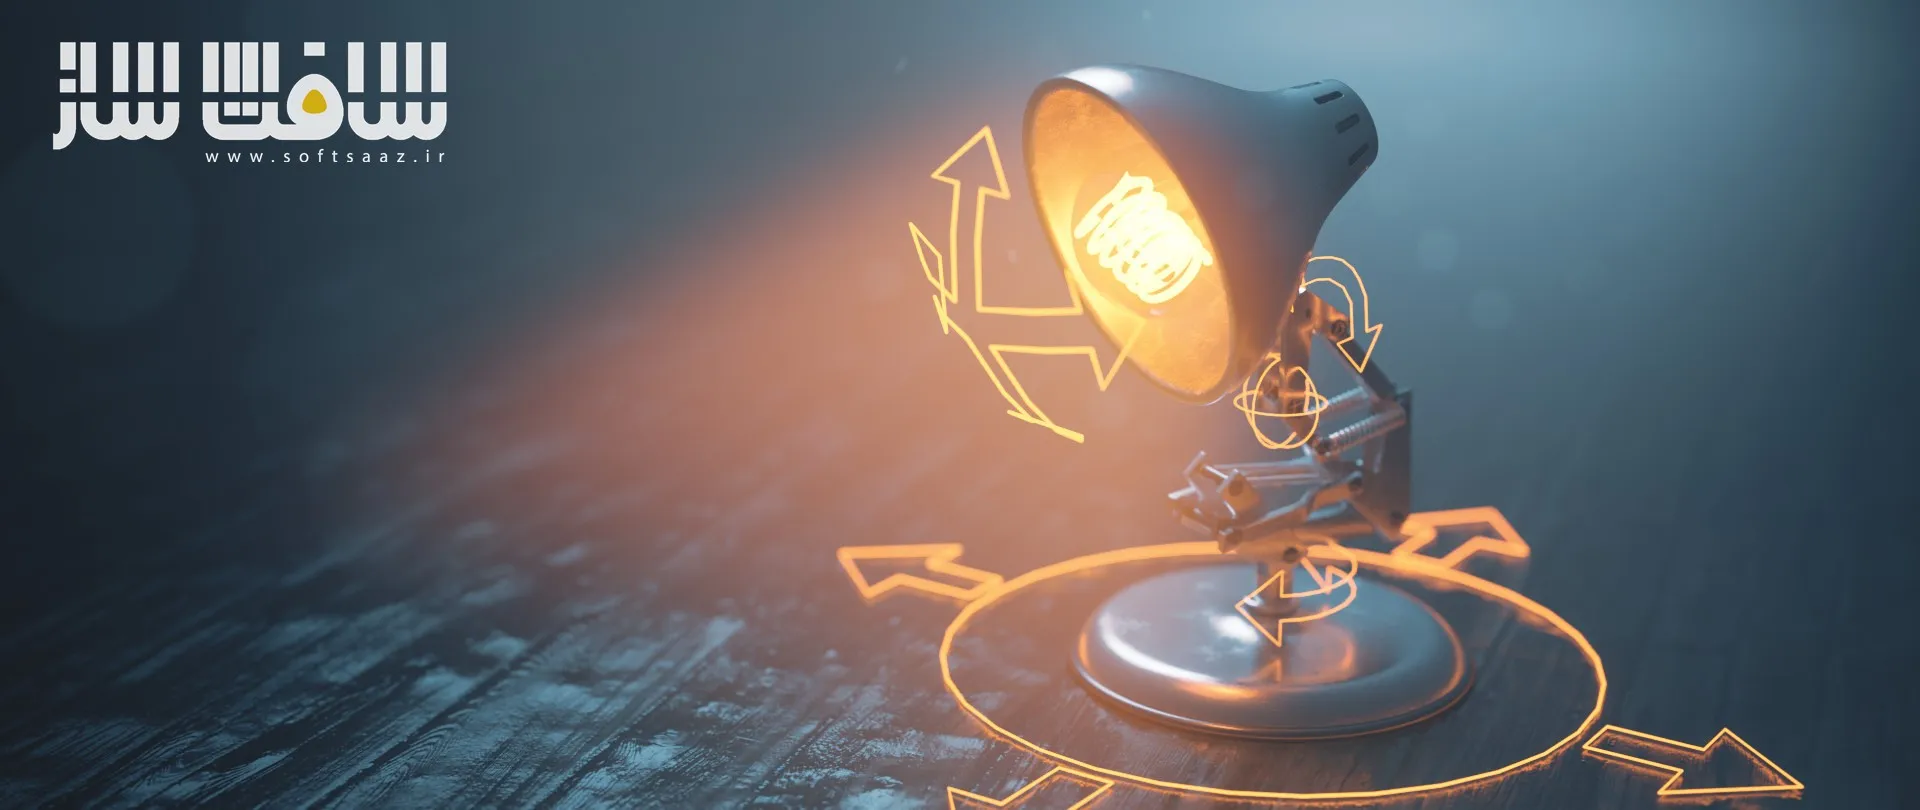
آموزش مبانی ریگینگ در Blender
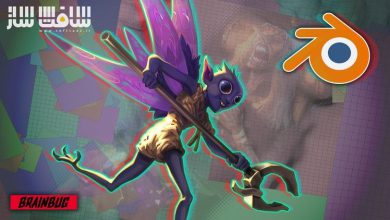
آموزش مبانی ریگینگ در Blender : این دوره از CGFastTrack به آموزش اصول و مبانی ریگینگ در نرمافزار Blender میپردازد. در این آموزش یاد میگیرید چگونه برای مدلهای سهبعدی سیستمهای حرکتی حرفهای ایجاد کنید تا انیمیشنها طبیعیتر و باورپذیرتر به نظر برسند. در طول دوره با ساخت آرماتور، ایجاد سلسلهمراتب استخوانها، کنترلرها، محدودیتهای حرکتی (Constraints) و سیستم Inverse Kinematics آشنا میشوید و در نهایت یک ریگ کامل را در یک پروژه انیمیشن واقعی آزمایش خواهید کرد. این دوره آموزشی توسط تیم ســافــت ســاز برای شما عزیزان تهیه شده است.
عناوین آموزش مبانی ریگینگ در Blender :
- آشنایی با اصول ریگینگ در Blender
- کار با Armature و ساخت اسکلت اولیه
- ایجاد و مدیریت Bone ها
- ساخت کنترلرهای ریگ
- راهاندازی Inverse Kinematics (IK)
- طراحی ریگ چندلایه
- ساخت سیستم حرکتی چراغ رومیزی
- پیادهسازی Squash and Stretch
- ایجاد حرکات خودکار با Spring ها
- کنترل کامل ریگ با یک Controller
- ساخت Head Stabilization Controller
- استفاده از Location Constraint
- ایجاد Look At Constraint
- ساخت Root Controller مرکزی
- تست و رفع مشکلات ریگ
- ساخت انیمیشن پرش Stylized
- انیمیت Squash & Stretch
- نورپردازی سیلوئت برای نمایش سینمایی
- کامپوزیت نهایی پروژه
عنوان دوره : CGFastTrack – Rigging Fundamentals LTS
سطح : متوسط
زمان کل دوره : 2 ساعت
تعداد فايل ها : 42
سال آموزش : 2025
فایل تمرینی : دارد
مربی دوره : –
نرم افزار : Blender
زیرنویس انگلیسی : ندارد
CGFastTrack – Rigging Fundamentals LTS
Rigging Fundamentals LTS
LIFETIME MEMBERSHIP PRICING
Take your animations to the next level by learning the fundamentals of rigging inside of Blender. In this series, you will learn the art of enabling your 3D models to move in a believable way by creating relationships between objects and an armature hierarchy system.
Part 1
Learn the basics of working with an armature and build out a basic rig. Then, extrude out the bones, set up the controllers, and set up your first inverse kinematics constraint.
Part 2
Build out the body of the lamp rig with this multi-layered inverse kinematics armature. Then, set up the springs to automatically move, squash, and stretch as the armature is animated. Then get the entire movement down to a single controller that enables very intuitive motion within the rig.
Part 3
Next is to set up the head stabilization controllers with multiple layers of location constraints to attach them to the body. Then, add a look-at constraint to animate the head in a natural motion automatically. Finally, create a central root controller to add flexibility to your animations.
Part 4
Test out your rig by building a stylized jump animation. Next, animate a squash and stretch motion with the rig and troubleshoot any issues that arise. Finally, add a cinematic presentation to your scene with a silhouette lighting and compositing setup.
حجم کل : 1 گیگابایت
برای نمایش این مطلب و دسترسی به هزاران مطلب آموزشی، نسبت به تهیهی اکانت ویژه از لینک زیر اقدام کنید.
وضعیت فعلی شما
- لینکهای دانلود این مطلب قفل است
- بقیهی مطالب ویژه هم بسته است
- بدون دسترسی به آموزش نصب
با اشتراک ویژه
- دسترسی به همهی مطالب سافتساز
- آپدیت روزانه مطالب سایت از بهترین سایتهای سیجی
- ورود نامحدود کاربران از هر دیوایسی
- دسترسی به آموزش نصب کامل پلاگینها و نرمافزارها
For international users: online support — email info@softsaz.ir or Telegram @SoftSaaz.
امتیاز دهی به این مطلب :
لطفا به این مطلب امتیاز دهید