آموزش ریگ کاراکتر در مکس 3ds Max
Pushing Your Character Rigs Beyond the Basics in 3ds Max
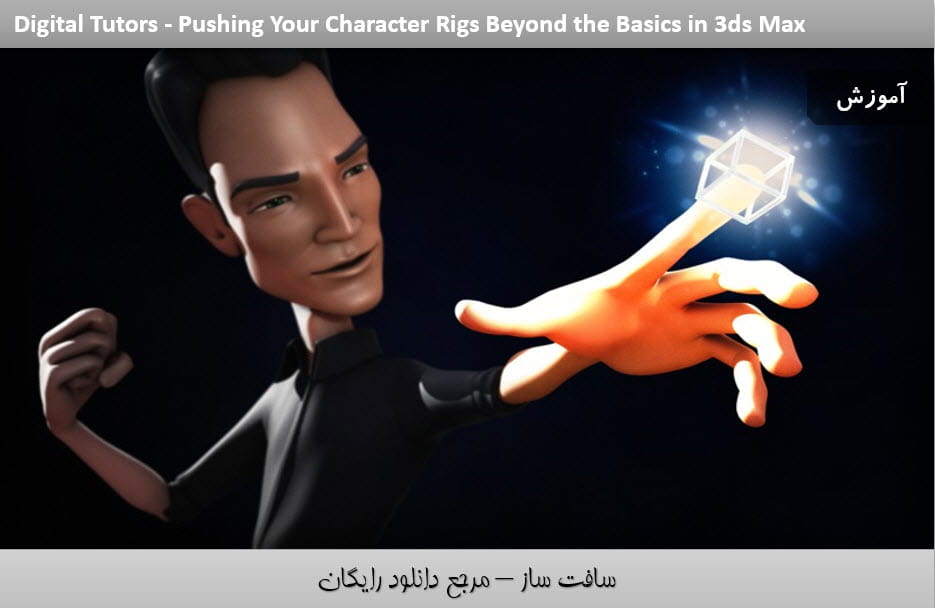
ریگ کاراکتر در مکس
در این دوره آموزشی ریگ کاراکتر در مکس از شرکت Digital Tutors ، مربی دوره Delano Athias ،روش ریگ کردن یک کاراکتر را به شما مراجعین سافت ساز یاد خواهد داد. ایجاد یک سیستم مدولار ،با استفاده از ابزارهای پیچش و کنترل حجم پیشرفته و استفاده از آنها برای اصلاح شکل های ریگ شده.سپس یک چهار چوب کلی و اختصاصی را برای کنترل کردن حجم و فرم اجسام ایجاد خواهد کرد.
همچنین روش ایجاد استخوان بندی شانه،استخوان بندی اتوماتیک(که با حرکت برخی اجزای بدن عکس العمل مناسب داشته باشد)،ریگ بندی انیماتور پسند با بهره گیری از چند لایه کنترلی و تنظیم کردن فضای کاری مکس برای سرعت بخشیدن به روند ریگ کردن، را مورد بررسی قرار می دهد. با سافت ساز همراه باشید. در نهایت شما روند ریگ بندی یک کاراکتر را در 3ds max می آموزید. با سافت ساز همراه باشید.
عناوین اصلی این دوره آموزشی:
- ایجاد ماهیچه ها
- ایجاد کنترلر ها
- بهینه کردن مدل و اضافه کردن ماهیچه ها
- استخوان بندی پاها
- استخوانبندی دست ها
- و …
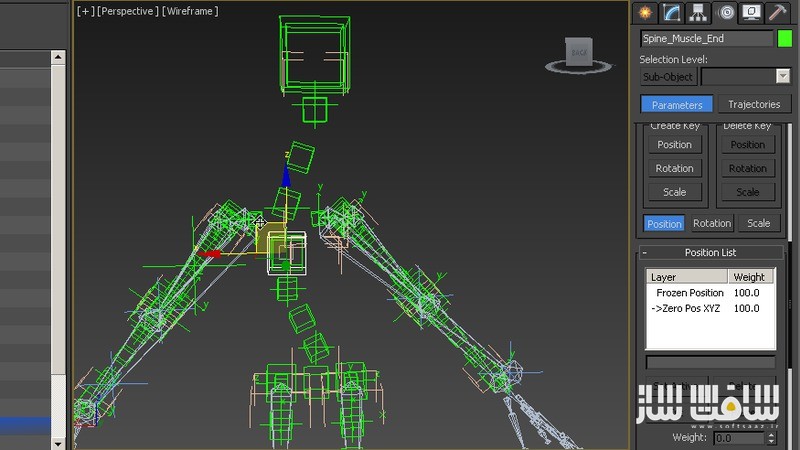
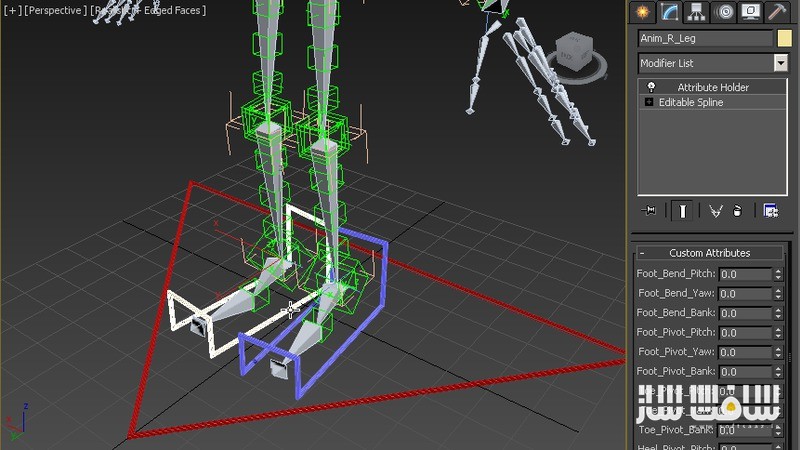
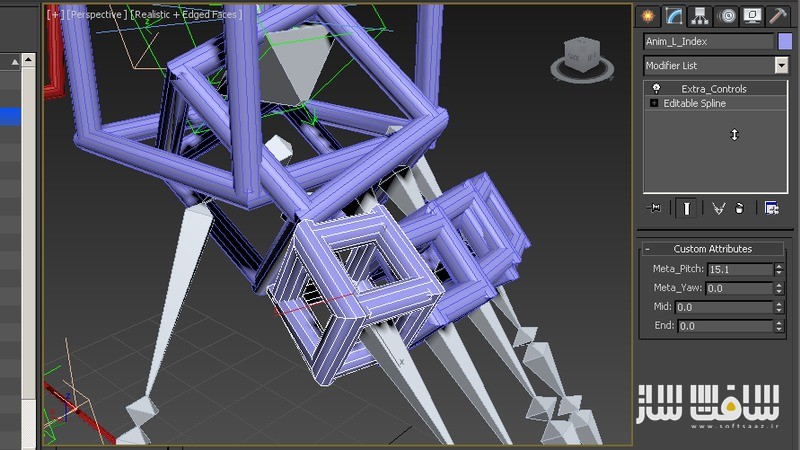
تصاویری از ریگ کاراکتر در مکس :
لطفا قبل از دانلود پیش نمایش دوره را مشاهده فرمایید:
عنوان دوره : Digital Tutors – Pushing Your Character Rigs Beyond the Basics in 3ds Max
سطح : متوسط
زمان کل دوره : 5.39 ساعت
تعداد فایل های تصویری : 65
سال آموزش : 2014
فایل تمرینی : دارد
مربی دوره : Delano Athias
نرم افزار : Autodesk 3ds Max 2015
زیرنویس : ندارد
Digital Tutors – Pushing Your Character Rigs Beyond the Basics in 3ds Max
In this series of lessons we will learn how to push our character rigs beyond the basics in 3ds Max. We’ll start by learning how to build a modular system, with advanced twisting and volume capabilities that will be inserted throughout the rig to improve deformations. We’ll then learn how to create our very own cage deformer to hold volume and form in geometry that is challenging to skin. We’ll also learn neat topics like how to setup auto clavicle and advanced shoulder systems, animator-friendly hand rigs with multiple levels of control, and learn how 3ds Max can be customized so that we can work faster.By the end of this tutorial, you will have the knowledge you need to produce promising results from your character rigs in 3ds Max.
01.Introduction and project overvie 01:01
02.Building our own muscle 07:48
03.Creating the muscle’s global control 04:32
04.Adding the muscle’s spline and secondary controls 04:54
05.Constraining our helpers to follow the muscle’s spline 02:59
06.Controlling the orientation of the helpers connected to our spline 05:04
07Finishing the process of constraining our helpers 03:17
08.Implementing the muscle’s advanced twist control 03:49
09.Wrapping up the muscle’s advanced twist control 03:51
10.Controlling the squash and stretch factor of our muscle 03:00
11.Maintaining volume in the muscle 07:47
12.Finishing the muscle’s squash and stretch system 07:46
13.Cleaning up the muscle 02:41
14.Exporting our muscle 01:22
15.Cleaning up our model and using our muscle to set up the spine 07:48
16.Setting up a global control 06:03
17.Customizing 3ds Max to improve our productivity 04:21
18.Creating the leg bones 08:20
19.Finishing our leg chains 03:39
20.Rigging the neck and head 06:21
21.Finishing our work on the neck’s rig 01:59
22.Adding bones for the clavicles and arms 05:44
23.Creating hand bones 08:23
24.Creating the thumb’s chain and mirroring the arm 07:27
25.Maintaining volume in the knees and elbows 05:40
26.Attaching muscle systems to the shins 05:30
27.Setting up muscle systems for the thighs 04:51
28.Setting up the twist systems for the thighs 05:22
29.Setting up the right thigh’s counter-twist system 01:47
30.Completing the twist systems for the shins 03:30
31.Wrapping up our twist systems for the ankles 05:07
32.Scaling the muscle systems connected to the legs 02:39
33.Adding muscle rigs to the forearms 04:25
34.Connecting our muscle rigs to the shoulders 03:49
35.Setting up the shoulder’s counter-twist system 06:22
36.Completing the twist rig for the shoulders 03:59
37.Setting up an auto-clavicle rig 08:11
38.Finishing the twist rig for the forearms 04:06
39.Connecting our twist systems to the wrists 02:40
40.Attaching the neck to the upper torso 03:03
41.Preserving volume in the buttocks 04:59
42.Enveloping the head 06:29
43.Weight-painting techniques 09:03
44.Skinning the shoes 08:14
45.Transferring weights on separate pieces of geometry 03:25
46.Skinning to a proxy cage 05:13
47.Connecting the shirt to the proxy 06:59
48.Checking our progress and adding inverse 09:21
49.Creating control objects for the legs 05:52
50.Adding custom parameters for our secondary foot controls 04:31
51.Setting up foot roll systems 07:21
52.Finalizing our foot controls 03:05
53.Controlling the knees 05:32
54.Finishing the knee controls 04:06
55.Controlling the spine 07:20
56.Wrapping up our spinal controls 04:50
57.Controlling the head 03:51
58.Adding a control for the collar 05:17
59.Controlling the clavicles 06:38
60.Creating arm controls 06:22
61.Controlling the elbows 04:10
62.Creating finger controls 08:15
63.Finishing the finger controls 06:05
64.Cleaning up the rig and working with Selection Sets 05:45
65.Finalizing our rig 06:13
حجم کل :

برای دسترسی به کل محتویات سایت عضو ویژه سایت شوید
برای نمایش این مطلب و دسترسی به هزاران مطالب آموزشی نسبت به تهیه اکانت ویژه از لینک زیر اقدام کنید .
دریافت اشتراک ویژه
مزیت های عضویت ویژه :
- دسترسی به همه مطالب سافت ساز بدون هیچ گونه محدودیتی
- آپدیت روزانه مطالب سایت از بهترین سایت های سی جی
- بدون تبلیغ ! بله با تهیه اکانت ویژه دیگه خبری از تبلیغ نیست
- دسترسی به آموزش نصب کامل پلاگین ها و نرم افزار ها
اگر در تهیه اشتراک ویژه مشکل دارید میتونید از این لینک راهنمایی تهیه اشتراک ویژه رو مطالعه کنید . لینک راهنما
For International user, You can also stay connected with online support. email : info@softsaaz.ir telegram : @SoftSaaz
امتیاز به این مطلب :
امتیاز سافت ساز
لطفا به این مطلب امتیاز دهید :)


