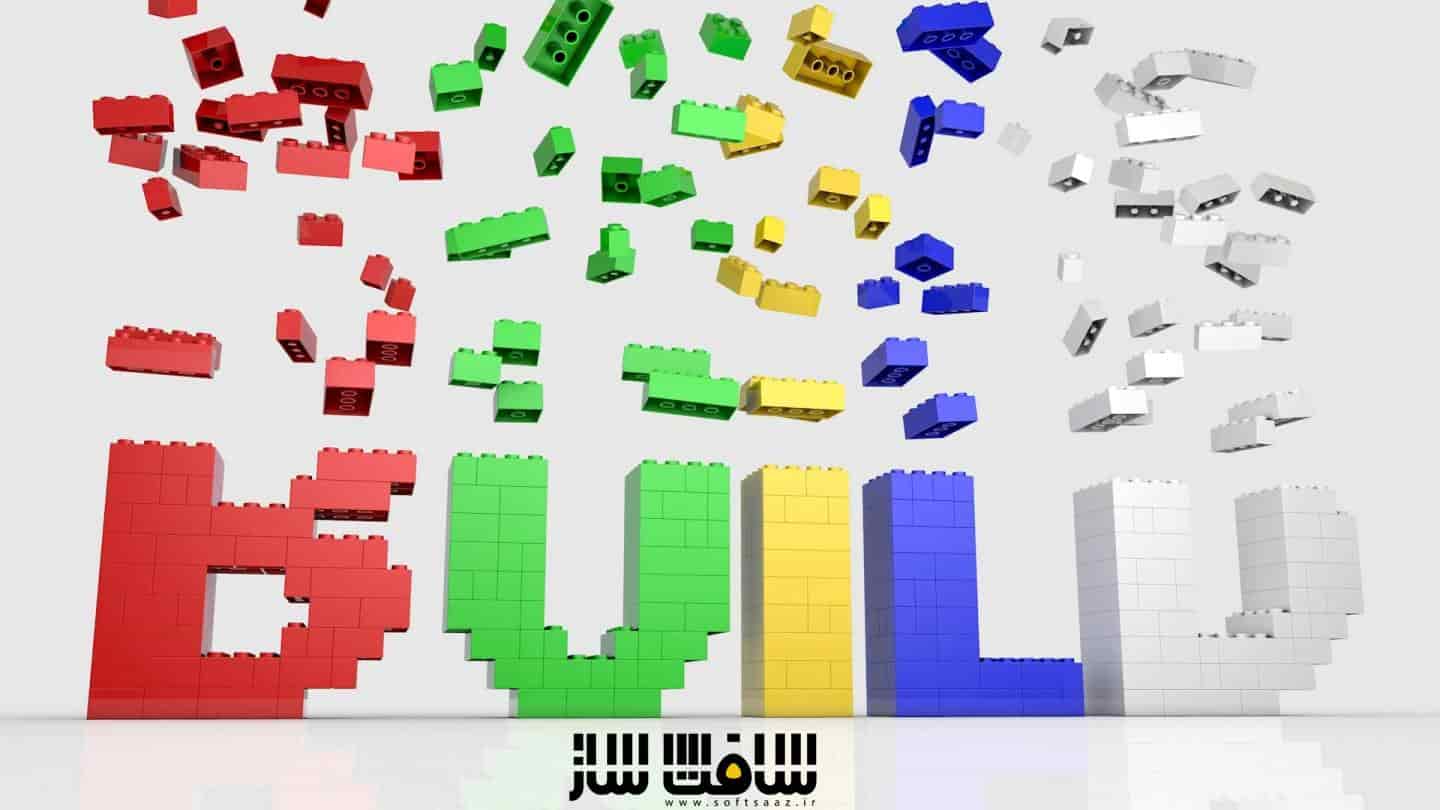
آموزش ساخت بلوک های رشته ای در Cinema 4D
FXPHD - C4D223 - Interdisciplinary Building Blocks in Cinema 4D

آموزش ساخت بلوک های رشته ای
آموزش ساخت بلوک های رشته ای در Cinema 4D : این دوره برآن است که تمام جنبه های نرم افزار سینما فوردی را مورد بررسی قرار دهد، سپس با تشریح کامل Xpresso به نوشتن برنامه ای بپردازد که شما به وسیله آن بتوانید به صورت هوشمند هر آبجکتی را به شی لگو تبدیل کنید. این دوره آموزشی توسط تیم ســافــت ســاز برای شما عزیزان تهیه شده است.
عناوین اصلی دوره آموزشی :
- مدلسازی
- اکسپرسو
- توسعه انیمیشن لگو
- رندر نهایی
عنوان دوره : FXPHD – C4D223 – Interdisciplinary Building Blocks in Cinema 4D
سطح : متوسط
زمان کل دوره : 5 ساعت
تعداد فایل های تصویری : 9
سال آموزش : 2017
فایل تمرینی : دارد
مربی دوره : MICHAEL SZABO
نرم افزار : Cinema 4D
زیرنویس انگلیسی : ندارد
FXPHD – C4D223 – Interdisciplinary Building Blocks in Cinema 4D
Interdisciplinary Building Blocks in Cinema 4D combines different aspects of the popular 3D design application within one course. The goal is to create a well-designed and conceptualized project, akin to a rig or a template that allows you to build 3D objects out of toy blocks. The individual pieces are simple on their own, but when combined together they can form a complex shape or object with a completely modular setup.
The process starts with proper 3D modeling of the blocks, using subdivision techniques to get good looking geometry, rather than just crashing and intersecting primitives into each other. From there, a user data control panel is required to help control every necessary option of the individual blocks, from their size, orientation and color. This is rigged together with XPresso to make the properties for each block interchangeable and functional. After the blocks have been created, they can be formed into a 3D object.
Then the creativity flows where we explore multiple different options for animating the assembly of our object using MoGraph effectors and some more XPresso. The project aims to be open-ended with the user creating anything they can imagine, and with a proper foundation created in Cinema 4D the design process becomes streamlined and simplified.
CLASS 1: GOALS AND INTENTIONS OF THE ENTIRE LESSON
To start, we discuss the goals and intentions of the entire lesson as just an overview of where we are headed. We’ll go over some modeling fundamentals in Cinema 4D as well as get some terminology down for the lessons going forward.
CLASS 2: MODELING OUR BLOCKS PART 1
In our first of two parts of modeling our blocks, we’ll start from scratch and develop the basis for our block objects from a simple parametric object. We’ll learn how and where to access a variety of modeling tools in multiple ways within Cinema 4D.
CLASS 3: MODELING OUR BLOCKS PART 2
By the end of this chapter we’ll have completed the modeling portion of our blocks. Each block will continue to have the same uniform modeling steps applied to them to create a series of objects that are all on the same page in terms of their design and construction.
CLASS 4: XPRESSO OVERVIEW
This will provide an XPresso overview as well as the first steps towards getting a level of smart functionality within our project to have modular controls over the parameters of our blocks. We’ll discuss User Data, Logic Nodes, and the strategy behind creating control panels for our 3D projects in Cinema 4D using XPresso.
CLASS 5: LINKING UP OUR XPRESSO
We will finish linking up our XPresso to gain all the functionality we want out of our blocks. By the end of the lesson users will be able to see the advantage of using this aspect of Cinema 4D to create smarter and more functional 3D projects. We cover Range Mapping, Iterations, and a multitude of nodes with various functions.4D. We’ll discuss creating materials, adding lighting and environments, and adding in more advanced effects to improve the quality of our final image.
CLASS 6: DESIGNING A 3D OBJECT TO BE CREATED WITH OUR BLOCK
This class lays out the strategy and process of designing a 3D object to be created with our blocks. We test drive our XPresso-linked blocks and see how much time and hassle the code from the previous chapters save when modeling something out of hundreds of individual pieces. By the end of the chapter we have two different objects we can use to create animations with in the following chapter.
CLASS 7: DEVELOP TWO DIFFERENT ANIMATION METHODS
In this lesson we will develop two different animation methods for our block objects created in the last chapter. One will involve MoGraph and another will involve some more XPresso. Each method presents a different animation result for assembling a #D object out of our blocks we created.
CLASS 8: CREATE A MORE DETAILED ANIMATION USING MOGRAPH
Here we will create a more detailed animation using MoGraph and a combination of multiple Effectors. Each Effector plays its part and combines to help create a more detailed level of animation that would be impossible to achieve without MoGraph helping us. The end result can be saved and used in other examples as well.
CLASS 9: RENDERING OUR IMAGE WITHIN THE STANDARD RENDERER
In our final chapter we’ll look at a few aspect on rendering our image within the Standard Renderer of Cinema 4D. We’ll discuss creating materials, adding lighting and environments, and adding in more advanced effects to improve the quality of our final image.
حجم کل : 1.4 گیگابایت

برای دسترسی به کل محتویات سایت عضو ویژه سایت شوید
برای نمایش این مطلب و دسترسی به هزاران مطالب آموزشی نسبت به تهیه اکانت ویژه از لینک زیر اقدام کنید .
دریافت اشتراک ویژه
مزیت های عضویت ویژه :
- دسترسی به همه مطالب سافت ساز
- آپدیت روزانه مطالب سایت از بهترین سایت های سی جی
- ورود نامحدود کاربران از هر دیوایسی
- دسترسی به آموزش نصب کامل پلاگین ها و نرم افزار ها
اگر در تهیه اشتراک ویژه مشکل دارید میتونید از این لینک راهنمایی تهیه اشتراک ویژه رو مطالعه کنید . لینک راهنما
For International user, You can also stay connected with online support. email : info@softsaaz.ir telegram : @SoftSaaz
امتیاز به این مطلب :
امتیاز سافت ساز
لطفا به این مطلب امتیاز دهید :)


