دانلود 300 براش روغنی برای استفاده در Procreate
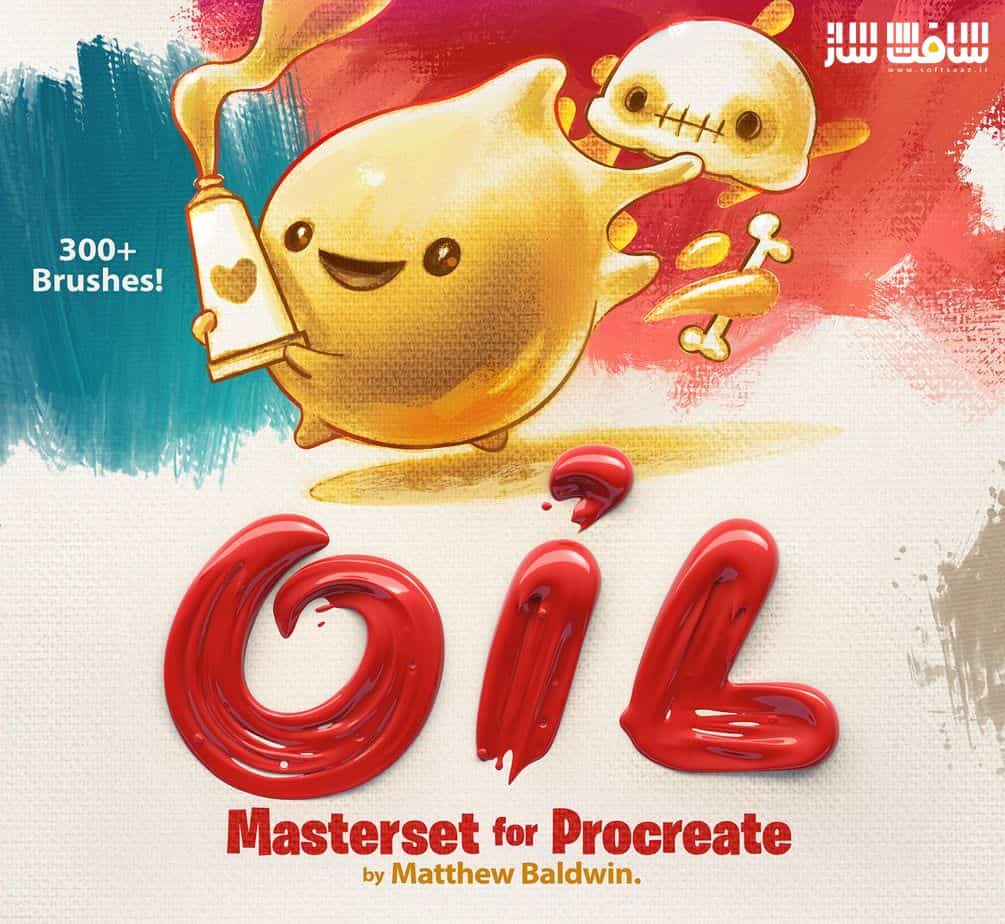
Gumroad - OIL: Over 300 Brushes for Procreate
دانلود 300 براش روغنی برای استفاده در Procreate
دانلود 300 براش روغنی برای استفاده در Procreate : در این پک عالی از هنرمند MattyB ، بیش از 300 براش مدیای روغنی کاملاً جدید و منحصر به فرد را برای ایجاد هر اثر روغنی بی نظیر را دریافت خواهید کرد. این براش ها از ضخیم گرفته تا نازک و خراشیده را پوشش می دهند. این مجموعه براش ، توسط تیم ســافــت ســاز برای شما کاربران عزیز، تهیه و آماده دانلود شده است.
محتوای پکیج :
- 5 براش ست روغنی
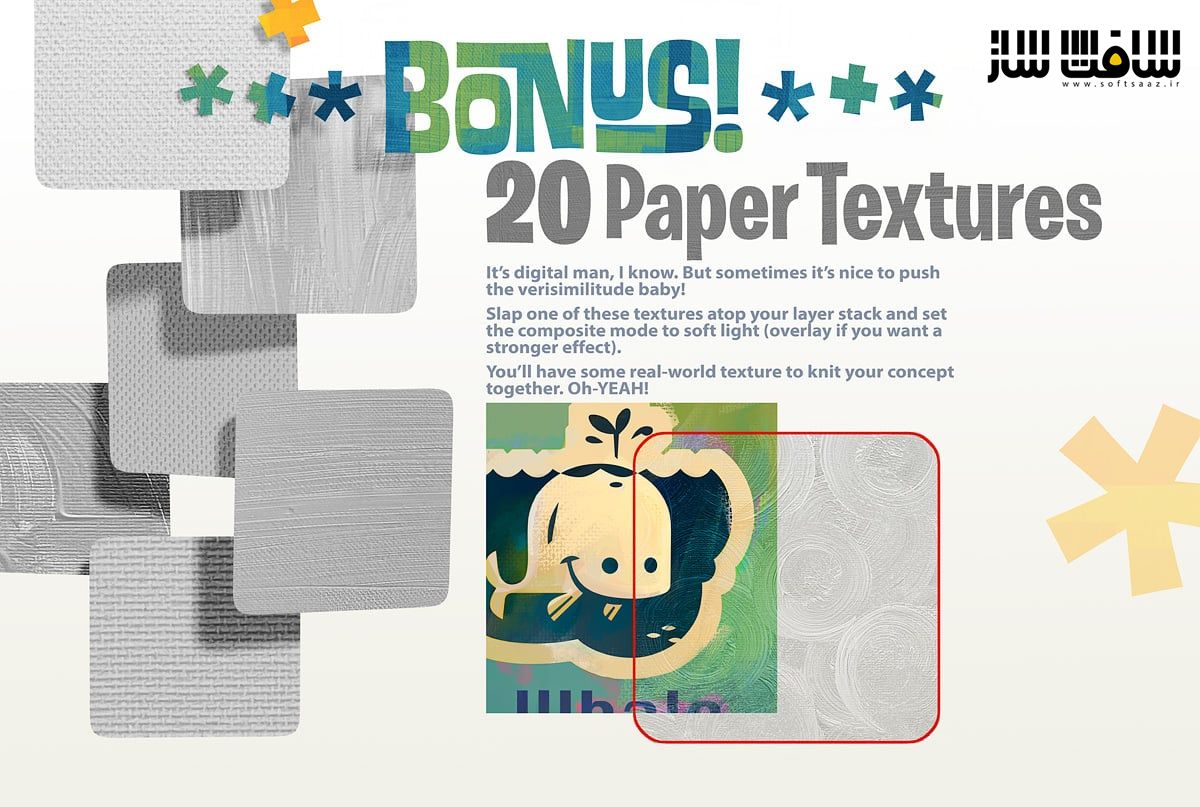
- 20 تکسچر بک گراند تایلیبل و Seamless
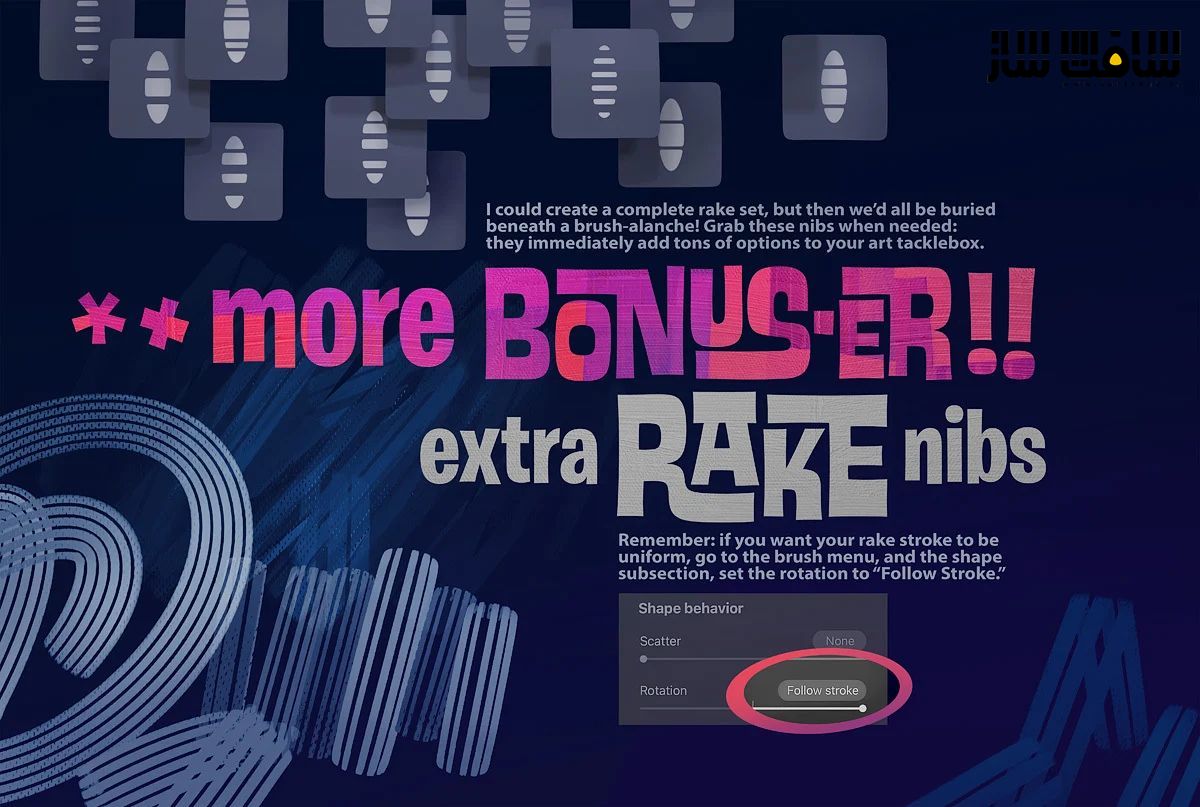
- 24 براش Rake Nibs
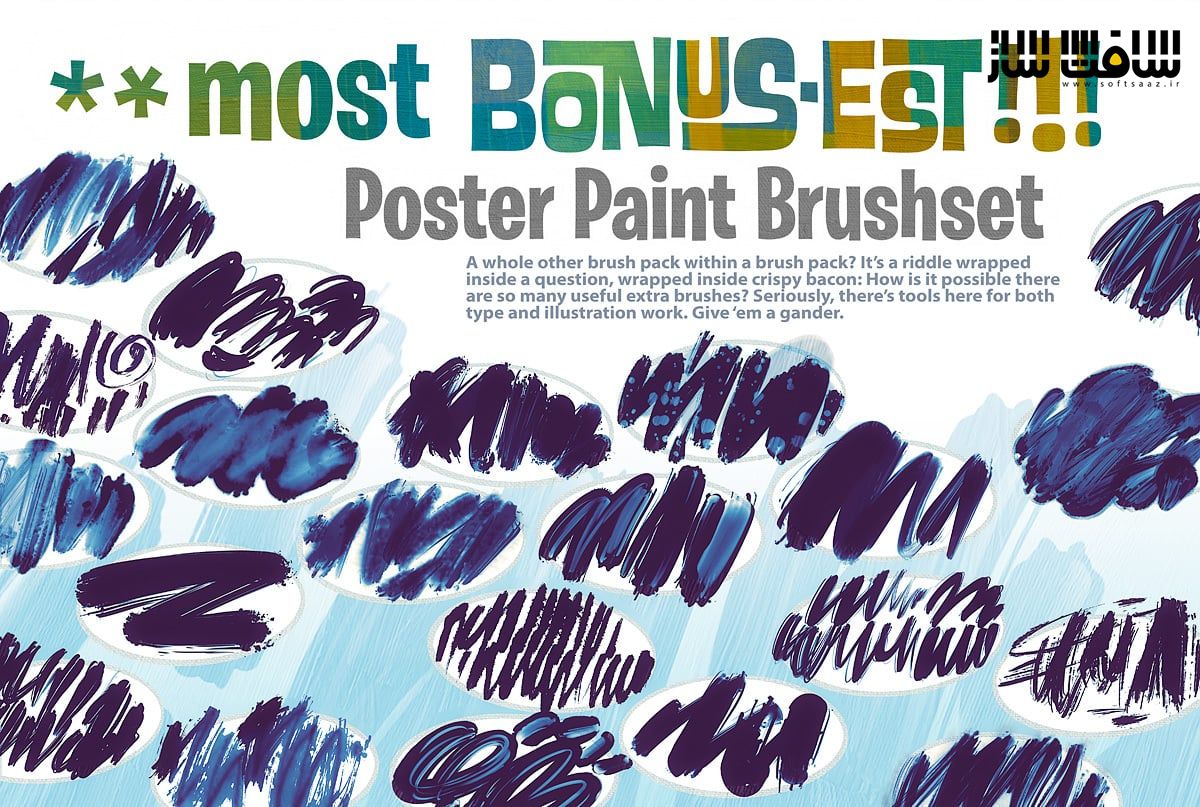
- 63 براش نقاشی پوستر
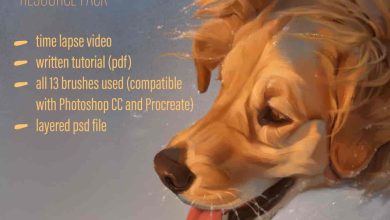
- کتابچه راهنمایی تصویری 18 صفحه ای
گالری مجموعه :


عنوان : Gumroad- OIL: Over 300 Brushes for Procreate
فرمت : brushset – png – pdf
کاتالوگ : ندارد
موضوع : براش و آلفا
شرکت سازنده : Gumroad
Gumroad- OIL: Over 300 Brushes for Procreate
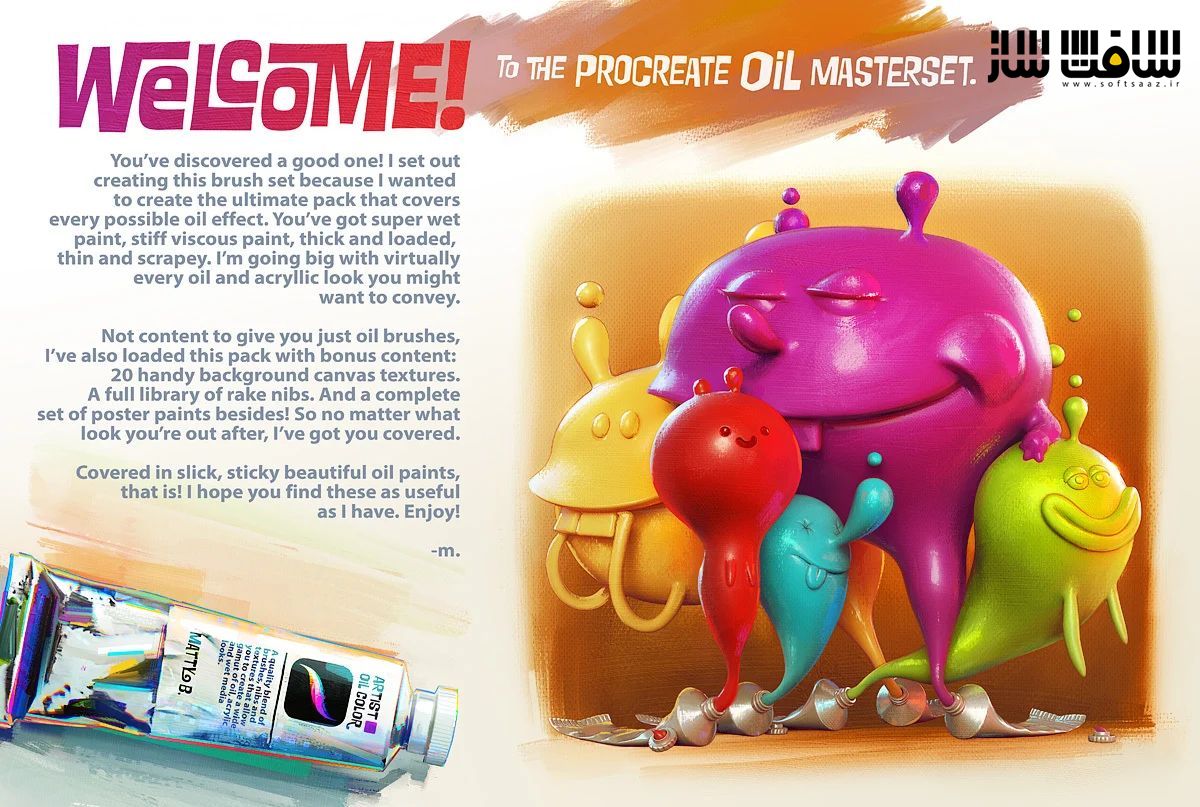
Welcome to the Procreate OIL MasterSet! It’s a big bundle: Over 300 oil media brushes. They’re all-new and exclusive to this set. I’ve got you covered for any oil effect you might want, from thick and slick to thin and scrapey. Lean to fat, you have tons of options! To see brush examples, check out this link.
You get:
• 5 Oil Brushsets: these oil tools have been divided into five bundles, covering sketch and line work to canvas and weave choices, as well as board surfaces and alternative textures.
And to make sure you’re getting loads of value for your purchase, I’ve also included important bonus content:
• 20 Seamless, Tile-able Background Textures: there’s 10 canvas surfaces and 10 oil paint surfaces that amp up the realism in your digital artwork. Simply import one into your layer stack and change the composite mode to ‘soft light’ or ‘overlay’. Adjust the opacity of that layer to-taste. You’ll have a handy way to introduce real-world visual interest and knit your marks together.
• 24 Rake Nibs: These can be imported as a shape source into any current brush in your library. It makes them super-flexible and a great way to augment the stroke of any brush. I’ve given you a black nib set and a grey one too. Use the grey nibs as a way to dampen the stroke flow if the darker ones prove too potent. nifty!
• 63 Additional Poster Paint Brushes: To make sure you have all the marks all the time, I’ve given you this set for free as well! This brushset is full of specialty liners and display tools, great for both illustration and type work.
• 18 Page Illustrated Manual: a great how-to that shows brush examples and tips to get the most out of your Procreate sessions with this set.
***Installing Procreate Brushsets: Once downloaded to your iPad, navigate to the file app. Open the file app and tap on the downloads section. You’ll find the brushset files there. Tap a brushset file and it automatically opens Procreate and installs. You’ll find your new brushset atop your brush list.
note: Apple and Procreate make it super easy to install, but if you run into problems, one way to troubleshoot is to download from a desktop or laptop machine and move the .brushset files onto a cloud server like iCloud, Dropbox, etc. That way, you can make sure they’ve downloaded totally: they then show up on your iPad and you can download as usual.
***Using Background Textures: Note: I originally uploaded these textures as greyscale files(in hopes of keeping download times manageable) This introduced confusion, because Procreate recognizes greyscale images, but if you bring them in as base art, you won’t be able to select any colors. I’ve now replaced the original image textures with rgb files so this problem shouldn’t come up for some users. I still prefer to import these into an existing document and insert them into a specific layer. When you’re in a drawing session, go to the wrench icon on the top left of Procreate. Under the ‘Add’ submenu choose ‘insert a file’ and navigate to where you’ve downloaded these textures. import one and you’re good to go.
***Using Rake Nibs: These are also image files. Once downloaded to your iPad files, Open Procreate. Tap on an existing brush to enter the Brush Studio menu. Navigate to the ‘Shape’ submenu and tap ‘edit’ on the Shape Source. Import a rake nib. You might have to two-finger tap on the image to invert the image values, but it’s straightforward. Once imported, they’re ready to use
حجم کل : 0.5 گیگابایت

برای دسترسی به کل محتویات سایت عضو ویژه سایت شوید
برای نمایش این مطلب و دسترسی به هزاران مطالب آموزشی نسبت به تهیه اکانت ویژه از لینک زیر اقدام کنید .
دریافت اشتراک ویژه
مزیت های عضویت ویژه :
- دسترسی به همه مطالب سافت ساز
- آپدیت روزانه مطالب سایت از بهترین سایت های سی جی
- ورود نامحدود کاربران از هر دیوایسی
- دسترسی به آموزش نصب کامل پلاگین ها و نرم افزار ها
اگر در تهیه اشتراک ویژه مشکل دارید میتونید از این لینک راهنمایی تهیه اشتراک ویژه رو مطالعه کنید . لینک راهنما
For International user, You can also stay connected with online support. email : info@softsaaz.ir telegram : @SoftSaaz
امتیاز به این مطلب :
امتیاز سافت ساز
لطفا به این مطلب امتیاز بدید