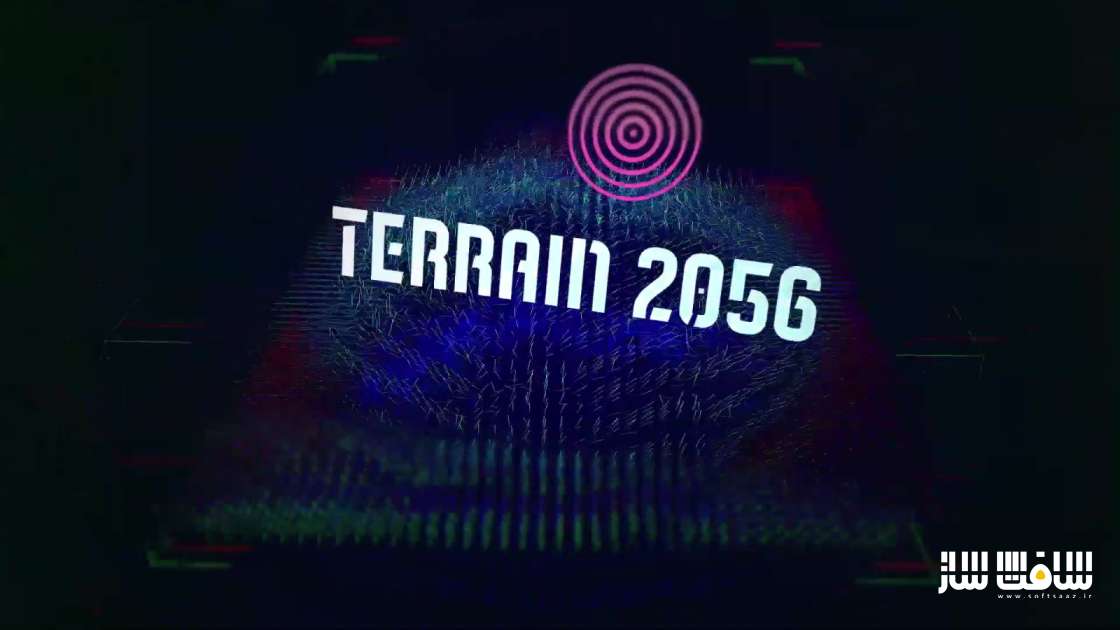
آموزش ایجاد منظره HUD در Cinema 4D و After Effects
Lowepost – Hud Landscape in Cinema 4D & After Effects
آموزش ایجاد منظره HUD
در این آموزش ایجاد منظره HUD از هنرمند Nick Harauz، نحوه ایجاد یک منظره HUD با کمک سینمافوردی و افترافکت را یاد خواهید گرفت. این دوره نحوه ساخت یک منظره چرخشی بصورت لوپ در Cinema 4D از طریف روش سنتی با حجم ها را می آموزد. سپس لنداسکیپ را به یک فایل AEC اکسپورت کرده و با استفاده از افکت های مختلف در After Effects به کار سبک خاصی می دهد. این دوره آموزشی توسط تیم ســافــت ســاز برای شما عزیزان تهیه شده است.
عناوین اصلی دوره آموزشی :
- ایجاد منظره
- حلقه زدن وکتور ها و انیمیت با فیلد ها
- دوربین و NULLS
- کامپوزیشن خارجی و تنظیم رندر
- فایل AAC و رندر ویوپست
- آوردن فایل AEC
- ست کانال ها
- افزودن متن
- امواج رادیویی
- نوردهی آبجکت سه بعدی
- سبک سازی

عنوان دوره : Lowepost – Hud Landscape in Cinema 4D & After Effects
سطح : متوسط
زمان کل دوره : – ساعت
تعداد فایل های تصویری : 11
سال آموزش : 2021
فایل تمرینی : دارد
مربی دوره : Nick Harauz
نرم افزار : Cinema 4D , After Effects
زیرنویس انگلیسی : ندارد
Lowepost – Hud Landscape in Cinema 4D & After Effects
In this motion design course, instructor Nick Harauz will take you through creating a HUD landscape with the help of Cinema 4D and After Effects. We’ll start off by creating a loopable rotating landscape in Cinema 4D through a non-traditional method with Volumes. We’ll then export our landscape as an AEC file and then stylize inside of After Effects using a variety of Effects.
COURSE OVERVIEW
LESSON 01: CREATING THE LANDSCAPE
We’ll set up our Cinema 4D project and create a basic landscape. We’ll then take that landscape and place it inside the Volume builder to create a stylized look.
LESSON 02: CURLING THE VECTORS AND ANIMATING WITH FIELDS
In this lesson, we’ll look at how we can modify our vectors as well as use fields to animate them on screen
LESSON 03: CAMERA AND NULLS
Now, we’ll add an animated camera and nulls to our scene at the position of some of our vectors
LESSON 04: EXTERNAL COMPOSITING AND RENDER SETUP
We’ll continue to add some external compositing tags to the null objects, so that we can see them in After Effects and then setup our render so it references the viewport
LESSON 05: VIEWPOST RENDERER AND AAC FILE
We’ll look at the the viewport renderer and AAC file
LESSON 06: BRINGING IN THE AEC FILE
In this lesson we’ll look at how we can bring in an AEC file and setup our composition in After Effects
LESSON 07: SET CHANNELS
We’ll use the set channels effect on duplicate copies of the Landscape to add some distortion
LESSON 08: ADDING TEXT
In this lesson, we’ll add and attach some After Effects 3D Text to one of the nulls from Cinema 4D
LESSON 09: RADIO WAVES
Now it’s time to add the After Effects Radio Waves effect, adjust its properties and position it so that it’s referencing the 2nd null from Cinema 4D
LESSON 10: LIGHT YOUR 3D OBJECTS
We’ll add some After Effects lights to illuminate the text and Radio Waves
LESSON 11: STYLIZING THE COMP
In this last lesson, we’ll add texture, color correct our piece and add some grain to the final look
حجم کل : 0.9 گیگابایت

برای دسترسی به کل محتویات سایت عضو ویژه سایت شوید
برای نمایش این مطلب و دسترسی به هزاران مطالب آموزشی نسبت به تهیه اکانت ویژه از لینک زیر اقدام کنید .
دریافت اشتراک ویژه
مزیت های عضویت ویژه :
- دسترسی به همه مطالب سافت ساز
- آپدیت روزانه مطالب سایت از بهترین سایت های سی جی
- ورود نامحدود کاربران از هر دیوایسی
- دسترسی به آموزش نصب کامل پلاگین ها و نرم افزار ها
اگر در تهیه اشتراک ویژه مشکل دارید میتونید از این لینک راهنمایی تهیه اشتراک ویژه رو مطالعه کنید . لینک راهنما
For International user, You can also stay connected with online support. email : info@softsaaz.ir telegram : @SoftSaaz