مقدمه ایی بر ایجاد تصویر یک جنگل و افزودن عمق به آن در Blender 3D
Skillshare - Into the Forest: Add Depth to Your Illustration with Blender 3D
مقدمه ایی بر ایجاد تصویر یک جنگل و افزودن عمق به آن
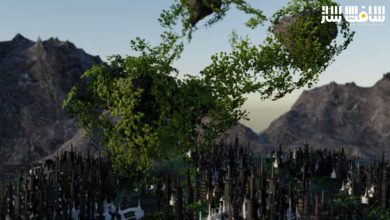
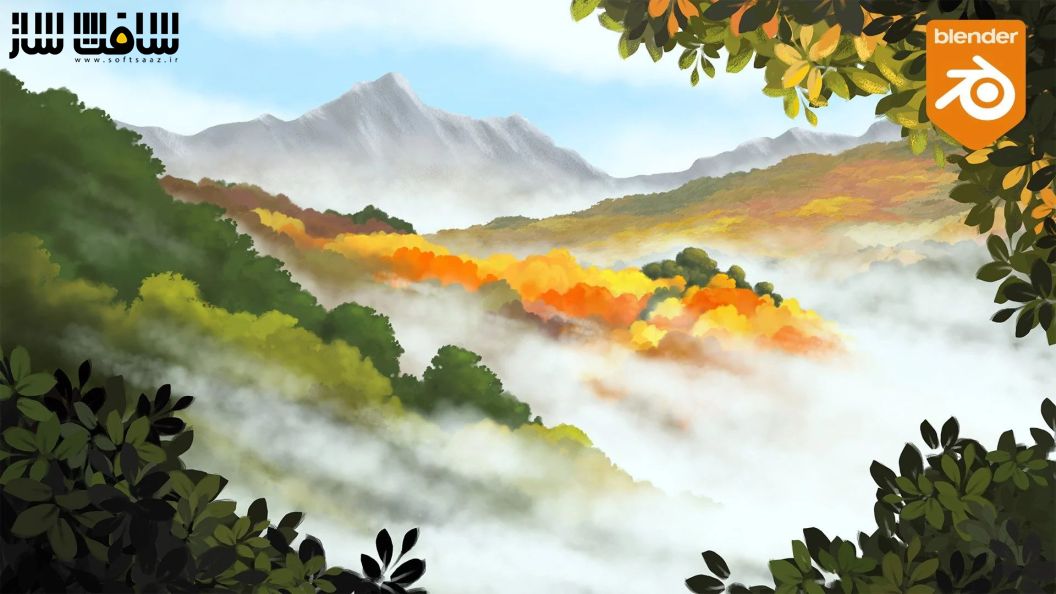
مقدمه ایی بر ایجاد تصویر یک جنگل و افزودن عمق به آن در Blender 3D : در این دوره از هنرمند John Knowles ، با نحوه افزودن عمق و حرکت برای کمک به زنده نشان دادن یک صحنه جنگلی در بلندر آشنا خواهید شد. یکی از روش های افزودن حرکات parallax ساده به لایه های آثار هنری ، ایجاد توهم عمق است. ایشان با بلندر فراتر از جلوه های ساده پیش میرود و حرکات پیچیده دوربین و افکت های سه بعدی را به تصاویر اضافه می کند.این دوره آموزشی توسط تیم ســافــت ســاز برای شما عزیزان تهیه شده است.
عناوین آموزش :
- اصول اساسی برنامه بلندر
- نحوه ایمپورت تصویر به بلندر با حفظ نسبت تصویر و فضای رنگی
- ایمپورت صحیح آقار هنری
- انیمیت با دوربین و لایه های آثار هنری
- ایجاد انیمیشن parallax
- تکنیک های مدل سازی مورد نیاز برای ساخت یک صحنه ساده سه بعدی
- فرآیند پروجکشن تصویر
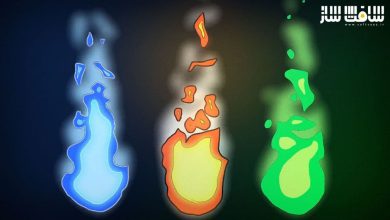
- اصول ایجاد افکت ذرات در بلندر
- نحوه رندرینگ و ذخیره انیمیشن

عنوان دوره : Skillshare – Into the Forest: Add Depth to Your Illustration with Blender 3D
سطح : متوسط
زمان کل دوره : 3.13 ساعت
تعداد فایل های تصویری : 27
سال آموزش : 2022
فایل تمرینی : ندارد
مربی دوره : John Knowles
نرم افزار : Blender
زیرنویس انگلیسی : ندارد
Skillshare – Into the Forest: Add Depth to Your Illustration with Blender 3D
If you’re an artist or illustrator, having some basic 3D skills opens a whole new world of possibilities. This class explores the ways in which 3D can add an extra dimension to your work.
As an animator, one of the first things that I wanted to do when I started to create illustrations was to find ways of adding motion to help bring them to life.
One of the easiest solutions is to add simple parallax moves to layers of artwork to give an illusion of depth. But, this doesn’t work for every image and, with the use of 3D animation software, we can go beyond those simple effects and actually project our illustrations onto 3D geometry. This gives us far more flexibility to add complex camera movement to our illustrations and even combine our illustrations with 3D elements or effects.
In this class I’ll be starting out with the basics for those who may never have touched 3D animation software before. We’ll then explore how to create multiplane, parallax camera moves using the provided artwork.
In the second part of the class, we’ll create a simple 3D scene based upon a sketch. This scene serves as a guide which you can use to create your own illustration or, alternatively, you can make use of the provided illustration for the next part of the class where I demonstrate how to project the illustration back onto the individual objects in the scene.
Finally, we’ll add a camera move and some 3D particles to add a little magic to our scene.
حجم کل : 0.7 گیگابایت

برای دسترسی به کل محتویات سایت عضو ویژه سایت شوید
برای نمایش این مطلب و دسترسی به هزاران مطالب آموزشی نسبت به تهیه اکانت ویژه از لینک زیر اقدام کنید .
دریافت اشتراک ویژه
مزیت های عضویت ویژه :
- دسترسی به همه مطالب سافت ساز بدون هیچ گونه محدودیتی
- آپدیت روزانه مطالب سایت از بهترین سایت های سی جی
- بدون تبلیغ ! بله با تهیه اکانت ویژه دیگه خبری از تبلیغ نیست
- دسترسی به آموزش نصب کامل پلاگین ها و نرم افزار ها
اگر در تهیه اشتراک ویژه مشکل دارید میتونید از این لینک راهنمایی تهیه اشتراک ویژه رو مطالعه کنید . لینک راهنما
For International user, You can also stay connected with online support. email : info@softsaaz.ir telegram : @SoftSaaz
امتیاز به این مطلب :
امتیاز سافت ساز - 72%
72%
لطفا به این مطلب امتیاز بدید