آموزش تنظیم پارتیکل برای اصابت در Houdini
FXPHD – HOU145 – Impact Based Particle Setups in Houdini
آموزش تنظیم پارتیکل برای اصابت
آموزش تنظیم پارتیکل برای اصابت در Houdini : یکی از اتفاق های اصلی در فیلم های مهیج و اکشن به کارگیری پارتیکل در صحنه های تصادف و برخورد است، فارغ از تصادف ممکن است ریزش ساختمان ، شکستن تنه درختان نیز شامل این مقوله شود.
این دوره که توسط Jeronimo Maggi تدریس شده است، مدرس اقدام به بررسی جنبه های متداول صحنه های برخورد کرده سپس به باز سازی پارتیکل ها در صحنه های برخورد می پردازد. این دوره آموزشی توسط تیم ســافــت ســاز برای شما عزیزان تهیه شده است.
درس اول با معرفی پروژه شروع میشود که شامل معرفی Viewport و نمای کلی برنامه است و اقدام به بازسازی صحنه تعقیب و گریز میکند مابقی محتویات این درس به شرح زیر است :
- Velocity در هودینی
- افزودن تنوع به ذرات در نرم افزار هودینی
- ساخت صحنه شلیک
- ساخت پارتیکل های ثانویه
- ساخت کلایدر برای جلوگیری از ورود اجسام
- ساخت شکستن شیشه

عنوان دوره : FXPHD – HOU145 – Impact Based Particle Setups in Houdini
سطح : متوسط
زمان کل دوره : 6.11 ساعت
تعداد فایل های تصویری : 10
سال آموزش : 2020
فایل تمرینی : دارد
مربی دوره : Jeronimo Maggi
نرم افزار : Houdini
زیرنویس انگلیسی : ندارد
FXPHD – HOU145 – Impact Based Particle Setups in Houdini
One of the key components of epic movie magic happens in the thousands upon thousands of particles emitting in destruction scenes. It might be a collapsing building, a car impact, broken trees and leaves, or an impact on the ground. The eyes of the audience will gather the excitement, sense of motion, and tertiary detail from the large arrays of particles being emitted from an impact.
This course, taught by Jeronimo Maggi, covers how to sculpt and perfect this extremely common aspect of most FX shot work: the creation of secondary particles and the technical and creative processes behind it. Appropriate size distributions, shaping, motion, and orientations will be covered. On completion of the course, you will have great setups to bring to the next production to get shots looking better and finalled faster.
CLASS 1: GROUND BULLET HITS: CREATING A GOOD SOURCE
This class begins with an introduction to the project, which involves an overview of the car chase sequence and all the elements that will be added as well as the folder structure. After, it will cover the use of preroll and optimizing the playback in the viewport by extracting the animation at object level and caching it. The last part of this lesson will go over the importance of creating a good source, so it will go over having variation in the location, amount, velocity and emission. All these concepts will be explained by creating the source for the bullets hitting the ground.
CLASS 2: GROUND BULLET HITS: THE IMPORTANCE OF VELOCITY
Picking up from the previous class, this lesson will cover the fundamentals of particles and how the POP solver works and how different attributes can control the simulation. It will then go over the basics of colliders for the POP solver and continue with the bullet hits effect by going over the concept of vectors and their direction and magnitude and how that is useful in adding velocity to the source.
CLASS 3: GROUND BULLET HITS: ADDING VARIATION TO THE SIM
Before finishing the bullet hits effect, this lesson will cover more techniques to add variation on a per particle basis on attributes such as mass, friction and bounce. After that it will cover the basics of orientation and angular velocity and how to make the particles spin and also stop spinning when they are on the ground. The very last thing missing will be to copy geometry onto the points.
CLASS 4: GROUND BULLET HITS: REUSING THE SETUP
After having finished working on the second shot, this class will go over reusing the same bullet hit effect in the other two shots. Since the setup is procedural, only a few parameters will have to be tweaked to get it to work. Finally, it will go over making changes to the setup to address specific notes and get the desired look in every shot.
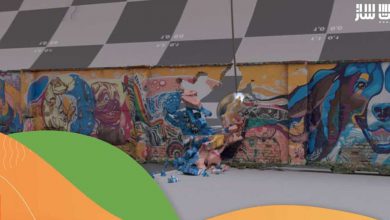
CLASS 5: WALL BULLET HITS: EMITTING SECONDARY PARTICLES
This lesson will cover a more advanced bullet hit example where the source is animated. Starting from an animated cache of debris coming off a wall after being shot, the goal will be to learn how to use an existing cache to emit secondary particles from those debris. In the beginning the class will be about creating a source from an animated input, and the importance of the timeblend SOP. Finally it will go over how to create an impulse on the debris based on velocity, age and noise to create the secondary particles emission.
CLASS 6: WALL BULLET HITS: EXISTING VELOCITIES
Unlike the previous effect, the debris already has a velocity. This class will go over inheriting the velocity of the debris and adding variation instead of creating a completely new velocity. After, it will quickly go over the same concepts of adding variation by reusing the previous setup and have a more in-depth look at creating deforming collision geometry in SOPs as well as a more advanced method for copying unique geometry to every particle.
CLASS 7: CAR CRASH DEBRIS: ANIMATED COLLIDERS
Moving on to a more complex scenario where there are two cars crashing into each other, this class go over more sourcing techniques as well as using animated colliders. Taking advantage from some of the setups done in the previous classes, it will build on top of that and go over more advanced workflows, such as instancing already existing debris onto the particles being simulated.
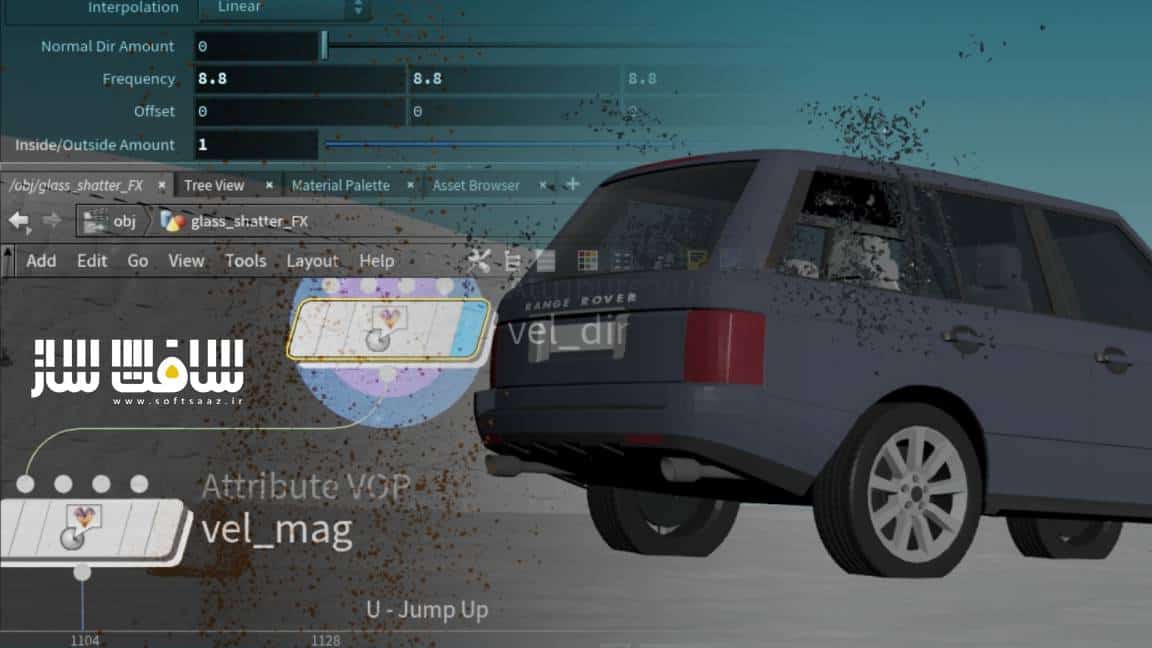
CLASS 8: WINDOW GLASS BREAKING
The last element missing is the car window shattering as it is shot. This is the most complicated effect because the window is attached to the car, so it has to stay in place until it breaks. This class will go over fracturing the glass and creating a particle for each glass shard. Afterwards, it will cov
حجم کل : 8.1 گیگابایت

برای دسترسی به کل محتویات سایت عضو ویژه سایت شوید
برای نمایش این مطلب و دسترسی به هزاران مطالب آموزشی نسبت به تهیه اکانت ویژه از لینک زیر اقدام کنید .
دریافت اشتراک ویژه
مزیت های عضویت ویژه :
- دسترسی به همه مطالب سافت ساز بدون هیچ گونه محدودیتی
- آپدیت روزانه مطالب سایت از بهترین سایت های سی جی
- بدون تبلیغ ! بله با تهیه اکانت ویژه دیگه خبری از تبلیغ نیست
- دسترسی به آموزش نصب کامل پلاگین ها و نرم افزار ها
اگر در تهیه اشتراک ویژه مشکل دارید میتونید از این لینک راهنمایی تهیه اشتراک ویژه رو مطالعه کنید . لینک راهنما
For International user, You can also stay connected with online support. email : info@softsaaz.ir telegram : @SoftSaaz
امتیاز به این مطلب :
امتیاز سافت ساز
لطفا به این مطلب امتیاز دهید :)